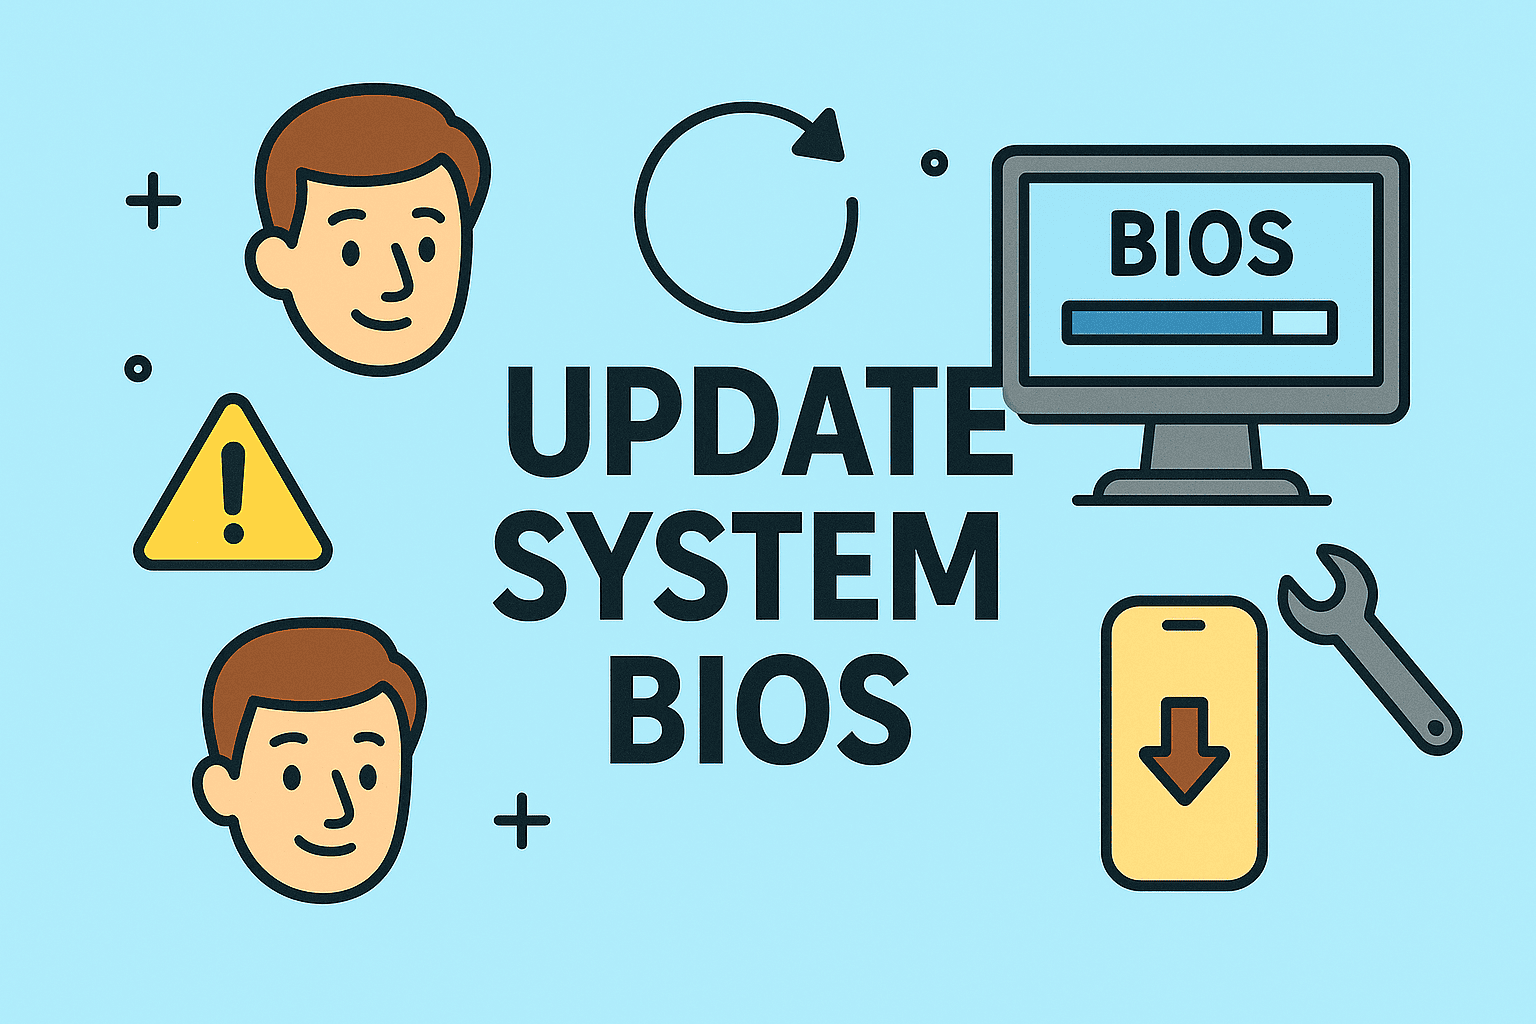
Safely Updating Your MSI Motherboard BIOS
Updated on October 30, 2025, by ITarian
Is your computer running into stability issues, hardware detection errors, or performance problems after installing new components? It might be time to update your BIOS. Understanding how to update MSI motherboard BIOS can help you fix bugs, improve compatibility, and unlock new CPU or memory support—all while keeping your system running efficiently and securely.
For IT managers, cybersecurity professionals, and business users, BIOS updates are more than routine maintenance—they’re essential for stability, security, and performance optimization. This article explains, in detail, how to safely update your MSI BIOS using different methods, with best practices for both beginners and experienced users.
What Is a BIOS and Why It Matters
The BIOS (Basic Input/Output System) is the firmware that controls your motherboard’s essential operations. It initializes hardware during startup, enables communication between components, and loads your operating system.
Why Updating the BIOS Is Important:
-
Improved Hardware Compatibility: New CPUs, GPUs, and memory modules often require updated BIOS firmware.
-
Bug Fixes and Stability: BIOS updates resolve issues like boot errors, freezing, or unstable performance.
-
Enhanced Security: Some updates patch firmware-level vulnerabilities that can be exploited in cyberattacks.
-
Optimized Performance: Manufacturers release updates to improve power efficiency and performance.
For cybersecurity professionals, outdated BIOS versions can become security risks—especially in enterprise environments where system firmware integrity is vital.
How to Check Your Current BIOS Version
Before learning how to update MSI motherboard BIOS, check your current version.
Method 1: Using System Information in Windows
-
Press Windows + R to open the Run dialog.
-
Type
msinfo32and hit Enter. -
Look for BIOS Version/Date in the System Summary window.
Method 2: Using Command Prompt
-
Open Command Prompt.
-
Type:
-
Press Enter to display your BIOS version.
Method 3: From the BIOS Setup Utility
-
Restart your computer and press Delete or F2 during boot to enter BIOS.
-
The version number will appear on the main screen or “System Information” tab.
Compare this version with the latest one available on MSI’s support website.
Step 1: Identify Your MSI Motherboard Model
You must download the correct BIOS file for your motherboard model—using the wrong file can permanently damage your board.
Ways to Find Your Model:
-
Check the motherboard box or printed label near the PCIe slots.
-
Use the MSI Center app → click System Information.
-
Run the command in Command Prompt:
Example: MSI B550 Tomahawk or MSI MAG Z790 TOMAHAWK WIFI.
Once you know your model, proceed to download the corresponding BIOS update.
Step 2: Download the Latest BIOS from MSI
-
Visit the official MSI support website.
-
Enter your motherboard model in the search bar.
-
Go to the Support → BIOS section.
-
Review the changelog to see what improvements or fixes the update includes.
-
Click Download next to the latest BIOS version.
You’ll receive a .zip file—extract it using Windows Explorer or a tool like WinRAR. Inside, you’ll find a file named something like E7C56AMS.1A0.
Step 3: Prepare the USB Flash Drive
You’ll need a USB drive (at least 4 GB) formatted to FAT32.
Steps:
-
Insert the USB drive into your computer.
-
Open File Explorer → Right-click → Format.
-
Choose FAT32 as the file system and click Start.
-
Once done, copy the BIOS file to the root directory of the USB drive.
Now your drive is ready for the update.
Step 4: Updating BIOS Using M-Flash (Recommended Method)
MSI’s M-Flash utility allows you to update your BIOS directly from the BIOS interface—no need for Windows-based tools.
Steps to Update Using M-Flash:
-
Restart your PC and press Delete during boot to enter BIOS.
-
Navigate to the M-Flash option (usually on the main screen).
-
The system will prompt you to reboot into Flash mode—select Yes.
-
Once in M-Flash, select your USB drive and locate the BIOS file.
-
Confirm to start the update.
The process usually takes 3–7 minutes. During this time:
-
Do not power off your computer.
-
Avoid pressing any keys or disconnecting power.
After completion, your system will reboot automatically.
Step 5: Updating BIOS Using Flash BIOS Button (Without CPU)
MSI motherboards with a Flash BIOS Button can be updated without installing a CPU, RAM, or GPU—perfect for building new PCs or troubleshooting failed boots.
Steps:
-
Download the correct BIOS version for your board.
-
Extract and rename the file to MSI.ROM.
-
Copy it to a FAT32-formatted USB drive.
-
Plug the USB into the dedicated Flash BIOS port (check your motherboard manual).
-
Press the Flash BIOS Button for 3–5 seconds until the LED light starts blinking.
The process may take 5–10 minutes. Once the LED stops blinking, the update is complete.
Pro Tip: Use this method if your system won’t boot or you’re installing a new CPU unsupported by your current BIOS.
Step 6: Updating BIOS via MSI Dragon Center (Optional)
You can also update BIOS using the MSI Dragon Center (MSI Center) software within Windows.
Steps:
-
Download and install MSI Center from MSI’s website.
-
Open it and go to the Live Update section.
-
Click Scan, then Update BIOS if a new version is available.
While convenient, this method is not recommended for critical updates, as Windows crashes or power loss can corrupt the BIOS. Always prefer M-Flash or Flash BIOS Button for safety.
Step 7: After the BIOS Update
Once your BIOS update completes, take the following steps to finalize the process.
1. Load Default Settings
-
Enter BIOS again by pressing Delete during startup.
-
Go to Save & Exit → Restore Defaults.
-
Save and reboot.
2. Reconfigure Settings
Reapply any custom settings, such as:
-
XMP profiles for memory speed.
-
Boot order (set SSD or system drive as first priority).
-
Fan curves or hardware monitoring preferences.
3. Verify the Update
Confirm your BIOS version under System Information or using msinfo32 in Windows.
BIOS Update Safety Tips
BIOS updates carry minor risk if performed incorrectly. Follow these best practices to ensure safety:
-
Use a UPS or stable power source to prevent interruptions.
-
Download BIOS only from MSI’s official site.
-
Never flash BIOS from a corrupted or low-quality USB drive.
-
Avoid updating unless necessary. Only update for new hardware support or critical fixes.
If your system runs fine and you don’t need new features, there’s no urgent need to update.
Troubleshooting BIOS Update Issues
If something goes wrong during the update, don’t panic. Here’s how to recover:
1. System Doesn’t Boot After Update
-
Clear the CMOS by pressing the reset button or removing the CMOS battery for 30 seconds.
-
Reinstall the battery and reboot.
2. BIOS Flash Fails Midway
-
Retry the process using a different USB drive.
-
Use the Flash BIOS Button method for recovery.
3. Wrong BIOS File Flashed
Unfortunately, flashing an incorrect BIOS file may brick your motherboard. You’ll need professional repair or an RMA replacement from MSI.
4. Black Screen or No Display
Disconnect power, clear CMOS, and reattempt the process. Ensure the USB file is renamed properly and the drive is FAT32 formatted.
Benefits of Keeping MSI BIOS Updated
1. Enhanced Hardware Compatibility
BIOS updates often include microcode changes to support the latest CPUs, RAM, and GPUs.
2. Improved System Security
Manufacturers patch vulnerabilities like Spectre and Meltdown at the firmware level.
3. Stability and Efficiency
Fix boot loops, thermal management bugs, and unstable fan behavior.
4. Optimized Cybersecurity Tools
Better firmware-level security improves endpoint protection and hardware-based encryption (e.g., TPM 2.0).
5. Future-Proofing for IT Managers
Ensures business devices remain compatible with modern OS updates like Windows 11 and security protocols.
Frequently Asked Questions (FAQ)
1. Do I need to update my MSI BIOS?
Only if you’re facing stability issues, installing a new CPU, or need compatibility improvements. Otherwise, you can skip it safely.
2. Can a BIOS update delete my data?
No. BIOS updates affect the motherboard firmware, not the hard drive or your data.
3. How long does an MSI BIOS update take?
Typically, 5–10 minutes depending on method and system speed.
4. Is it safe to update BIOS from Windows?
It’s possible, but riskier. Use M-Flash or the Flash BIOS Button for the safest results.
5. What happens if the BIOS update fails?
Use the Flash BIOS Button method to recover. If that fails, contact MSI support for repair or replacement.
Final Thoughts
Learning how to update MSI motherboard BIOS is an essential skill for maintaining performance, security, and hardware compatibility. By following the steps carefully—downloading the right file, preparing your USB drive, and using MSI’s reliable tools—you can safely keep your system running at peak efficiency.
For IT teams, updating BIOS across systems ensures consistent performance and compliance with modern firmware security standards.
Ready to take control of your system management and security strategy?
Start your free ITarian trial today.