Screenshots Matter More Than You Think
Updated on June 20, 2025, by ITarian
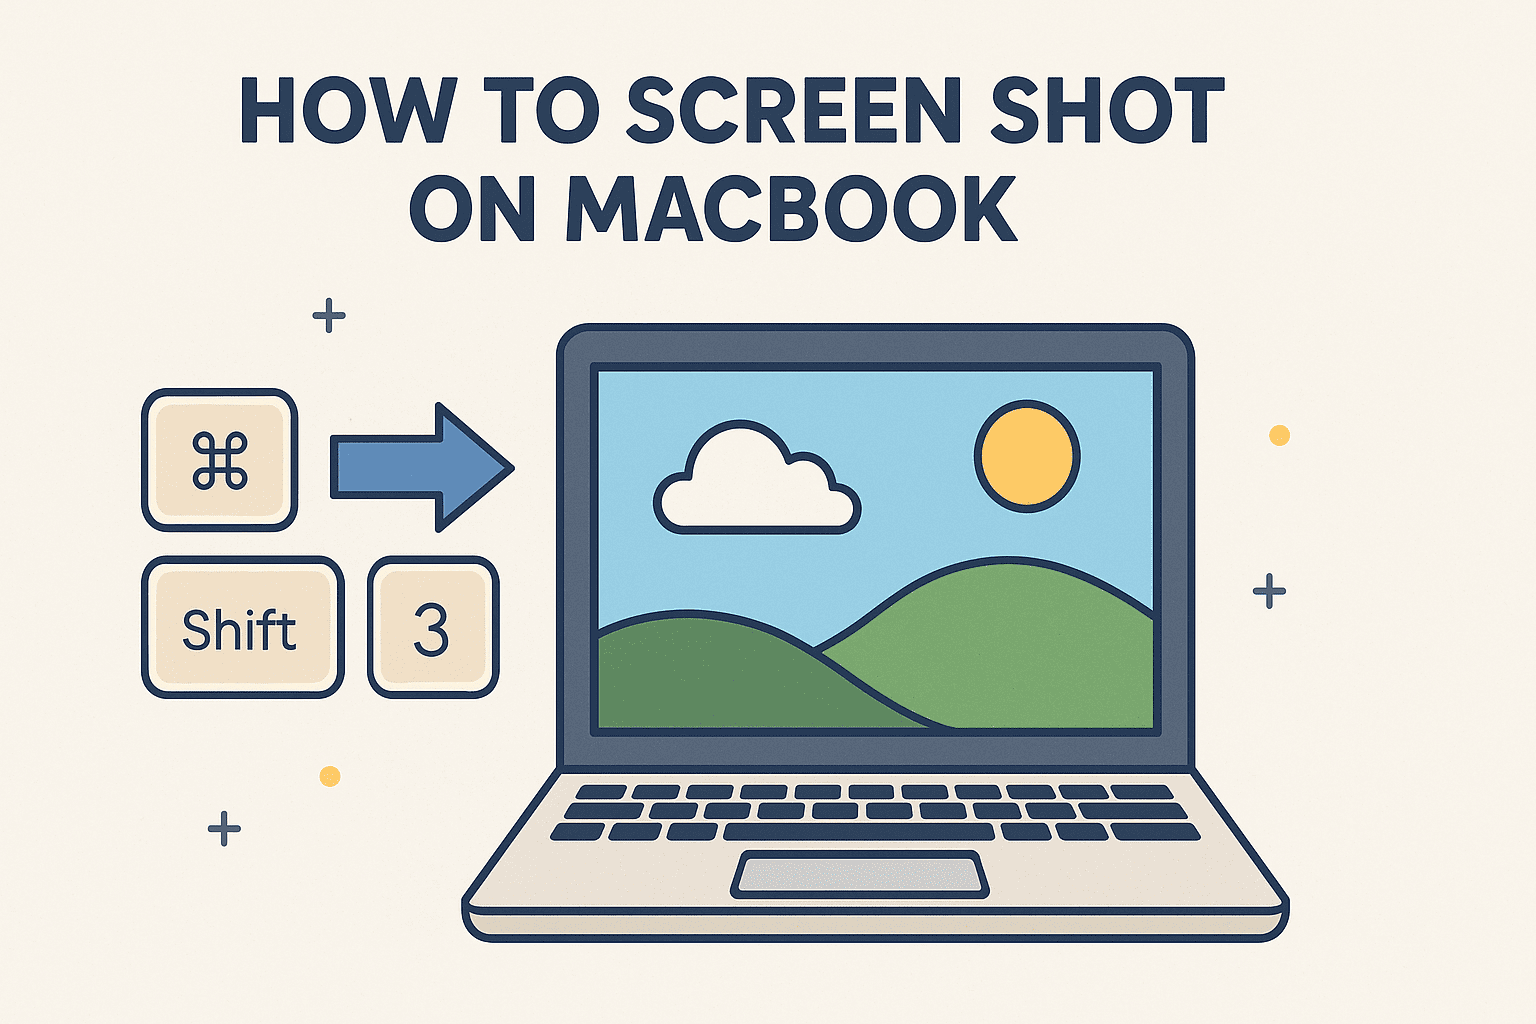
Ever found yourself needing to share a bug, document a security alert, or capture proof of a critical change? Knowing how to screen shot on MacBook isn’t just useful—it’s essential in today’s fast-paced digital world.
Whether you’re a cybersecurity expert documenting a threat, an IT manager reporting a configuration, or a CEO reviewing dashboards, screenshots help you communicate quickly and clearly. Yet, many users—even in tech-heavy roles—don’t use the most efficient tools available on macOS.
This guide covers everything you need to capture screen on macOS like a pro, including Mac screenshot shortcut keys, advanced tools, file organization tips, and common troubleshooting.
What You’ll Learn
- Quick and advanced Mac screenshot shortcut keys
- How to take a screenshot on MacBook Air/Pro
- Built-in macOS tools for editing screenshots
- Time-saving tricks for IT and security teams
- FAQs and pro tips for troubleshooting
How to Screen Shot on MacBook Using Shortcut Keys
Knowing the right keyboard shortcuts saves time and eliminates the need for third-party tools. Here are the most common Mac screenshot shortcut keys:
Capture the Entire Screen
Command (⌘) + Shift + 3
- Instantly captures the full screen
- Image saves to your desktop by default
Capture a Selected Portion
Command (⌘) + Shift + 4
- Cursor turns into a crosshair
- Drag to highlight the area you want to capture
- Release to save the image
Capture a Specific Window
Command (⌘) + Shift + 4, then tap Spacebar
- Hover turns into a camera icon
- Click on any open window to capture it
Save to Clipboard (for quick paste)
Add Control (^) to any combo
- Example: Command + Control + Shift + 3
- Saves screenshot to clipboard for instant pasting into documents or email
How to Capture Screen on macOS Using the Screenshot App
macOS includes a built-in Screenshot app with a simple interface and additional options:
Open Screenshot Tool
Command (⌘) + Shift + 5
This brings up a small toolbar offering:
- Capture full screen
- Capture selected window
- Capture custom portion
- Record video of screen (great for quick how-tos)
- Options for setting timer or choosing where to save
Use this if you need more control or prefer a graphical interface.
Use Cases for IT Managers and Cybersecurity Professionals
For professionals managing secure environments or multiple endpoints, knowing how to screenshot on MacBook offers key advantages:
- Security Logging: Capture evidence during incident response
- Configuration Snapshots: Document system or firewall settings
- Training Material: Create fast visual guides for teams or clients
- Remote Collaboration: Share real-time issues with developers or support
Use the clipboard shortcut to quickly paste screenshots into tools like Slack, Jira, or Confluence without saving them first.
Pro Tips to Maximize Your Screenshot Efficiency
1. Change the Default Save Location
By default, screenshots go to the Desktop. To change this:
- Press Command + Shift + 5
- Click Options > Save to > Choose your folder (e.g., /Documents/Screenshots)
2. Annotate Instantly
After taking a screenshot, click the thumbnail preview in the bottom-right corner to:
- Crop, draw, highlight
- Add arrows or text
- Save or share immediately
3. Use Preview for More Control
Open your screenshot in Preview to make edits like resizing, annotating, or converting file types (e.g., PNG to JPG).
4. Automate with Shortcuts App
You can use the macOS Shortcuts app to automate screenshot tasks like auto-uploading to cloud storage or renaming files based on timestamps.
Common Screenshot Issues and Fixes
| Issue | Cause | Fix |
| Screenshots not saving | Permissions issue or storage full | Go to System Settings > Privacy > Screen Recording |
| Shortcut keys not working | Keyboard conflict | Reset or check in System Settings > Keyboard |
| Screenshots save as .tiff or .pdf | Misconfigured settings or third-party apps | Reset default format using Terminal |
Frequently Asked Questions (FAQs)
1. How do I take a screenshot on a MacBook Air vs MacBook Pro?
The method is the same. Both use macOS, so shortcut keys and tools are identical.
2. Can I record video instead of a screenshot?
Yes! Use Command + Shift + 5 and choose the video recording options.
3. Where are my screenshots saved?
By default, they go to your Desktop. You can change the save location via the Screenshot tool.
4. Can I paste screenshots directly into email or Slack?
Yes. Use Control + Shift + Command + 4 to save to clipboard and paste instantly.
5. Are there third-party tools for more features?
Yes. Tools like Snagit, CleanShot X, or Lightshot offer enhanced editing, sharing, and cloud integration.
Why This Matters for Security and IT
In cybersecurity, response time and precision matter. Capturing and sharing screenshots rapidly:
- Documents exploits before they vanish
- Helps demonstrate suspicious behavior
- Supports compliance and audit trails
- Speeds up internal communication
That’s why learning how to screen shot on MacBook is a practical, daily-use skill—not just a nice-to-have.
Final Thoughts
Mastering how to screen shot on MacBook is more than just a productivity hack—it’s a foundational skill for secure and efficient workflows.
📍 Want to automate, secure, and manage Mac endpoints remotely?
👉 Sign up now for Itarian and power your IT operations today.

