Dual-Boot or Virtual Windows on Mac — The Smart Way to Run Both
Updated on October 17, 2025, by ITarian
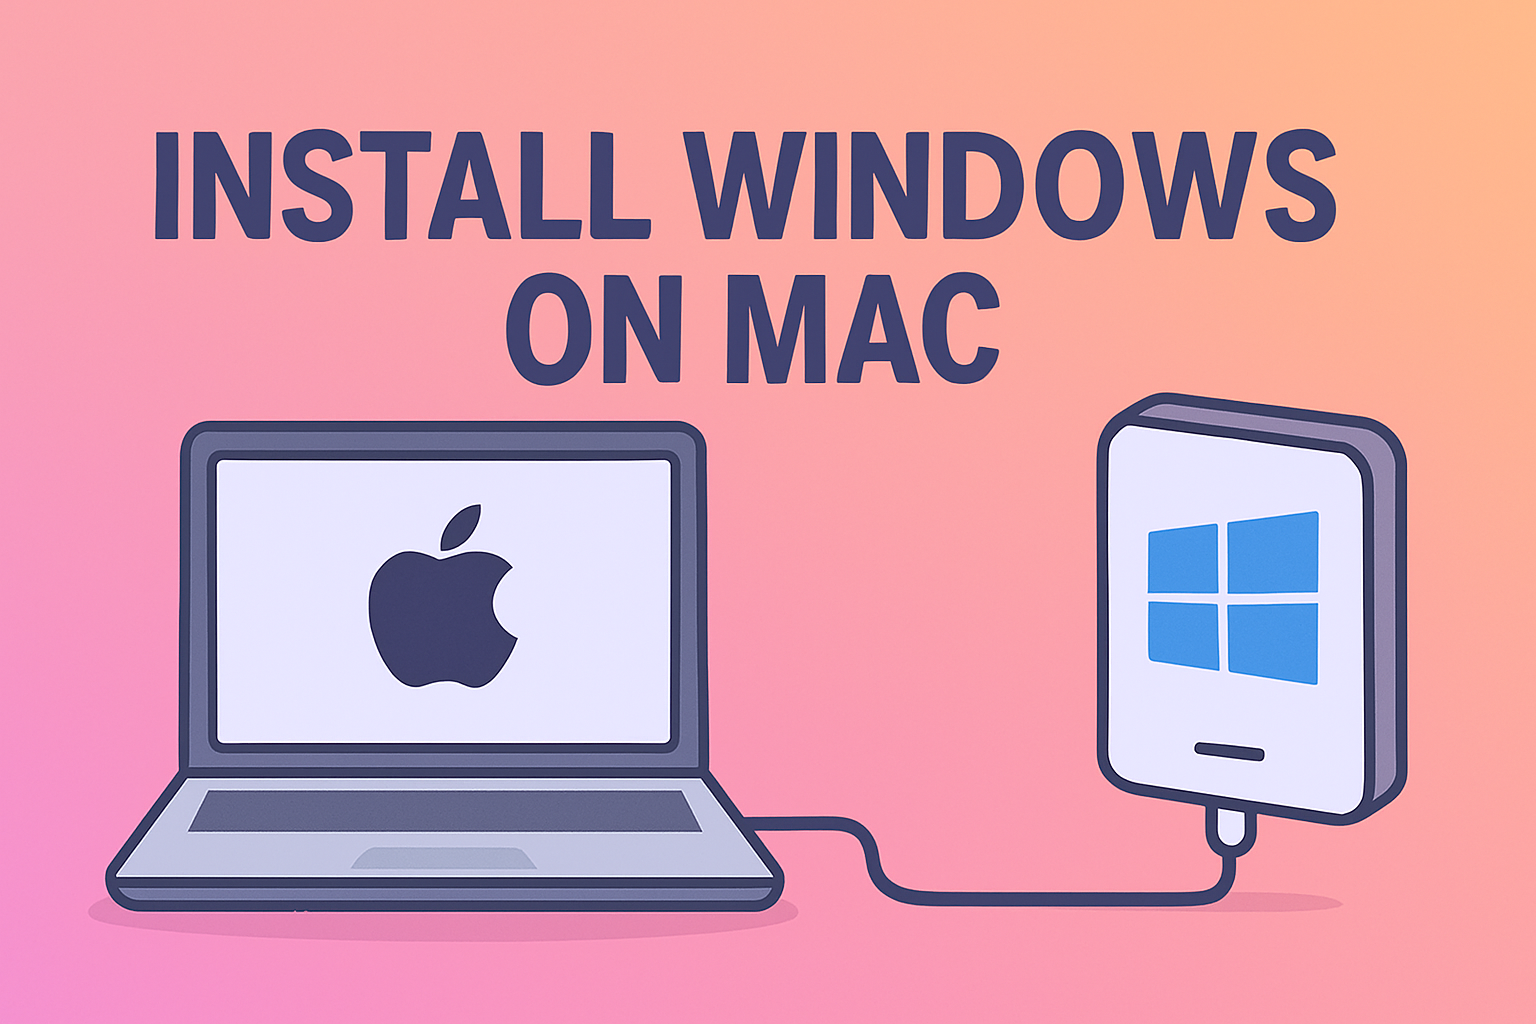
Want to know how to install Windows on Mac without breaking your workflow or risking data loss? Whether you’re a cybersecurity head, IT manager, or tech-savvy founder, running Windows on Mac can give you flexibility for testing, compatibility, or app support. In this detailed post, we’ll explain methods using Boot Camp (for Intel Macs), virtualization (for Apple Silicon and safety), troubleshooting, and security best practices so your dual-boot setup is smooth and stable.
Why You Might Need Windows on a Mac
Before we dive into the “how,” it helps to see why people do this:
-
Some enterprise tools, security scanners, or legacy apps only run on Windows.
-
You may need to test cross-platform behavior, compliance, or vulnerability tools.
-
For mixed teams or DevOps, having both Windows and macOS on the same hardware can reduce cost and complexity.
-
Certain games or GPU workloads still perform better under native Windows.
But doing this the wrong way can lead to driver issues, boot failures, and even security vulnerabilities. So let’s walk through the best approaches.
Understand Your Mac — Intel vs. Apple Silicon
Your Mac architecture drives which methods are available:
| Mac Type | Windows Support Method | Notes |
|---|---|---|
| Intel Mac | Boot Camp + native install | Official Apple method via Boot Camp Assistant |
| Apple Silicon (M1/M2/M3 etc.) | Virtualization (Parallels, UTM, VMware) | Boot Camp is not supported on Apple Silicon Macs |
| Older Intel Macs without TPM | Install Windows 10 then upgrade, or use registry workaround | TPM requirement may block Windows 11 install |
So your first step is to check what kind of Mac you have — whether it’s Intel-based or Apple Silicon — and then choose an appropriate installation path.
Method 1: Boot Camp (For Intel Macs Only)
Boot Camp is Apple’s built-in utility that helps partition your Mac’s drive and support dual-boot with Windows.
Step-by-Step Boot Camp Installation
-
Backup First
Always back up your macOS system and critical data before repartitioning. -
Download Windows ISO
Get the Windows 10 or Windows 11 ISO from Microsoft’s official site. -
Open Boot Camp Assistant
Launch Boot Camp Assistant in macOS (Applications → Utilities).
Choose the ISO, choose how much space to allocate for Windows (e.g. 80–120 GB). -
Partition and Install
Boot Camp will create a Windows partition and reboot into Windows installer.
Follow the Windows setup steps to install on the newly created partition. -
Install Boot Camp Drivers
After Windows boots, Boot Camp will prompt you to install drivers (Wi-Fi, trackpad, GPU etc.). If driver installation fails, you may need to download the Windows Support Software (Boot Camp drivers) manually. -
Reboot & Select OS
Use the Option (Alt) key at startup to choose between macOS and Windows.
Tips & Cautions for Boot Camp Approach
-
Windows 11 compatibility: Many Macs don’t have TPM. Some Intel Macs cannot pass Windows 11’s check without tweaks.
-
Drive space: Over-provision for future updates and software.
-
Data safety: Always keep backups; Windows updates or errors may affect partitions.
-
Driver updates: Apple occasionally updates Boot Camp drivers; keep them current to avoid hardware issues.
Method 2: Virtualization (Best for Apple Silicon, Also works on Intel)
When Boot Camp is not viable (Apple Silicon Macs) or you want to run both OSes side by side, virtualization is your go-to.
Popular Virtualization Tools
-
Parallels Desktop — polished GUI, good performance, supports Windows 11 on Apple silicon
-
VMware Fusion — mature option, sometimes free for personal use
-
UTM / QEMU — open-source, works well on Apple Silicon for ARM Windows
Steps for Virtual Install
-
Obtain Windows ISO
For Apple Silicon, use the ARM version of Windows or a compatible build. -
Install VM Tool & Create Virtual Machine
Use Parallels, VMware Fusion, or UTM to create a new VM and point it to your Windows ISO. -
Configure Resources
Allocate CPU cores, RAM, and disk storage (e.g. 4 cores, 8 GB RAM, 80–120 GB disk). -
Install Windows Inside VM
Run through the Windows installer just as on a normal PC. -
Install Guest Tools / Integration Features
These enable shared clipboard, file sharing, graphics drivers, etc.
Pros & Limits of Virtualization
-
Pros: Easy switching between OS, no reboot required, safer for testing.
-
Cons: Overhead reduces performance vs. native install. GPU acceleration may be limited. Some apps (e.g. anti-cheat games) may not run properly in VM.
Troubleshooting & Edge Cases
If Boot Camp Driver Installation Fails
-
Manually download Boot Camp support software and run driver setup in Windows
-
Check USB drive format and compatibility
-
Use Admin privileges inside Windows for the installer
Windows 11 & TPM Issues
Since Macs typically lack TPM modules, direct Windows 11 installation may fail. To bypass:
-
Install Windows 10 via Boot Camp, then upgrade to Windows 11 using registry bypass or allow unsupported install options.
-
In VM software, enable a virtual TPM if available (e.g. Parallels), or choose Windows 10 or ARM builds that don’t require TPM.
Performance Issues in VM
-
Increase allocated RAM / CPU
-
Enable hardware virtualization in VM settings
-
Use SSD or fast NVMe disk
-
Adjust VM graphics / resource settings for better performance
Security & Best Practices
Running Windows on a Mac introduces new security considerations.
-
Always keep both OSes and drivers updated.
-
Use separate antivirus / endpoint protection for Windows.
-
In dual-boot, avoid sharing sensitive macOS systems with Windows partitions and vice versa.
-
Use strong passwords, enable encryption (BitLocker on Windows, FileVault on macOS).
-
In VMs, isolate snapshots and avoid bridging network interfaces unless necessary.
-
Limit admin privileges in both environments to reduce risk exposure.
Real-World Use Cases
-
Developers / testers: Validate patches or products on Windows without needing a separate PC.
-
Security teams: Analyze malware or tools in an isolated VM environment.
-
Cross-platform workloads: Use macOS for design or UNIX tasks and Windows for enterprise tools.
-
Gaming / GPU tasks: On Intel Macs via Boot Camp get near-native GPU performance.
FAQ — Common Questions
Q1: Can I install Windows on Apple Silicon with Boot Camp?
No — Boot Camp is not supported on M1/M2/M3 Macs. Virtualization is the recommended approach.
Q2: Do I need a Windows license?
Yes — regardless of method (Boot Camp or VM), you must have a valid Windows license or activation key.
Q3: Will hardware components work properly?
In Boot Camp on Intel Macs, yes, once you install drivers. In VM, some devices (GPU / peripherals) may not have full access or performance.
Q4: Is it safe to dual-boot?
Yes, when done carefully with backups and correct partitioning, but there’s some inherent risk to partitioning and bootloader modifications.
Q5: Can I uninstall Windows later?
Yes — Boot Camp Assistant lets you restore to a single macOS partition. In VM, you just delete the virtual machine file.
Conclusion & Next Steps
Running Windows on your Mac — whether via Boot Camp on Intel Macs or virtualization on Apple silicon — gives you flexibility and compatibility without needing extra hardware. By understanding how to install Windows on Mac, choosing the right method for your system, and applying best practices, you can enjoy both ecosystems side by side securely.
To get started today:
-
Identify whether you have an Intel or Apple silicon Mac.
-
Choose Boot Camp (if Intel) or a VM method.
-
Back up your data, then follow the setup steps carefully.
-
Patch drivers, install guest tools, and test performance.
-
Keep both systems patched, encrypted, and backed up.
Ready to manage endpoints, OS deployments, and secure dual-boot setups at scale?
Sign up with Itarian and empower your infrastructure with unified endpoint control.


