Boosting Your PC’s Performance with a RAM Upgrade
Updated on October 30, 2025, by ITarian
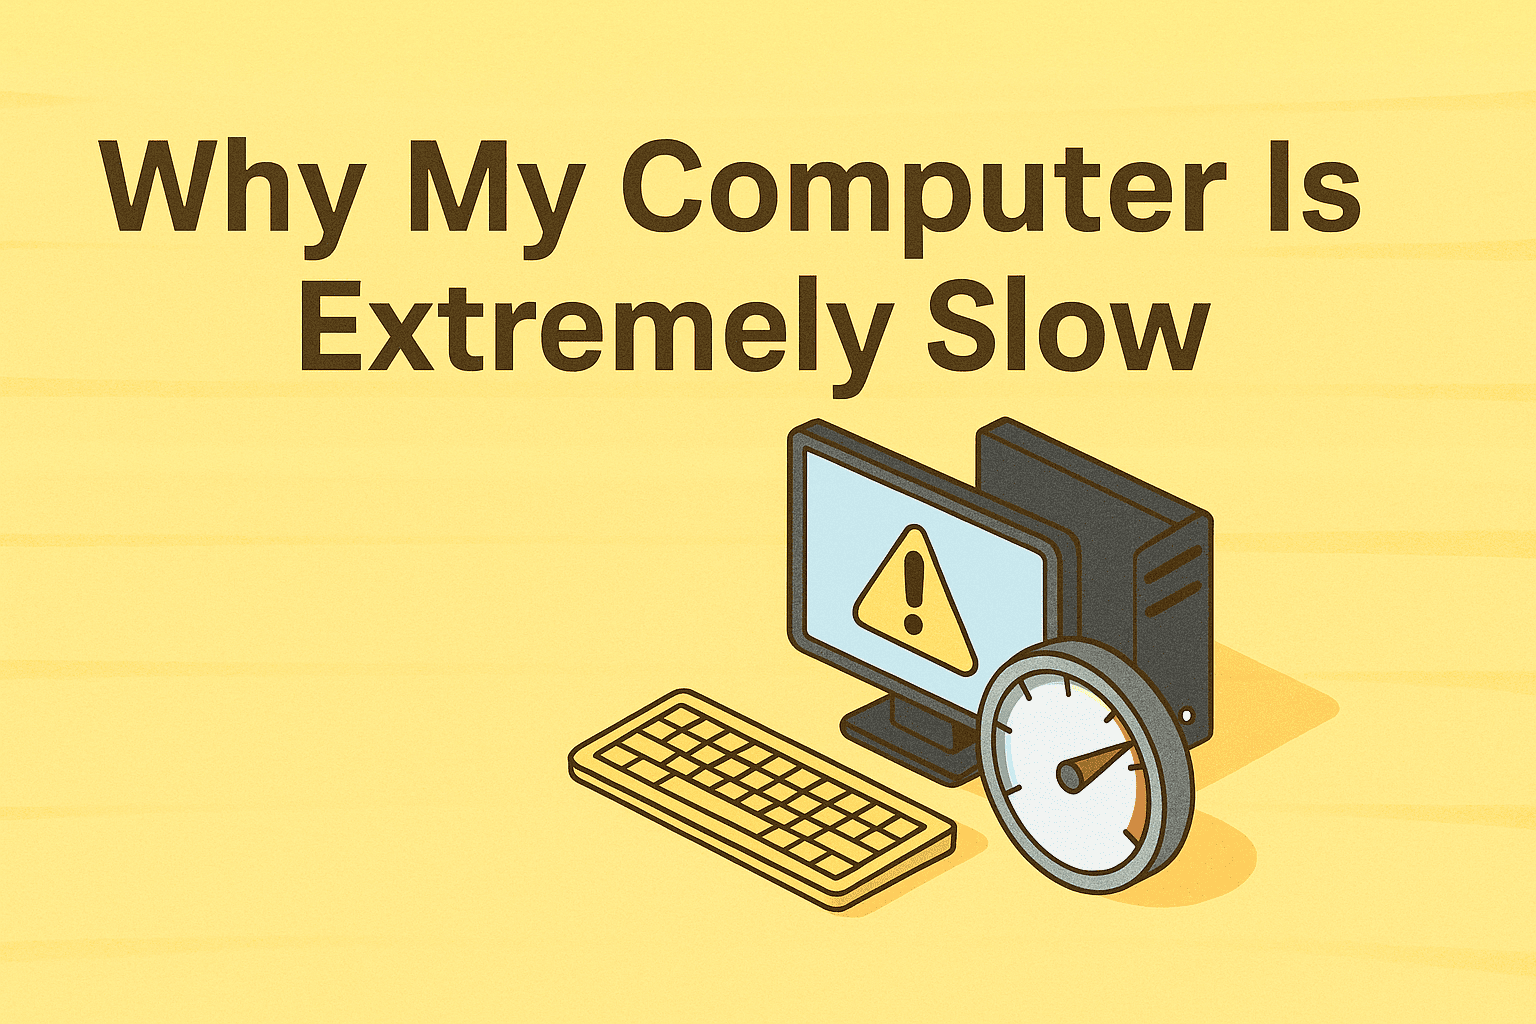
Is your computer slowing down when running multiple programs or security tools? If you’ve noticed lag, freezing, or slow load times, it may be time to upgrade your memory. Learning how to install RAM in PC is one of the easiest and most cost-effective ways to improve performance, speed up workflows, and handle demanding tasks like cybersecurity analysis, virtualization, and endpoint monitoring.
Whether you’re an IT manager upgrading systems, a cybersecurity specialist running multiple VMs, or a CEO looking to boost productivity, upgrading and installing new RAM can make a dramatic difference in performance. This comprehensive guide covers everything you need to know—from preparation and compatibility checks to safe installation and testing.
Why Installing RAM Can Transform Your PC
RAM (Random Access Memory) is your computer’s short-term data storage, allowing it to quickly access files and applications. When your system runs out of available RAM, it begins using the hard drive as temporary memory—a much slower process.
Key Benefits of Installing New RAM:
-
Faster Performance: Adding more RAM reduces lag and increases responsiveness.
-
Improved Multitasking: Run several programs simultaneously without slowdown.
-
Enhanced Cybersecurity Tools Performance: Security software and virtual machines run more smoothly with additional memory.
-
Extended System Lifespan: Upgrading RAM delays the need for a complete system replacement.
For professionals dealing with multiple browser tabs, complex software, or cybersecurity tools like endpoint monitoring, RAM is a vital performance enhancer.
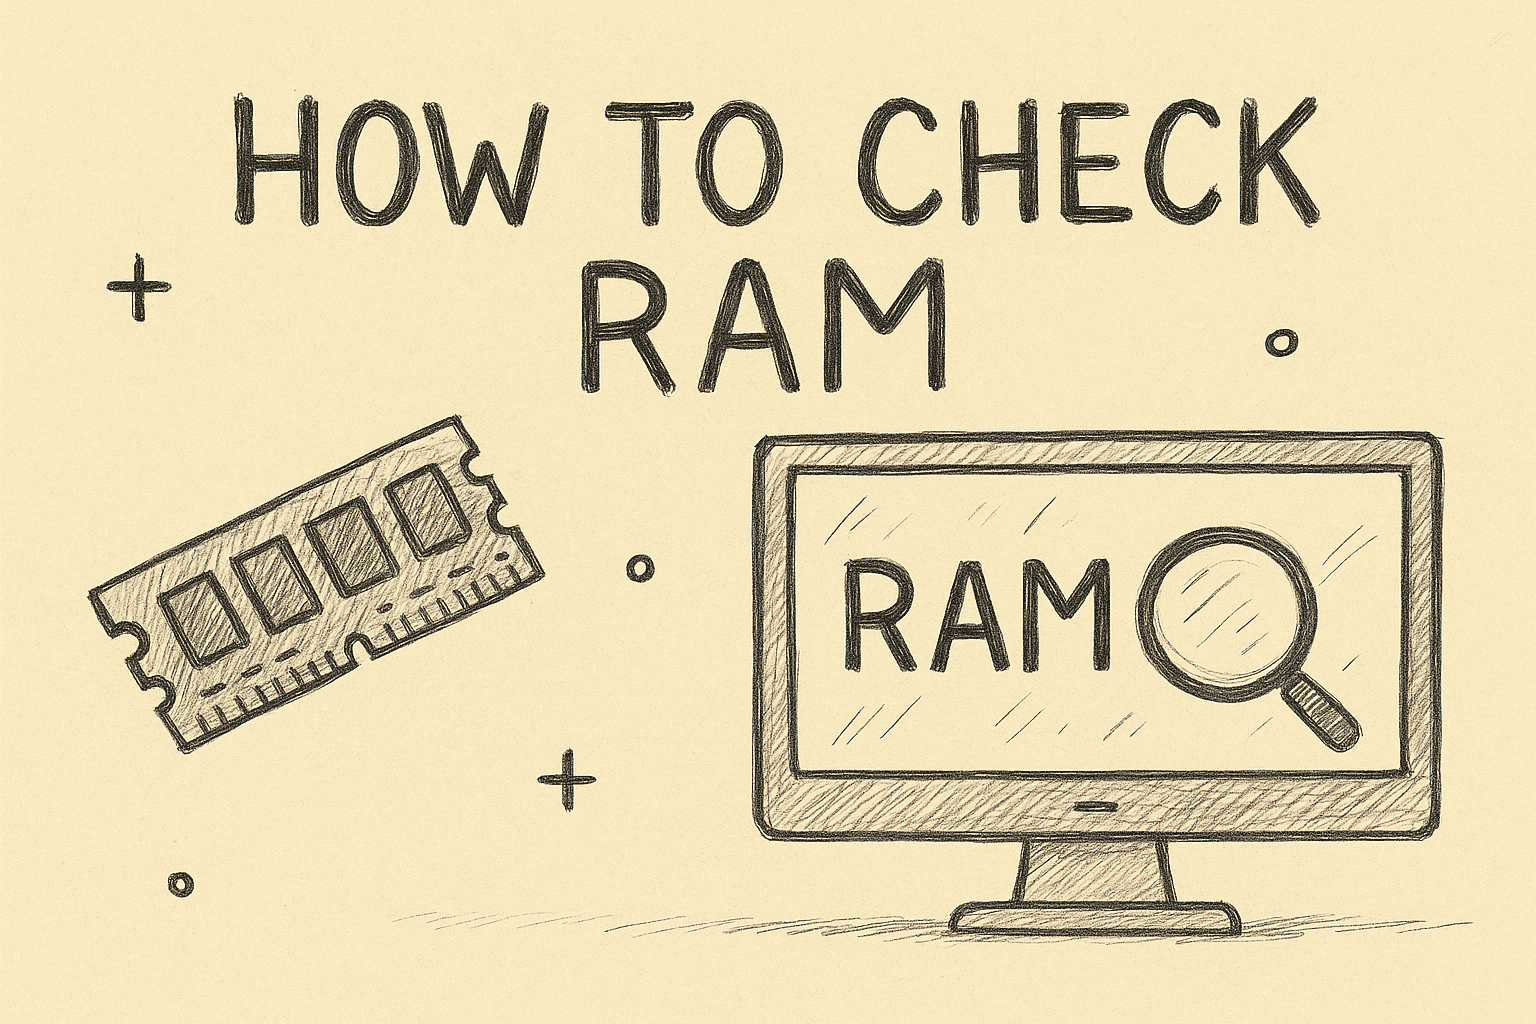
Step 1: Check How Much RAM You Currently Have
Before you learn how to install RAM in PC, it’s important to know how much memory is currently installed and how much your system supports.
Check RAM on Windows:
-
Press Ctrl + Shift + Esc to open Task Manager.
-
Go to the Performance tab.
-
Select Memory to see:
-
Installed RAM
-
Memory speed (MHz)
-
Number of slots used
-
Available upgrade slots
-
Alternatively, type systeminfo in Command Prompt to view hardware details.
Check RAM on macOS or Linux:
-
macOS: Click Apple menu → About This Mac → Memory.
-
Linux: Open Terminal and type
free -horcat /proc/meminfo.
Step 2: Determine Compatible RAM for Your PC
Not all RAM modules are the same. Compatibility depends on your motherboard, CPU, and RAM type.
Types of RAM:
-
DDR3: Older systems (pre-2016).
-
DDR4: Common in modern systems.
-
DDR5: Found in the latest high-performance PCs.
You can’t mix different DDR generations, so check your system’s specifications before buying.
How to Check Compatibility:
-
Visit your PC or motherboard manufacturer’s website.
-
Look for your model and find the maximum supported RAM and RAM type.
-
Use tools like:
-
Crucial System Scanner
-
CPU-Z (Windows)
-
Speccy
-
Important Compatibility Factors:
-
Form Factor:
-
DIMM (Desktop PCs)
-
SO-DIMM (Laptops and compact builds)
-
-
Clock Speed: Match or exceed the existing speed (e.g., 2666MHz, 3200MHz).
-
Channel Configuration: Dual-channel (two modules) improves performance compared to single-channel setups.
Step 3: Preparing for the Installation
Before opening your PC, make sure you have the right tools and take necessary precautions to protect your hardware.
You’ll Need:
-
Compatible RAM modules
-
A small Phillips screwdriver
-
Anti-static wrist strap or metal surface for grounding
-
Clean workspace with good lighting
Preparation Steps:
-
Shut down your PC completely.
-
Unplug all cables, including power cords.
-
Hold the power button for 10 seconds to discharge remaining power.
-
If you’re working on a laptop, remove the battery (if possible).
Step 4: Open Your PC Case
For Desktop PCs:
-
Lay the tower on its side.
-
Use a screwdriver to remove the screws from the side panel.
-
Carefully slide the panel off to expose the motherboard.
For Laptops:
-
Unscrew the back cover or the dedicated memory panel.
-
Keep the screws organized for reassembly.
Step 5: Locate the RAM Slots
RAM slots are located near the CPU socket on the motherboard. They’re typically labeled as DIMM1, DIMM2, DIMM3, DIMM4.
If all slots are occupied, you’ll need to remove existing modules to make space. Otherwise, you can simply add new ones to the empty slots.
Step 6: Remove Existing RAM (If Necessary)
-
Push the locking clips on both ends of the RAM slot outward.
-
The module will pop up slightly.
-
Gently pull it out by holding the edges—avoid touching the gold connectors.
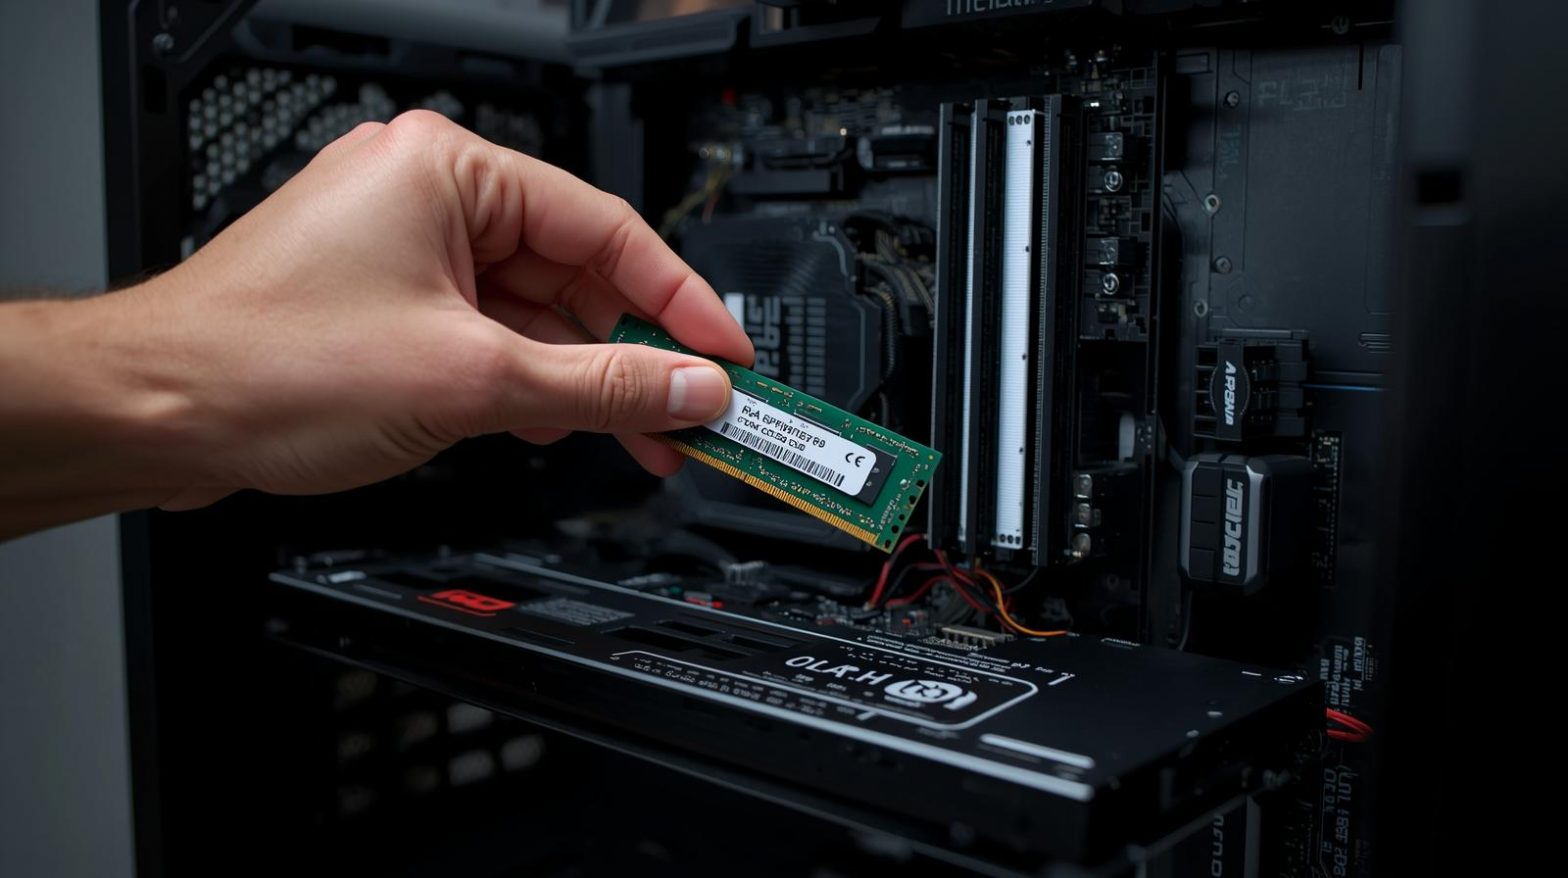
Step 7: Install the New RAM
Now comes the most critical part—installing the new module correctly.
Steps to Install RAM in PC:
-
Align the Notch: Each RAM stick has a notch that matches the slot on your motherboard.
-
Insert at an Angle: Place the module into the slot at a 30-degree angle.
-
Apply Firm Pressure: Push down evenly until both locking clips snap into place.
You’ll hear a “click” when the RAM is seated properly.
Step 8: Reassemble and Boot Up
-
Replace the side panel or laptop cover.
-
Reconnect power cables and peripherals.
-
Power on your system.
If installed correctly, your computer should boot normally. If not, check the troubleshooting section below.
Step 9: Verify the RAM Installation
Once your PC starts, verify that the new memory is detected.
On Windows:
-
Open Task Manager → Performance → Memory.
-
Check the Installed memory (RAM) and Slots used.
On BIOS/UEFI:
-
Restart your computer.
-
Press the appropriate key (F2, Delete, or Esc) to enter BIOS.
-
Look under System Information or Memory Configuration to verify the total installed memory.
Troubleshooting RAM Installation Issues
If your PC doesn’t boot or displays errors, don’t panic. RAM installation issues are common and usually easy to fix.
1. Check Seating
Remove and reinsert the RAM firmly into the slot. Ensure the clips are locked properly.
2. Try Different Slots
If you installed two modules, try alternating them between slots (e.g., use slots 1 and 3).
3. Clear CMOS
Reset BIOS settings by removing the CMOS battery for 30 seconds or using the Clear CMOS jumper on the motherboard.
4. Update BIOS
Some motherboards require a BIOS update to support new RAM. Visit the manufacturer’s website to download the latest firmware.
5. Test Each Stick Individually
To rule out faulty RAM, test each stick in isolation.
Performance Improvements After Installing RAM
After you learn how to install RAM in PC, you’ll notice immediate improvements in performance and efficiency.
1. Faster Multitasking
Open multiple browsers, documents, and applications without slowdown.
2. Smoother Cybersecurity Operations
Running antivirus tools, virtual labs, or endpoint detection software becomes seamless.
3. Enhanced Productivity
Data-intensive tasks like video editing, programming, and encryption analysis load faster.
4. Better Virtual Machine Management
For IT professionals, more RAM means smoother virtualization environments and faster testing cycles.
5. System Longevity
Adding RAM prolongs your PC’s lifespan and reduces wear on SSDs used for memory paging.
Understanding RAM Configuration (Dual Channel, Speeds, and Timings)
Optimizing RAM setup ensures you get the best possible performance.
1. Dual Channel Setup
-
Install RAM in matched pairs for maximum bandwidth.
-
Use slots recommended by your motherboard manual (typically 2 and 4).
2. RAM Speed
-
Faster MHz means quicker data transfer rates.
-
Check your motherboard’s maximum supported speed before upgrading.
3. CAS Latency (CL)
Lower CL values mean faster response times. For professionals, choosing low-latency RAM ensures smooth multitasking.
How Installing RAM Impacts Security and IT Efficiency
In enterprise and cybersecurity contexts, RAM plays a critical role in overall system performance.
1. Enhanced Security Tool Performance
Antivirus, EDR (Endpoint Detection and Response), and firewalls process data in real time—extra memory reduces lag and improves responsiveness.
2. Reduced System Vulnerabilities
Slow systems often skip updates or stall during patching. More RAM ensures timely updates and consistent protection.
3. Efficient Monitoring
Security dashboards, log analyzers, and network scanners can run concurrently without performance degradation.
4. Improved Virtualization for Testing
Cybersecurity professionals often use virtual environments for testing malware or incident simulations. More memory means smoother and safer testing.
Frequently Asked Questions (FAQ)
1. Can I mix different RAM sizes or brands?
Yes, but it’s best to use identical modules for stability and dual-channel performance.
2. How do I know if my PC supports DDR5 RAM?
Check your motherboard’s specifications online or use tools like CPU-Z. DDR5 is only compatible with modern motherboards.
3. Will installing RAM void my warranty?
In most cases, no. However, some prebuilt systems require authorized service for upgrades. Check your warranty policy first.
4. How much RAM do I need for work or cybersecurity?
-
8 GB: Light use and office work.
-
16 GB: Recommended for most professionals.
-
32 GB or more: For cybersecurity labs, virtualization, or heavy software workloads.
5. My PC still feels slow after installing RAM. Why?
Check for other bottlenecks like CPU, HDD, or software issues. Upgrading to an SSD can complement your RAM upgrade.
Final Thoughts
Learning how to install RAM in PC is one of the most practical upgrades any user can perform. It boosts speed, enhances stability, and ensures your system can handle demanding workloads—especially in cybersecurity, IT management, and enterprise applications.
Upgrading RAM is a small investment that pays off with long-term performance and security benefits. Take the time to check compatibility, follow safety steps, and enjoy a faster, more reliable computing experience.
Want to combine high-performance hardware with strong endpoint protection?
Start your free trial with ITarian today.