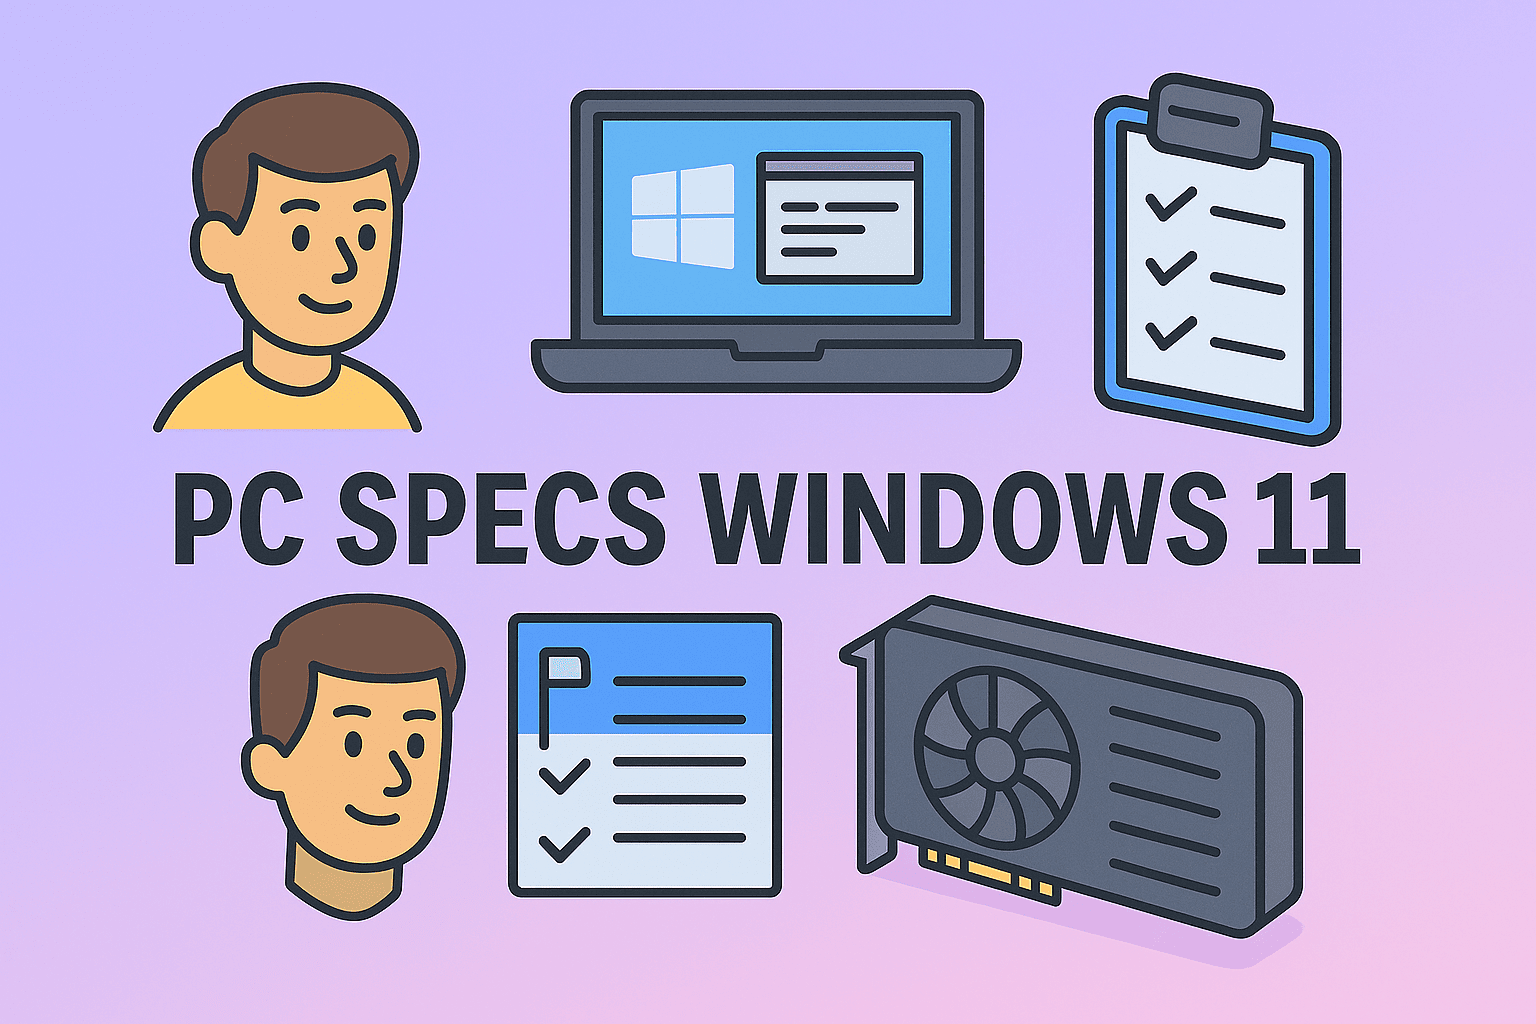
Understanding Your System: Checking PC Specs in Windows 11
Updated on October 3, 2025, by ITarian
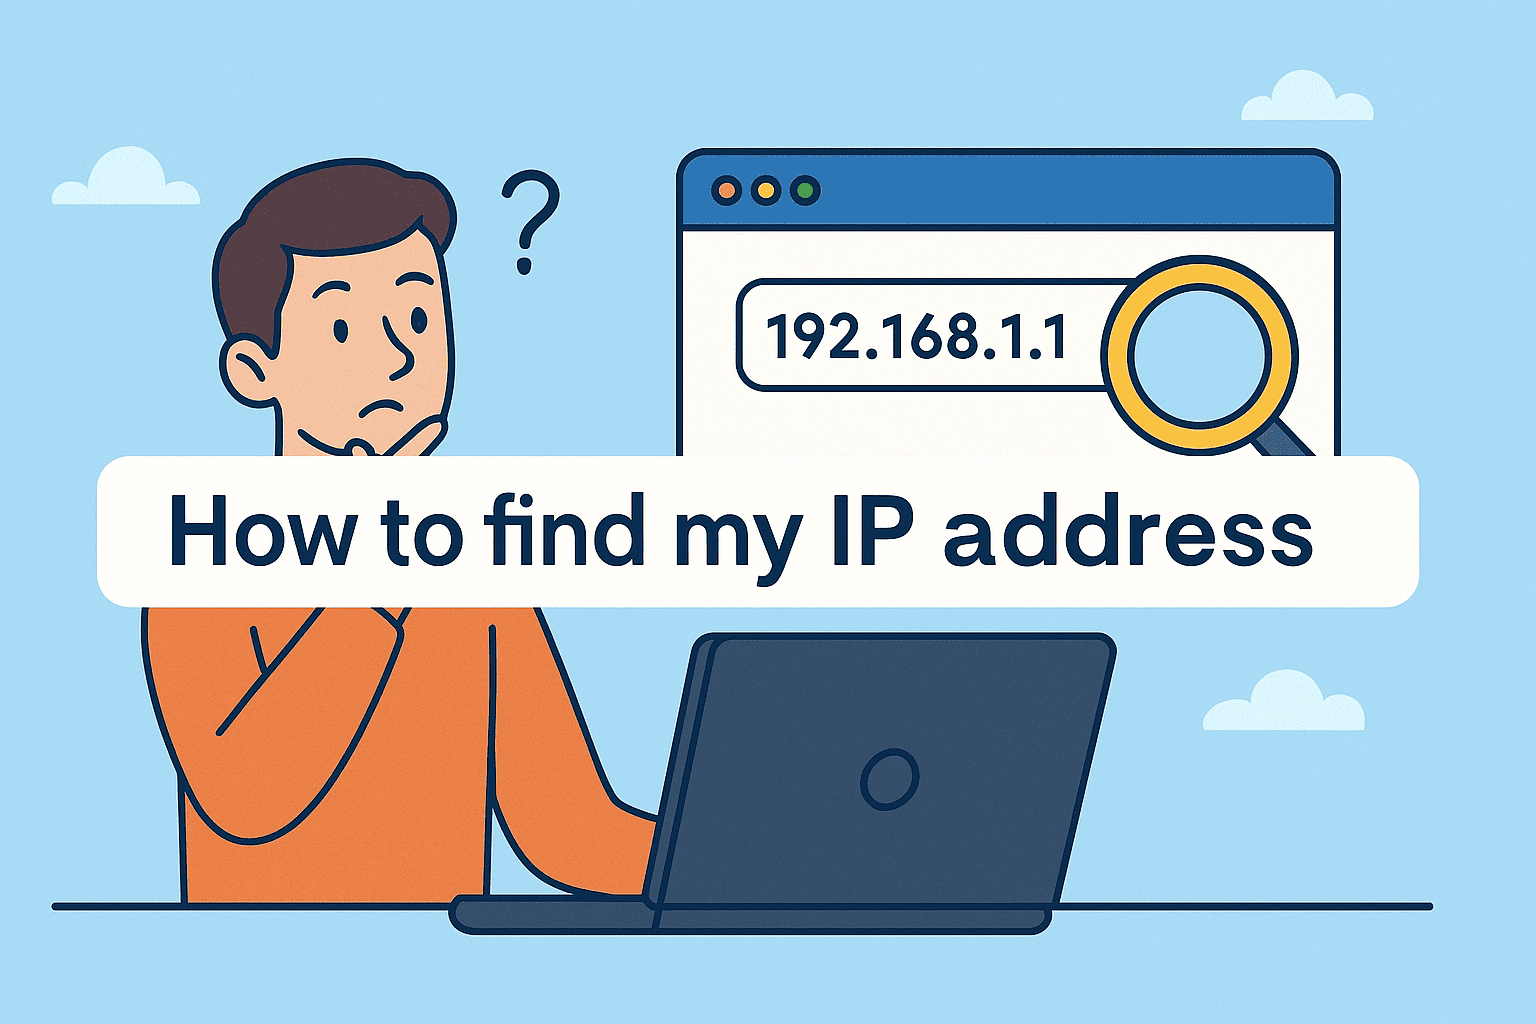
When was the last time you looked at your computer’s specs? Whether you’re troubleshooting performance issues, upgrading hardware, or assessing system compatibility for enterprise software, knowing how to check PC specs Windows 11 is essential.
From CPU power and RAM capacity to graphics performance and system type, your PC’s specifications determine how efficiently you can run complex applications, cybersecurity tools, and cloud-based workloads.
This article walks you through various methods to check your PC specs in Windows 11 — using system settings, command-line tools, and third-party utilities — while also explaining why this knowledge matters in professional IT and security contexts.
Why Checking PC Specs Is Important
Before diving into the steps, let’s look at why understanding your computer’s specifications matters — especially for IT leaders and cybersecurity experts.
1. Performance Optimization
Knowing your specs helps identify performance bottlenecks. If your system lags, you can determine whether RAM, CPU, or storage speed is the issue.
2. Software Compatibility
Many professional tools — like endpoint protection software or virtual machines — require minimum system specifications. Checking specs ensures compatibility.
3. Security Readiness
Hardware support impacts security features like Secure Boot, TPM 2.0, and BitLocker encryption, which are vital in Windows 11 enterprise deployments.
4. Upgrade Planning
Understanding what hardware you have helps when planning upgrades (e.g., adding more RAM or switching to SSD storage).
5. Asset Management for Businesses
For IT administrators, verifying specs helps manage and standardize systems across departments for consistent security policies and performance.
How to Check PC Specs in Windows 11
Let’s explore several easy and advanced ways to check your computer’s specifications in Windows 11.
Method 1: Using System Settings
The Settings app in Windows 11 provides a quick overview of your device specs.
Steps:
-
Press Windows + I to open Settings.
-
Go to System → About.
-
Under Device specifications, you’ll find:
-
Processor (CPU type and speed)
-
Installed RAM
-
Device name and system type (e.g., 64-bit operating system)
-
-
Scroll down to Windows specifications for:
-
Edition (e.g., Windows 11 Pro)
-
Version and build number
-
Ideal for: Quick checks on CPU, RAM, and OS version.
Method 2: Using System Information (msinfo32)
This tool provides detailed system data in a single interface.
Steps:
-
Press Windows + R to open the Run dialog.
-
Type
msinfo32and hit Enter. -
The System Information window opens.
Here you can view:
-
Processor and BIOS version
-
Baseboard (motherboard)
-
Installed physical memory (RAM)
-
Available virtual memory
-
Boot mode (UEFI or Legacy)
-
Secure Boot state
You can also export this information for recordkeeping or asset audits by selecting File → Export.
Ideal for: IT managers performing audits or troubleshooting system performance.
Method 3: Using Command Prompt (cmd)
For professionals who prefer command-line tools, this is one of the fastest ways to retrieve hardware data.
Steps:
-
Press Windows + R, type
cmd, and press Enter. -
Enter the following command:
-
Wait a few seconds for details to populate.
This command lists:
-
Processor architecture
-
Total physical and virtual memory
-
System manufacturer and model
-
BIOS and Windows build version
Tip: Redirect output to a text file for documentation:
Ideal for: System administrators collecting data remotely or through scripts.
Method 4: Using PowerShell
PowerShell offers more flexible querying for system details.
Steps:
-
Press Start, type PowerShell, and run it as Administrator.
-
Type the command:
This lists detailed specs, including:
-
OS build, manufacturer, and model
-
BIOS details
-
Processor information
-
Memory statistics
-
For a simpler view, try:
Ideal for: Advanced users, IT teams, and cybersecurity analysts automating audits.
Method 5: Using DirectX Diagnostic Tool (dxdiag)
If you’re checking graphics and sound performance, the DirectX Diagnostic Tool is perfect.
Steps:
-
Press Windows + R.
-
Type
dxdiagand hit Enter. -
Check the System tab for CPU, memory, and DirectX version.
-
View the Display tab for graphics card information.
You can also click Save All Information to export a report.
Ideal for: Gamers, multimedia professionals, and engineers checking GPU compatibility.
Method 6: Using Task Manager
Windows 11’s Task Manager gives a real-time view of system specs and resource usage.
Steps:
-
Press Ctrl + Shift + Esc to open Task Manager.
-
Click the Performance tab.
-
Select hardware components on the left panel (CPU, Memory, GPU, Disk).
You’ll see:
-
CPU model, base speed, and cores
-
Memory size and usage
-
GPU model and dedicated memory
-
Disk type (SSD or HDD)
Ideal for: Monitoring performance and resource allocation in real time.
Method 7: Using Windows Terminal (For Professionals)
Windows Terminal integrates Command Prompt and PowerShell, allowing you to run both environments.
Steps:
-
Press Windows + X → Windows Terminal (Admin).
-
Use commands like:
or
This consolidates critical details useful for compliance and device monitoring.
Method 8: Using Third-Party Tools
For deeper insights or visual representations, consider specialized tools like:
-
CPU-Z – Provides details about processor, motherboard, and memory.
-
Speccy – Summarizes all components, including temperature sensors.
-
HWMonitor – Ideal for checking thermal performance and voltage.
Caution: Always download tools from official sources to prevent malware risks.
Understanding the Key PC Specs You Should Check
When analyzing your computer, focus on these core specifications that influence speed, security, and compatibility.
1. Processor (CPU)
Determines how fast your computer executes instructions.
-
Check the generation and core count for multitasking performance.
2. Memory (RAM)
Impacts system responsiveness and multitasking capacity.
-
Windows 11 runs best with 8GB or more.
3. Storage (HDD/SSD)
Affects data read/write speed.
-
SSDs drastically improve performance compared to traditional hard drives.
4. Graphics (GPU)
Important for visual workloads, design, and machine learning.
5. Motherboard & BIOS
Influences hardware compatibility, TPM, and Secure Boot support — key elements in enterprise security.
6. System Type (32-bit or 64-bit)
Defines software compatibility.
Most modern systems use 64-bit architecture.
Checking PC Specs for Security Compliance
In enterprise cybersecurity, hardware specifications often determine whether systems meet compliance and security standards.
For example:
-
TPM 2.0: Required for Windows 11’s hardware-level encryption.
-
UEFI Boot Mode: Ensures Secure Boot functionality.
-
Hardware Virtualization: Needed for sandboxing and malware isolation.
To check these:
-
Open System Information (msinfo32).
-
Look for Secure Boot State and TPM version.
Ensuring these settings are active helps maintain endpoint integrity and reduces attack vectors.
Checking PC Specs for Remote Devices
In large organizations, manually checking each computer isn’t practical. IT administrators can use centralized management platforms to gather and monitor device specs remotely.
Automation tools and scripts can:
-
Retrieve system information from endpoints.
-
Audit hardware readiness for software deployment.
-
Ensure compliance with enterprise policies.
Platforms like Itarian’s endpoint management solutions allow IT teams to view, update, and secure devices from one dashboard.
How Often Should You Check Your PC Specs?
-
Before installing major updates or software.
-
When troubleshooting slow performance.
-
Before hardware upgrades.
-
During regular IT audits.
Regular checks ensure that systems remain compatible, secure, and optimized for current workloads.
Comparing Windows Tools for Checking Specs
| Tool | Ease of Use | Information Depth | Best For |
|---|---|---|---|
| Settings App | Easy | Basic | Quick overview |
| System Information (msinfo32) | Moderate | Detailed | Audits |
| Command Prompt / PowerShell | Advanced | Comprehensive | IT professionals |
| Task Manager | Easy | Real-time data | Monitoring performance |
| DirectX Diagnostic (dxdiag) | Moderate | Graphics-focused | Gamers / designers |
Common Issues and Fixes
1. Missing Hardware Details
-
Update BIOS or chipset drivers.
-
Use third-party software for deeper analysis.
2. Specs Not Matching Actual Hardware
-
Check for virtualization or hardware masking in virtual machines.
-
Verify via physical inspection or manufacturer’s website.
3. Limited Access for Users
-
Run system commands as Administrator.
-
Use Group Policy settings to enable access for IT staff.
Frequently Asked Questions (FAQs)
Q1. How do I find my computer’s RAM and processor details quickly?
Open Settings → System → About to view both CPU and installed RAM.
Q2. Can I check PC specs without logging into Windows?
Yes. Use the BIOS/UEFI interface during startup by pressing F2 or Del to view hardware information.
Q3. How do I check if my PC supports Windows 11?
Use Microsoft’s PC Health Check Tool, or look for TPM 2.0 and Secure Boot in System Information.
Q4. Is it safe to use third-party tools for checking specs?
Yes, as long as they are downloaded from official sites and verified by trusted vendors.
Q5. Can I export PC specs for reporting?
Yes. Use systeminfo > specs.txt in Command Prompt or the Export option in System Information.
Final Thoughts
Knowing how to check PC specs Windows 11 gives you better control over your device’s performance, security, and maintenance. Whether you’re diagnosing an issue, verifying compliance, or planning an upgrade, Windows provides multiple built-in tools to access detailed system information.
For organizations managing multiple endpoints, integrating automated monitoring ensures hardware readiness and consistent security across devices.
Take control of your systems today —
Start your free trial with Itarian to simplify device visibility, audits, and security management.