Mastering Screen Recording Across Devices
Updated on October 9, 2025, by ITarian
In today’s digital ecosystem, screen recording has become an essential tool for IT professionals, cybersecurity experts, and corporate leaders. Whether you’re creating security documentation, troubleshooting user issues, or preparing a presentation, knowing how do you turn on screen recording efficiently can save time and improve communication clarity.
Screen recording enables real-time visual documentation of system activities, demonstrations, and incidents—making it a cornerstone for training, audits, and digital compliance. From Windows and macOS to mobile platforms like iPhone and Android, this article explores how to activate and use screen recording effectively across all devices.
Understanding Screen Recording and Its Professional Applications
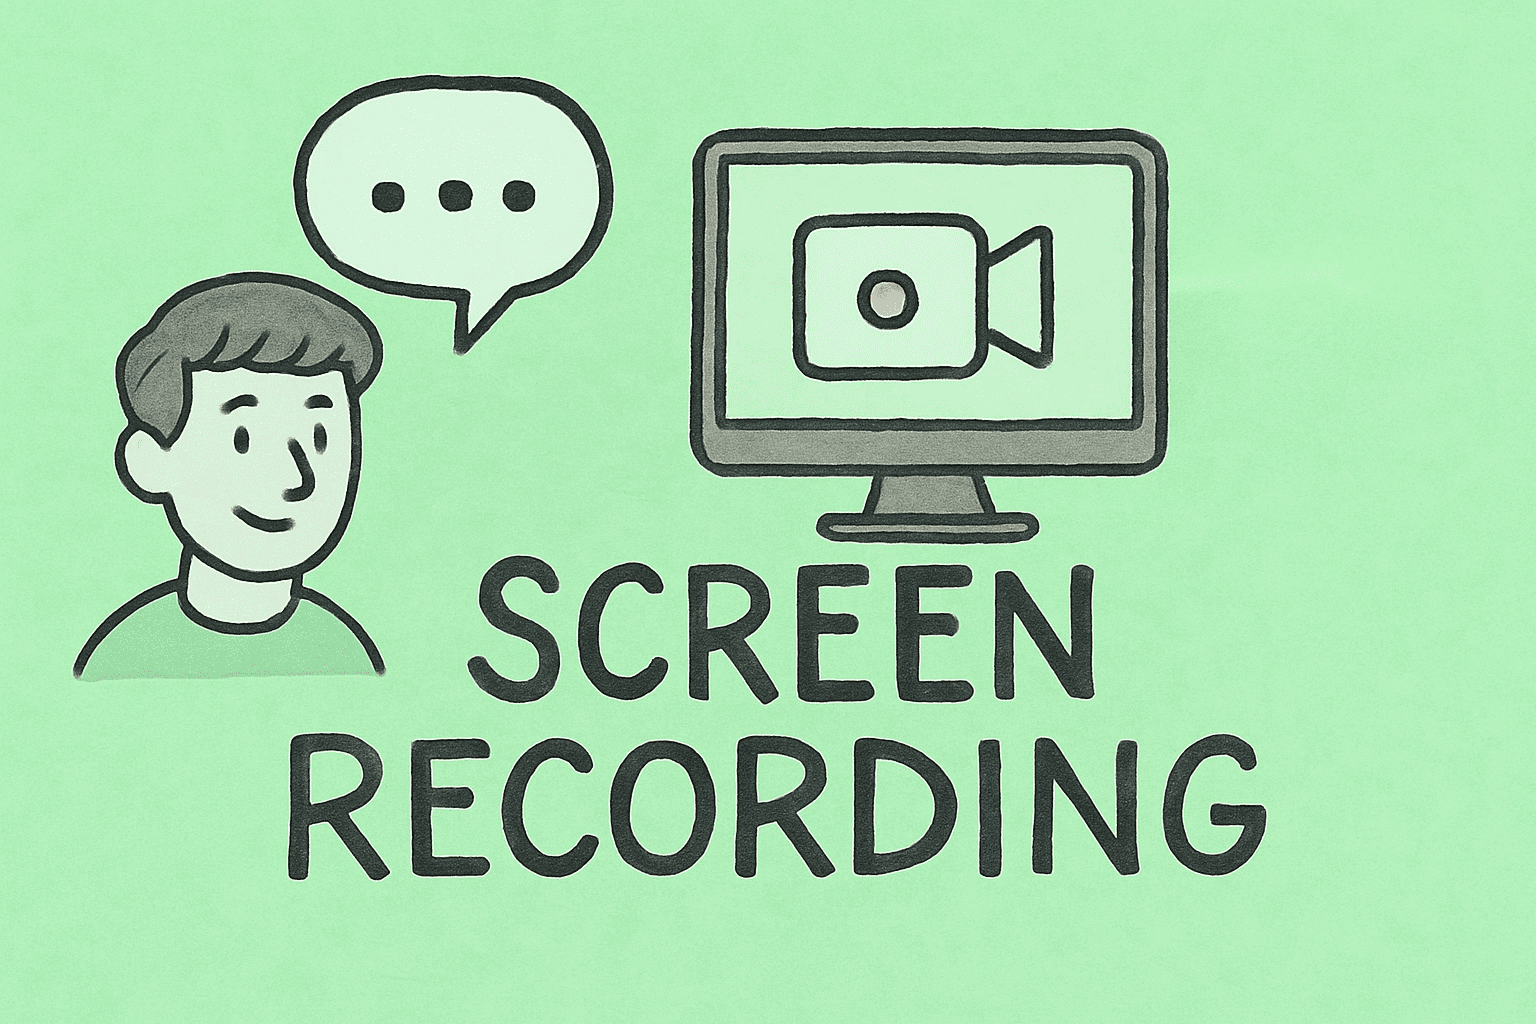
Screen recording allows users to capture everything that happens on their display, often including system audio and voice narration.
Key Professional Use Cases Include:
-
Cybersecurity Analysis: Record suspicious system behavior or unauthorized access attempts.
-
IT Support: Document issues for troubleshooting and user assistance.
-
Training & Onboarding: Create tutorials for software operations or internal tools.
-
Auditing & Compliance: Record workflows to verify standard operating procedures (SOPs).
By integrating screen recording into workplace processes, teams can enhance productivity, transparency, and security.
How Do You Turn On Screen Recording on Windows
Windows 10 and 11 come with a built-in feature called the Xbox Game Bar, which allows users to capture both gameplay and other on-screen activities.
Step-by-Step: Turn On Screen Recording in Windows
-
Press
Windows + Gto open the Xbox Game Bar. -
Click the Record (●) button in the Capture widget.
-
To start recording immediately, press
Windows + Alt + R. -
To stop recording, press the same shortcut again or click the stop icon.
Your recording will be automatically saved in the Videos > Captures folder.
Customizing Screen Recording Settings
To modify quality, frame rate, or audio:
-
Go to Settings → Gaming → Captures.
-
Adjust preferences such as:
-
Video frame rate: 30 fps or 60 fps.
-
Audio quality: Standard or high.
-
Background recording: Enables continuous capture in the background.
-
This level of control is ideal for IT audits or video-based documentation where clarity is essential.
Alternative Windows Screen Recording Tools
If you need more advanced features such as editing or annotation, consider:
-
OBS Studio – Open-source and great for professional recordings.
-
Camtasia – Offers integrated editing and narration tools.
-
Snagit – Perfect for creating tutorials and adding quick annotations.
Each tool supports enterprise-grade control for enhanced training and documentation processes.
How Do You Turn On Screen Recording on Mac
macOS makes screen recording straightforward with its built-in Screenshot Toolbar.
Using the Screenshot Toolbar
-
Press Command + Shift + 5.
-
A toolbar will appear with several options:
-
Record entire screen
-
Record selected portion
-
Capture still screenshots
-
-
Click Options to select:
-
Save location
-
Microphone input
-
Timer delay
-
-
Click Record to begin.
Once you finish, click the Stop button in the menu bar or press Command + Control + Esc.
Where Recordings Are Saved
By default, recordings are stored on your Desktop as .MOV files. However, you can change the save destination within the toolbar’s Options menu for better file organization—especially helpful in enterprise workflows.
Using QuickTime Player for Screen Recording
If you prefer traditional methods, QuickTime Player also allows manual control over screen recording:
-
Open QuickTime Player.
-
Go to File → New Screen Recording.
-
Click the Record button to start.
QuickTime offers optional microphone input, allowing you to narrate or add verbal explanations—an essential feature for training or remote troubleshooting.
How Do You Turn On Screen Recording on iPhone
Apple devices come with a built-in Screen Recording feature accessible through the Control Center.
Steps to Enable Screen Recording on iPhone
-
Go to Settings → Control Center.
-
Tap + next to Screen Recording to add it.
-
Swipe down from the upper-right corner (or up from the bottom on older models).
-
Tap the Record (●) icon.
To include audio:
-
Long-press the Record button and toggle Microphone On.
Recordings are automatically saved to the Photos app under Recents or Screen Recordings.
Professional Uses of iPhone Screen Recording
-
Mobile Security Testing: Capture app behavior for vulnerability analysis.
-
Remote Collaboration: Share real-time steps for mobile device troubleshooting.
-
Training Videos: Demonstrate mobile workflows for internal teams.
iPhones provide high-quality screen recording, making them a versatile tool for business operations and digital security environments.
How Do You Turn On Screen Recording on Android
Modern Android devices, especially those running Android 11 or later, include built-in screen recording features.
Steps to Activate Screen Recording:
-
Swipe down from the top to access the Quick Settings Panel.
-
Tap Screen Record (if not visible, add it using the edit icon).
-
Choose whether to record audio and show touches on screen.
-
Tap Start Recording.
When finished, tap Stop in the notification panel. The video is automatically stored in the Gallery or Photos app under Screen Recordings.
Customizing Android Screen Recording Options
Depending on the device brand (Samsung, Google, OnePlus, etc.), you can adjust:
-
Video resolution (720p or 1080p).
-
Frame rate for smoother playback.
-
Audio source (device, microphone, or both).
These controls ensure professionals maintain consistent recording quality across devices and use cases.
Best Practices for Screen Recording in Professional Settings
1. Maintain Security Compliance
Before recording, ensure no sensitive or personally identifiable information (PII) is visible. Redact or mask confidential data using editing tools.
2. Use High-Quality Audio and Video
Set resolution to 1080p or higher for clear visuals. For voiceovers, use an external microphone to improve sound quality.
3. Organize and Label Files Properly
Adopt a consistent naming convention such as:ProjectName_Date_Task_Recording.mp4
4. Store Recordings Securely
Use encrypted drives, secure cloud services, or enterprise content management platforms to prevent unauthorized access.
5. Edit Before Sharing
Trim unnecessary footage and highlight key moments using professional tools like Adobe Premiere, Camtasia, or DaVinci Resolve.
Implementing these practices ensures efficient collaboration and compliance with cybersecurity standards.
Troubleshooting Screen Recording Issues
1. Screen Recording Not Working
-
Windows: Restart Xbox Game Bar; verify “Record game clips” is enabled.
-
Mac: Grant permission under System Settings → Privacy & Security → Screen Recording.
-
Mobile: Ensure sufficient storage and update OS.
2. No Audio in Recording
-
Enable microphone input before recording.
-
Verify that the recording app has audio permissions.
3. File Too Large
-
Compress using tools like HandBrake or export in MP4 format.
4. Unable to Locate Saved Recordings
-
Check default folders:
-
Windows: Videos > Captures
-
macOS: Desktop
-
iPhone: Photos → Screen Recordings
-
Proper troubleshooting prevents workflow interruptions during critical documentation or compliance tasks.
Third-Party Screen Recording Tools for Professionals
When advanced functionality is required—such as annotations, editing, or multi-screen capture—third-party tools provide enhanced capabilities.
Recommended Applications:
-
OBS Studio: Free, open-source, suitable for enterprise streaming and security logging.
-
Camtasia: Ideal for training content, including animations and voiceover.
-
Snagit: Perfect for quick IT documentation and visual guides.
-
Loom: Cloud-based for easy collaboration across remote teams.
Each of these integrates with enterprise solutions for efficient communication and documentation management.
Integrating Screen Recording into Cybersecurity and IT Workflows
Screen recording is a vital asset for:
-
Incident Response: Capture live intrusion attempts or vulnerabilities.
-
Compliance Audits: Record proof of configurations and updates.
-
Training Programs: Demonstrate proper handling of tools and platforms.
-
Remote Troubleshooting: Provide visual context to technical issues.
By embedding screen recording into IT operations, organizations strengthen transparency, improve response times, and maintain verifiable audit trails.
FAQs on How Do You Turn On Screen Recording
1. Where is the screen recording feature located on my device?
It’s available in the Xbox Game Bar (Windows), Screenshot Toolbar (Mac), and Control Center (iPhone/Android).
2. Can I record both screen and audio?
Yes. Most platforms support system audio, microphone input, or both. Always enable this in settings before recording.
3. Is there a limit to recording duration?
Windows and macOS have no strict limits, but mobile devices may stop automatically due to storage or overheating.
4. How do I protect sensitive data while recording?
Use masking tools and store recordings in encrypted folders. Avoid displaying confidential data on-screen.
5. Can I edit recordings natively?
Mac and iPhone provide limited trimming options. For advanced editing, use professional software such as Camtasia or Adobe Premiere.
Conclusion
Understanding how do you turn on screen recording across platforms is a key digital skill in the professional world. From creating technical tutorials to documenting security incidents, it enhances communication, ensures accuracy, and supports compliance.
With built-in recording features available on Windows, Mac, iPhone, and Android, professionals can seamlessly capture and share visuals for audits, support, and education. When paired with proper security practices and organization, screen recording becomes a powerful productivity and cybersecurity tool.
Enhance Your IT Workflow and Security
Streamline your IT management and improve security visibility with intelligent endpoint solutions.
Sign up now at Itarian.com and experience smarter, safer, and more efficient IT operations.