Taking Screenshots on iMac Made Easy (2025 Edition)
Updated on August 7, 2025, by ITarian
Need to capture your screen to share data, save records, or document incidents? Whether you’re running a tech department, responding to a security alert, or reporting bugs, knowing how to take a screenshot on an iMac is a vital productivity skill.
From grabbing full-screen images to snapping precise windows or selected areas, macOS offers multiple ways to capture your display quickly and efficiently. In this comprehensive guide, we’ll show you how to use screenshot shortcuts, apps, and advanced tips to streamline your workflow—whether you’re an IT manager, cybersecurity analyst, or a C-level executive.
Why Screenshot Skills Matter in Professional Environments
Screenshots are more than visual notes—they’re operational tools.
Common business use cases:
- Documenting error messages or security incidents
- Capturing threat intelligence indicators
- Creating IT how-to guides or knowledge base articles
- Sending feedback or UX reports to development teams
- Recording dashboards or system performance snapshots
Knowing how to take a screenshot on an iMac can simplify troubleshooting, improve communication, and enhance security audits.
Method 1: Take a Full-Screen Screenshot on iMac
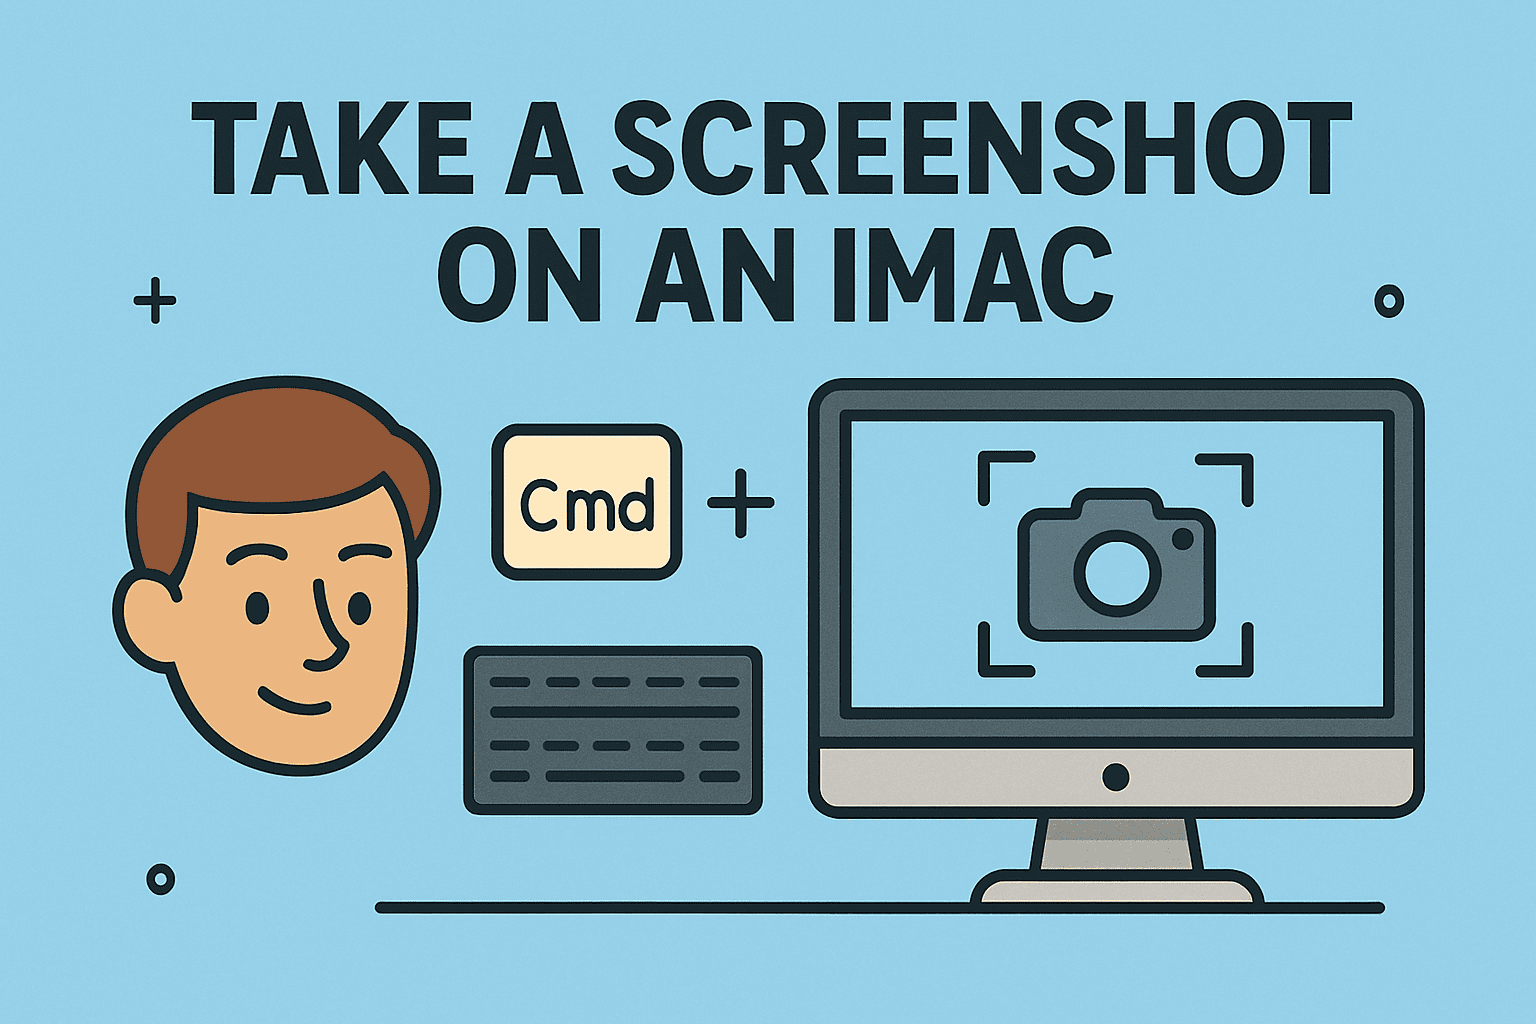
The most direct way to capture your entire iMac screen is using the Command + Shift + 3 shortcut.
Steps:
- Press Command (⌘) + Shift + 3
- Your iMac instantly captures the entire screen
- The screenshot is saved to your desktop by default
You’ll hear a camera shutter sound (if sound is enabled), confirming the capture.
Best for: Full-page dashboards, alert messages, or real-time incident capture.
Method 2: Capture a Selected Portion of the Screen
If you only want to screenshot a specific area:
Steps:
- Press Command (⌘) + Shift + 4
- Your pointer turns into a crosshair
- Click and drag to select the area you want
- Release the mouse or trackpad to capture
This method is ideal when you want privacy, to blur sensitive data, or highlight a specific section.
Pro tip: Tap Spacebar after selecting to move your selection before releasing.
Method 3: Screenshot a Specific Window on iMac
Need to screenshot a particular app window like Safari or Terminal?
Steps:
- Press Command (⌘) + Shift + 4
- Tap the Spacebar (your cursor turns into a camera)
- Click the window you want to capture
The resulting image includes a subtle window shadow for clarity.
Great for presentations, guides, or visual documentation for your team.
Method 4: Use the Screenshot App (macOS Mojave and Later)
The built-in Screenshot app provides an easy GUI-based way to take and manage screenshots or screen recordings.
To open it:
- Press Command (⌘) + Shift + 5
- A control bar appears at the bottom of the screen with options:
- Capture Entire Screen
- Capture Selected Window
- Capture Selected Portion
- Record Entire Screen (video)
- Record Selected Portion (video)
- Choose your desired option and click Capture
You can also set a timer, choose where to save screenshots, and toggle audio for recordings.
Perfect for security walkthroughs, training videos, or incident response recordings.
Method 5: Take Screenshots Using Touch Bar (if available)
If you’re using an iMac with a connected Touch Bar MacBook or custom peripherals, you can customize screenshot controls.
Steps:
- Go to System Settings > Keyboard
- Click Customize Control Strip
- Drag the Screenshot button to the Touch Bar
You can now capture screenshots from your Touch Bar with one tap.
Useful for tech leads or execs using dual setups with MacBook + iMac stations.
Where to Find Your Screenshots on an iMac
By default, macOS saves screenshots to the Desktop with a filename like:
yaml
CopyEdit
Screen Shot 2025-08-01 at 10.45.33 AM.png
You can change the default save location using the Screenshot app (Command + Shift + 5) > Options.
Other save options:
- Documents
- Clipboard (for pasting into emails or Slack)
- Preview (for markup and edits)
For security teams: consider changing the save location to a secure folder when handling sensitive images.
How to Copy Screenshots to Clipboard Instead of Saving
Want to paste screenshots directly into a Slack message, email, or Word doc?
Just add Control (⌃) to any shortcut:
- Command + Control + Shift + 3 – Full screen to clipboard
- Command + Control + Shift + 4 – Selected area to clipboard
Then just Paste (Command + V) into any application.
Saves time for real-time collaboration, especially during incident response or team standups.
How to Edit Screenshots After Capturing
macOS lets you edit screenshots instantly via the Preview thumbnail that appears in the bottom-right corner after capture.
Available tools:
- Crop or rotate
- Add arrows, shapes, or text
- Redact or highlight sensitive areas
- Share directly via Mail, Messages, AirDrop
Ideal for quick markups during security audits, reporting, or bug tracking.
Taking Screenshots in Safe Mode or Login Screen
Sometimes, you may need to capture a screen before logging in—useful for troubleshooting boot errors or login issues.
Unfortunately, macOS doesn’t allow screenshots at the login screen directly. Instead:
- Use an external camera to capture the screen
- Or boot into recovery mode and capture logs instead
A useful workaround in digital forensics or hardware diagnostics.
Recommended Screenshot File Management Tips for IT & Security
In corporate or multi-user environments, managing screenshots securely is vital.
Best practices:
- Set default save location to a secure folder
- Regularly delete or archive old screenshots
- Use consistent naming conventions for traceability
- Avoid saving screenshots with PII to shared desktops
- Integrate screenshot folders with automated backup or SIEM logs
Consider syncing screenshots to your OneDrive, iCloud, or enterprise drive for better visibility and compliance.
Screenshot Shortcuts Cheat Sheet for iMac
| Function | Shortcut |
| Full Screen | Command + Shift + 3 |
| Selected Area | Command + Shift + 4 |
| Specific Window | Command + Shift + 4, then Spacebar |
| Screenshot Tool (GUI) | Command + Shift + 5 |
| Copy to Clipboard | Add Control to any of the above |
FAQs: How to Take a Screenshot on an iMac
1. Can I take screenshots on multiple monitors?
Yes! macOS will capture each screen individually when using Command + Shift + 3.
2. How do I take a screenshot without saving it to desktop?
Use Control + Command + Shift + [3 or 4] to copy the screenshot to your clipboard instead.
3. Can I schedule or delay a screenshot?
Yes. Open Command + Shift + 5, click Options, and select a 5- or 10-second timer before capturing.
4. How do I take a screenshot of a dropdown menu?
Use Command + Shift + 4, then Spacebar, then hover over the open menu and click. The dropdown must be active when you take the shot.
5. Where are my screenshots saved if I don’t see them?
Check your Downloads, Documents, or configured location in the Screenshot app settings. Also confirm iCloud Desktop isn’t redirecting the folder.
Final Thoughts
Screenshots are essential tools for communication, security, and documentation. By mastering how to take a screenshot on an iMac, you empower yourself and your team to move faster, collaborate better, and safeguard information across your organization.
Whether you’re reporting a security incident, creating training materials, or just saving a record for later, macOS gives you the power to capture anything on-screen with just a few keystrokes.
Want to level up your IT workflows with automation, visibility, and security tools?
Start your FREE Itarian trial today and gain enterprise-grade control over devices, endpoints, documentation, and IT workflows—all from one powerful platform.