Restoring One iPhone to Another Made Simple
Updated on October 13, 2025, by ITarian
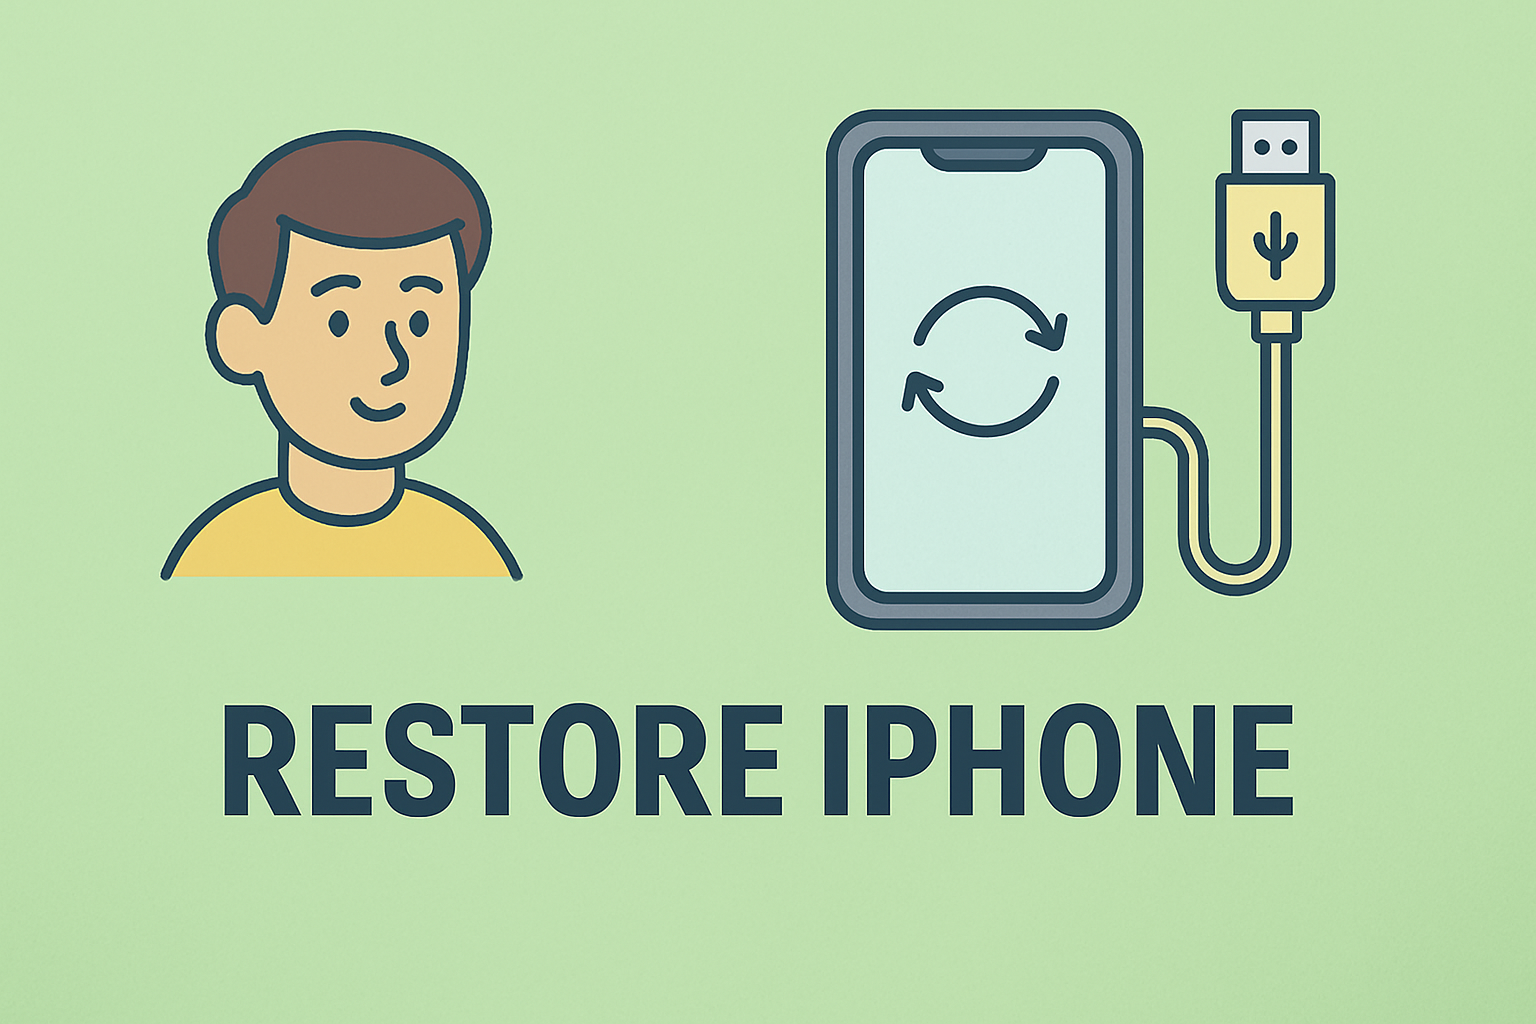
Getting a new iPhone is exciting — but moving your data, apps, and settings from your old device can feel daunting. Whether you’re upgrading to a newer model or replacing a damaged one, knowing how to restore iPhone from iPhone is essential to keeping your workflow and digital life uninterrupted.
From IT professionals managing mobile fleets to executives who rely on seamless data continuity, understanding this process ensures both security and efficiency. Apple offers multiple secure methods to transfer everything — from messages and contacts to app data and configurations — ensuring your new device feels instantly familiar.
In this article, we’ll explore step-by-step methods for restoring your iPhone from another iPhone using iCloud, Quick Start, and iTunes.
Why It’s Important to Restore Your iPhone Securely
Before learning how to restore iPhone from iPhone, it’s vital to understand why the method you choose matters.
When transferring data, you’re not just moving photos and contacts — you’re transferring sensitive credentials, emails, and potentially corporate information. For professionals in cybersecurity or business management, secure restoration prevents data leaks, identity theft, and unauthorized access.
Key Benefits of Restoring iPhone from iPhone Securely:
-
Data Integrity: Ensures all files, messages, and apps transfer without corruption.
-
Consistency: Keeps settings, preferences, and security configurations intact.
-
Time Efficiency: Reduces manual setup and restores productivity faster.
-
Privacy Protection: Apple’s end-to-end encryption safeguards your sensitive data.
According to Apple, over 90% of iPhone users rely on iCloud or Quick Start for secure migration — highlighting the importance of built-in Apple ecosystem tools.
Methods to Restore iPhone from iPhone
There are three primary methods to restore your iPhone from another iPhone:
-
Quick Start (Fastest & Recommended)
-
iCloud Backup Restore
-
iTunes or Finder Backup Restore (for advanced control)
Each method serves different needs — let’s explore each in detail.
Method 1: How to Restore iPhone from iPhone Using Quick Start
Quick Start is Apple’s built-in tool that lets you transfer all data wirelessly from your old iPhone to your new one using a secure peer-to-peer connection.
When to Use:
Best for setting up a new iPhone right out of the box with minimal manual effort.
Steps to Use Quick Start:
-
Turn on Your New iPhone
-
Place it next to your old iPhone.
-
Ensure both devices are powered on and running iOS 12.4 or later.
-
-
Connect Devices
-
A Quick Start screen will appear on your old iPhone, offering to set up your new device.
-
Tap Continue.
-
-
Authenticate the Connection
-
Use your Apple ID to confirm the setup.
-
When prompted, scan the animation on your new iPhone using your old one’s camera.
-
-
Follow On-Screen Instructions
-
Enter your passcode from your old iPhone on the new one.
-
Set up Face ID or Touch ID.
-
-
Choose “Transfer from iPhone”
-
Select this option to begin the wireless data transfer.
-
-
Keep Devices Close Together
-
Stay connected to power and Wi-Fi during the process.
-
The transfer may take 30–90 minutes, depending on data size.
-
Tip: Quick Start is the most seamless option — ideal for IT teams deploying new devices while maintaining configurations and encryption.
Method 2: How to Restore iPhone from iCloud Backup
If you regularly back up your iPhone to iCloud, restoring from a backup is fast and secure.
When to Use:
Perfect if your old device isn’t available or you’re setting up your new iPhone remotely.
Steps to Restore from iCloud:
-
Back Up Old iPhone to iCloud
-
On your old device, go to Settings → [Your Name] → iCloud → iCloud Backup.
-
Tap Back Up Now.
-
-
Turn On Your New iPhone
-
On the setup screen, select your language and region.
-
-
Connect to Wi-Fi
-
Choose a stable, secure Wi-Fi network for faster data restoration.
-
-
Choose “Restore from iCloud Backup”
-
Sign in with your Apple ID.
-
-
Select the Most Recent Backup
-
Review the date and size before selecting your desired backup.
-
-
Wait for Transfer to Complete
-
The process can take 15 minutes to several hours based on data size and network speed.
-
-
Complete Setup
-
Keep your device connected until all apps and data have been downloaded.
-
Pro Tip: Ensure your new iPhone is running the same or newer iOS version as your backup source.
Method 3: How to Restore iPhone from iTunes (or Finder on Mac)
For professionals who prefer full control or need local backups, iTunes (Windows) or Finder (macOS Catalina and later) remains a reliable choice.
When to Use:
Ideal for large data sets, restricted Wi-Fi networks, or offline environments.
Steps to Restore Using iTunes/Finder:
-
Create a Backup on Your Old iPhone
-
Connect the device to your computer via USB.
-
Open iTunes (Windows) or Finder (Mac).
-
Select your device and click Back Up Now.
-
(Optional) Choose Encrypt Local Backup for enhanced security.
-
-
Connect Your New iPhone
-
Launch iTunes or Finder again.
-
Select Restore Backup.
-
-
Choose the Backup File
-
Pick the most recent one from the list.
-
Click Restore and wait for the process to finish.
-
-
Complete Setup
-
After reboot, sign in with your Apple ID to sync apps and settings.
-
Security Note: Always encrypt your backups — especially if they contain business credentials or sensitive data.
Comparing the Three Restoration Methods
| Feature | Quick Start | iCloud Backup | iTunes/Finder Backup |
|---|---|---|---|
| Speed | Fast | Moderate | Fast |
| Data Type | Full device transfer | Full backup restore | Full or partial backup |
| Internet Needed | Wi-Fi | Yes | No |
| Security Level | High | High | Very High (with encryption) |
| Best For | Everyday users | Remote setups | IT or security professionals |
Each method maintains Apple’s end-to-end encryption, ensuring data safety during transfer.
Security Considerations When Restoring iPhones
Since your device may contain sensitive business or personal data, always follow these security best practices:
-
Use Trusted Networks
-
Avoid public Wi-Fi during transfers.
-
-
Enable Two-Factor Authentication
-
Protect your Apple ID from unauthorized access.
-
-
Encrypt Local Backups
-
Adds an additional security layer to stored data.
-
-
Delete Old iPhone Data (After Successful Restore)
-
Go to Settings → General → Transfer or Reset iPhone → Erase All Content and Settings.
-
-
Verify Restored Data
-
Double-check that all essential files, emails, and apps are present and functioning properly.
-
Cybersecurity Tip: According to Verizon’s 2024 Mobile Security Index, 39% of mobile data breaches stem from unprotected transfer processes — reinforcing the need for secure restoration methods.
Troubleshooting Common Issues
Even with Apple’s reliable systems, you might face minor issues during the restore process. Here’s how to handle them:
1. iCloud Restore Stuck or Slow
-
Ensure Wi-Fi is stable.
-
Pause and restart the process if it exceeds 24 hours.
2. Quick Start Not Working
-
Make sure both devices have Bluetooth and Wi-Fi enabled.
-
Keep them within 6 inches of each other.
3. iTunes Backup Not Detected
-
Update to the latest version of iTunes or macOS.
-
Try reconnecting your device or switching USB ports.
4. Apps Not Downloading After Restore
-
Verify your Apple ID login.
-
Check your App Store region matches the old device’s settings.
Best Practices for IT and Business Environments
Professionals handling multiple iPhones for enterprise or cybersecurity operations should streamline the process.
1. Use Mobile Device Management (MDM)
MDM tools can automate iPhone setup, restore configurations, and enforce security policies remotely.
2. Maintain Encrypted Backups
Centralized, encrypted backups reduce data leakage risks during device provisioning.
3. Use Separate Work and Personal Backups
Avoid mixing sensitive corporate and personal data for compliance and privacy.
4. Test Backup Integrity Regularly
Perform periodic test restores to confirm that backups are valid and complete.
Industry Insight: Many organizations adopt zero-trust policies that include encrypted iPhone backups and authentication controls to safeguard endpoint devices.
FAQs on How to Restore iPhone from iPhone
1. Can I restore iPhone from iPhone without Wi-Fi?
Yes, if you use a wired iTunes or Finder backup. Quick Start and iCloud require Wi-Fi.
2. How long does it take to restore iPhone from iPhone?
Depending on data size, it may take anywhere between 30 minutes to several hours.
3. Do I lose data when restoring from iPhone to iPhone?
No. Apple’s restore processes retain your apps, files, and settings.
4. Can I restore iPhone from iCloud without erasing it first?
No. You must reset your iPhone to factory settings before restoring from iCloud.
5. Is Quick Start safe for sensitive corporate data?
Yes. Quick Start uses secure authentication and end-to-end encryption during transfers.
Final Thoughts
Mastering how to restore iPhone from iPhone empowers professionals to transition between devices effortlessly while maintaining privacy, compliance, and data integrity.
Whether you prefer Quick Start for simplicity, iCloud for convenience, or iTunes for offline control — each option ensures a smooth, secure migration process when used properly.
For IT and cybersecurity leaders managing multiple devices, combining Apple’s restoration tools with endpoint security solutions can elevate organizational protection and productivity.
Sign up at Itarian.com to explore advanced mobile device management and cybersecurity solutions that simplify your digital environment while keeping it secure.

