Taking Screenshots on Apple Computers Made Easy
Updated on September 8, 2025, by ITarian
Have you ever asked yourself, “how do you take a screenshot on an Apple computer?” Whether you’re an IT manager, a cybersecurity expert, or just an everyday user, knowing how to capture what’s on your screen can save time and simplify communication. From documenting an error message for tech support to saving data for security audits, screenshots play a critical role in professional and personal workflows.
In this article, we’ll walk through all the methods you can use to take screenshots on a MacBook, iMac, or any Apple computer running macOS. You’ll also discover advanced features, troubleshooting tips, and security considerations for sharing screenshots in professional environments.
Why Screenshots Matter in Cybersecurity and IT
Screenshots aren’t just for personal convenience. In professional settings, especially in IT management and cybersecurity, screenshots are used to:
- Document suspicious activity for analysis.
- Share system errors with team members.
- Create training materials or security awareness guides.
- Record evidence of vulnerabilities during penetration testing.
By learning how do you take a screenshot on an Apple computer, IT managers and CEOs can streamline workflows, ensure compliance documentation, and communicate clearly across teams.
Screenshot Shortcuts on an Apple Computer
Apple provides several built-in keyboard shortcuts to make screenshotting quick and efficient.
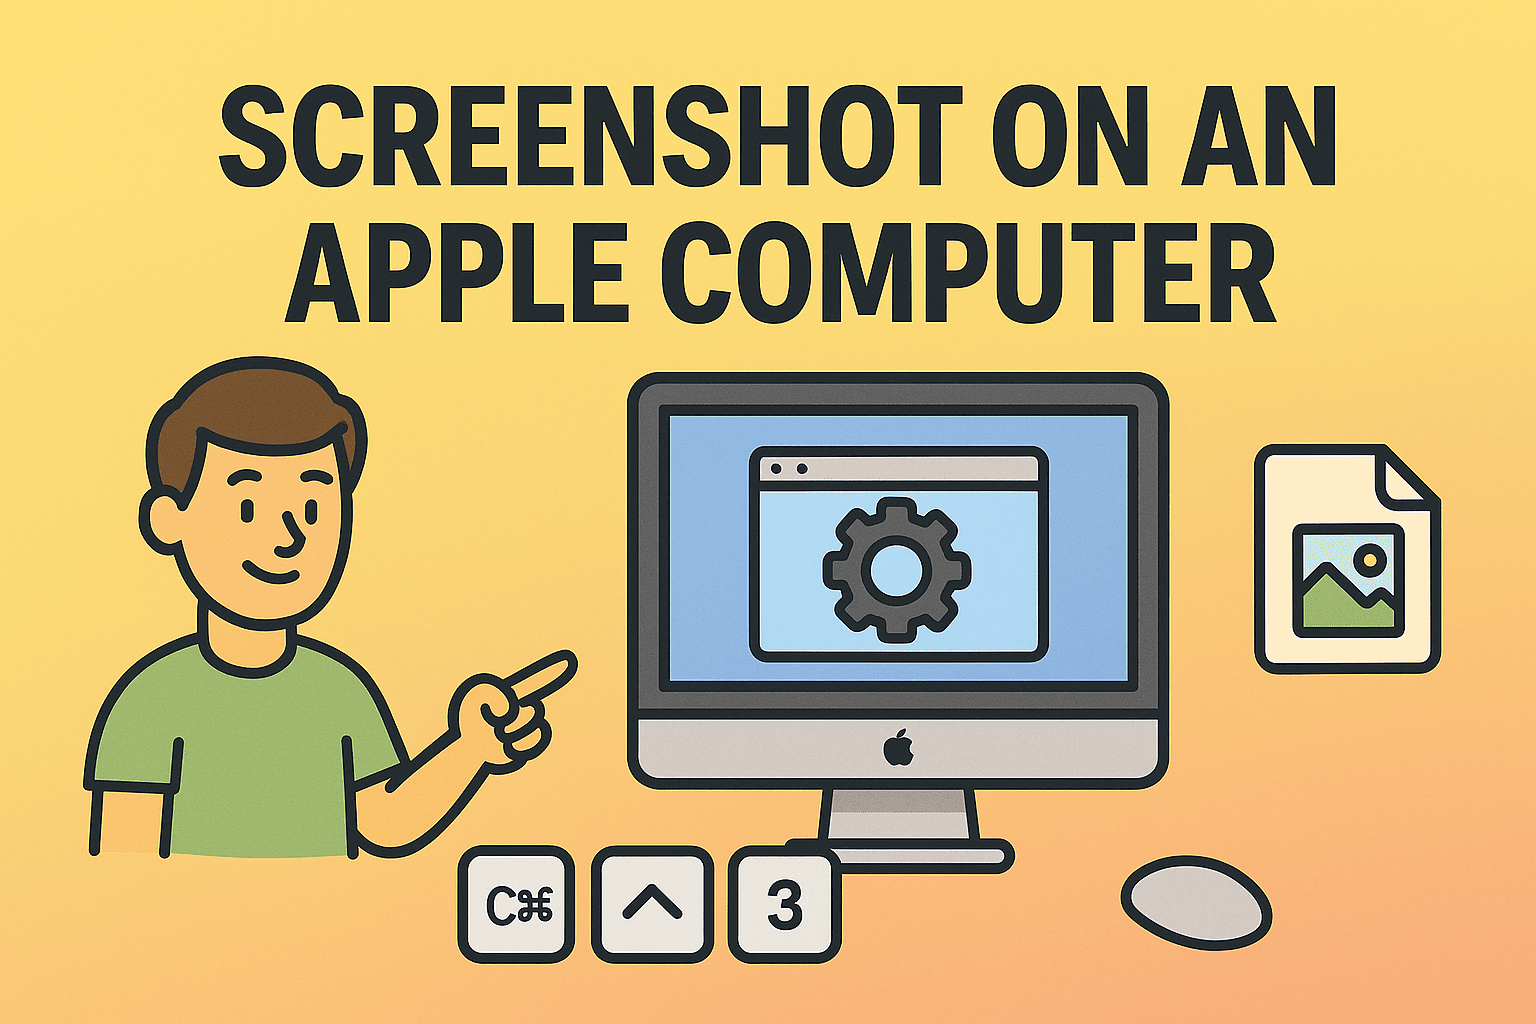
1. Capture the Entire Screen
- Press Command (⌘) + Shift + 3
- The screenshot is automatically saved to your desktop.
This option is best for full-screen captures when you need the entire desktop, including all open applications and menus.
2. Capture a Selected Portion
- Press Command (⌘) + Shift + 4
- A crosshair will appear; drag to select the area you want.
This is ideal for capturing only what’s necessary, such as a portion of a browser window or security alert.
3. Capture a Specific Window
- Press Command (⌘) + Shift + 4 + Spacebar
- Hover over the desired window and click.
This method is commonly used by IT professionals to isolate application windows for reporting purposes.
Using the Screenshot Tool in macOS
With macOS Mojave and later, Apple introduced the Screenshot app (accessible via Command (⌘) + Shift + 5).
This tool offers advanced options:
- Capture the entire screen, a window, or a portion.
- Record video of the screen.
- Choose where to save files (desktop, documents, or clipboard).
- Set a timer before capture.
For IT managers creating tutorials or CEOs preparing presentations, the built-in screen recording option is invaluable.
Where Are Screenshots Saved on Mac?
By default, screenshots are saved to the desktop as .png files. However, you can change this location:
- Open Screenshot tool (⌘ + Shift + 5).
- Click Options.
- Choose the desired folder (Documents, Clipboard, Mail, etc.).
For cybersecurity purposes, saving screenshots directly to a secure folder ensures sensitive information doesn’t end up exposed on your desktop.
How to Copy Screenshots to Clipboard
Sometimes you may want to paste a screenshot directly into an email or chat without saving a file.
- Hold Control while taking a screenshot.
- Example: Control + Command (⌘) + Shift + 3 copies the entire screen.
This prevents clutter while allowing instant pasting into professional collaboration tools like Microsoft Teams or Slack.
Editing Screenshots with Preview and Markup
Once you’ve captured a screenshot, macOS offers easy editing tools:
- Markup Toolbar: Add text, shapes, arrows, or highlight sections.
- Preview App: Crop, resize, or annotate screenshots.
Cybersecurity teams often use these tools to highlight vulnerabilities, while IT managers may annotate steps for training guides.
Advanced Screenshot Tools for Professionals
Beyond built-in shortcuts, IT and security professionals may need more advanced features:
- Snagit – Allows advanced annotation, screen recording, and sharing.
- CleanShot X – Popular with developers and security teams for its privacy-focused features.
- Monosnap – Supports cloud storage integration and secure file sharing.
These tools enhance collaboration and provide better control over screenshot distribution.
Security Considerations When Sharing Screenshots
Screenshots may contain sensitive data—passwords, email addresses, or system logs. Before sharing:
- Always redact confidential information with the Markup tool.
- Save files in encrypted folders when handling business-critical screenshots.
- Use secure file-sharing services instead of email attachments.
For CEOs and IT leaders, establishing policies around screenshot sharing is vital for compliance and security hygiene.
Common Issues and Fixes
1. Screenshots Not Saving
- Check storage space on your Mac.
- Verify the save location in Screenshot tool > Options.
2. Screenshot Shortcut Not Working
- Navigate to System Settings > Keyboard > Shortcuts.
- Ensure screenshot shortcuts are enabled.
3. Blurry Screenshots
- Ensure display scaling is set correctly in System Settings > Displays.
- Use third-party tools for high-resolution captures.
Practical Use Cases for IT and Security Teams
- Troubleshooting – Capture error messages to analyze recurring issues.
- Security Audits – Save evidence of phishing attempts or compromised systems.
- Collaboration – Share real-time screenshots in meetings for clarity.
- Training & Documentation – Build guides for employees on safe internet practices.
Knowing how do you take a screenshot on an Apple computer becomes more than just a convenience—it’s a professional necessity.
FAQs
1. How do I take a screenshot on a MacBook Air?
Use Command + Shift + 3 for full screen, or Command + Shift + 4 to capture a portion.
2. Can I record video instead of a screenshot?
Yes. Press Command + Shift + 5 to access screen recording options.
3. How do I change the screenshot file format?
By default, macOS saves screenshots as .png. To change, use Terminal command:
defaults write com.apple.screencapture type jpg; killall SystemUIServer
4. Can I take screenshots in safe mode?
Yes, but some third-party apps may be disabled. Built-in shortcuts still work.
5. Do screenshots capture sensitive info?
Yes, if visible on-screen. Always review and redact before sharing externally.
Conclusion
Mastering screenshots on Apple computers is essential for IT managers, cybersecurity professionals, and business leaders. From capturing error messages to creating training materials, the process is straightforward yet powerful.
Now that you know how do you take a screenshot on an Apple computer, you can use these methods to boost productivity and enhance communication while maintaining security standards.
Get Started with Secure IT Management
Managing devices, securing data, and streamlining IT operations go beyond screenshots. With Itarian, you can protect your organization with enterprise-grade cybersecurity and IT management solutions.
Sign up now with Itarian to simplify IT operations and enhance your security posture.