Why Screenshots Matter in Cybersecurity and IT
Updated on June 26, 2025, by ITarian
Screenshots aren’t just for casual users. In IT and cybersecurity, screenshots serve crucial functions:
- Incident reporting: Capture phishing attempts, suspicious system behavior, or network alerts.
- Documentation: Log errors, system setups, and configurations for internal audits.
- Training: Create visual guides for onboarding or educating staff on threat mitigation.
Now, let’s dive into the exact ways to capture your screen on a MacBook Air.
Screenshot Shortcuts on MacBook Air (No App Needed)
MacBooks don’t have a “Print Screen” key, but they make up for it with versatile built-in shortcuts. Here’s a breakdown:
1. Capture the Entire Screen
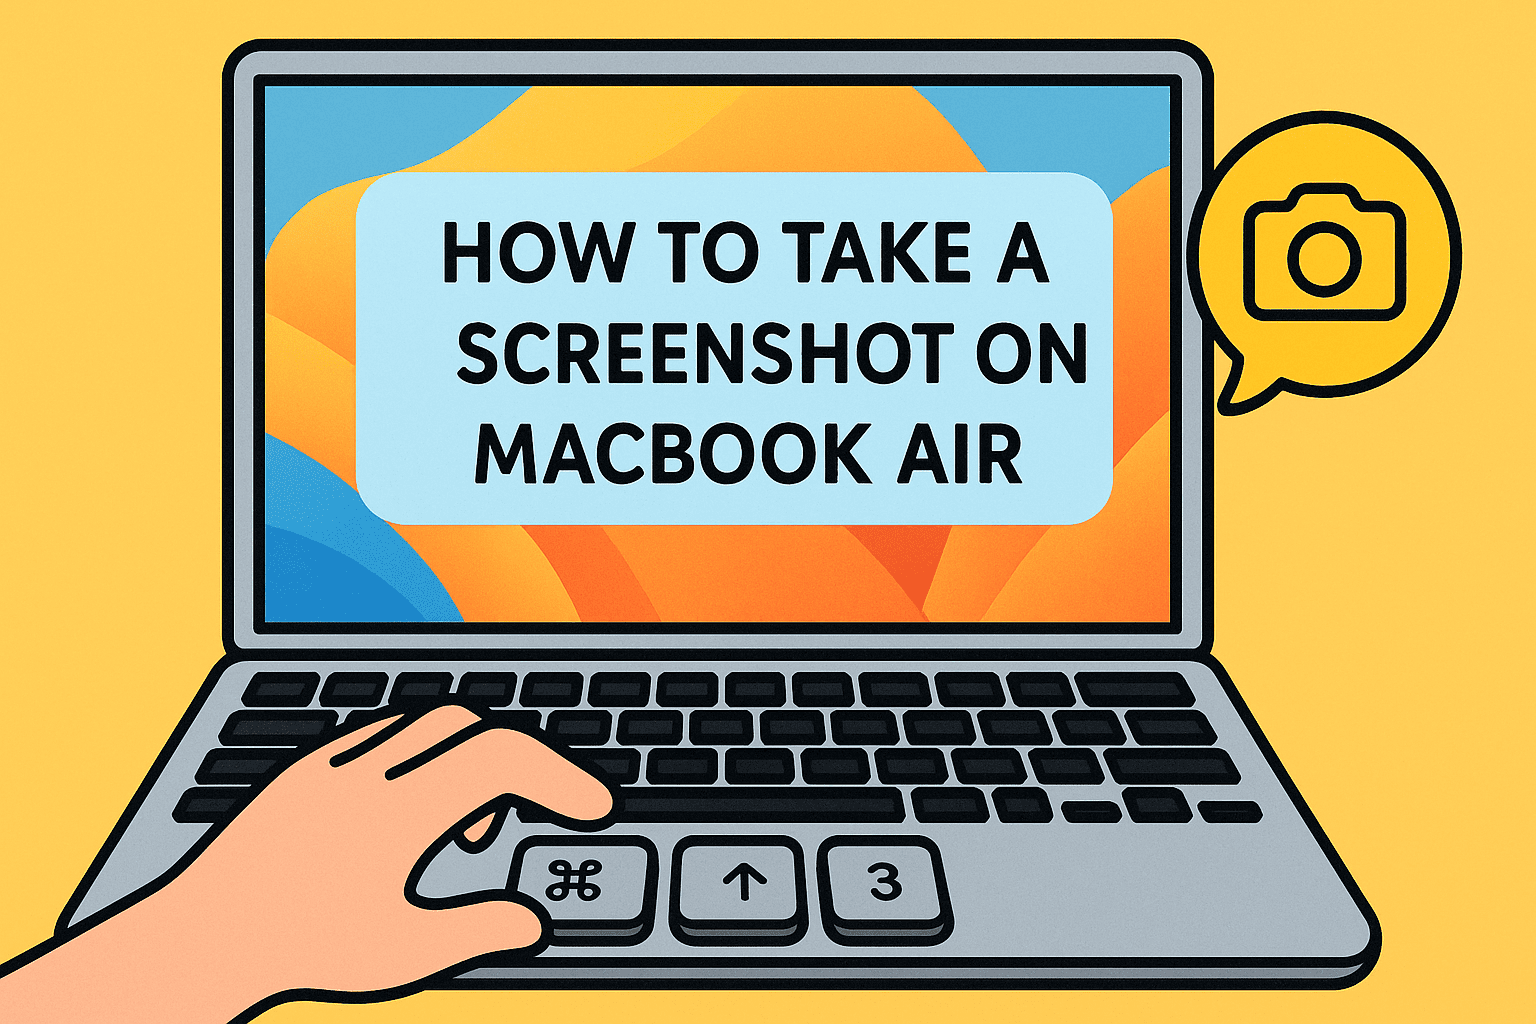
Press: Command (⌘) + Shift + 3
- Use Case: Perfect for capturing everything instantly, including multiple windows.
- Tip: Saved as a .png file to your Desktop by default.
2. Capture a Selected Portion
Press: Command (⌘) + Shift + 4
- Use Case: When you only want to show a particular section (e.g., a login error).
- Bonus: After pressing the shortcut, your cursor turns into a crosshair for easy selection.
3. Capture a Specific Window
Press: Command (⌘) + Shift + 4, then hit the Spacebar, and click the window.
- Use Case: Clean screenshots of browser tabs, alerts, or active terminal sessions.
4. Open Screenshot Toolbar
Press: Command (⌘) + Shift + 5
- Use Case: Want to record your screen or choose where to save screenshots? This opens a mini control panel.
- Features:
- Record screen (video)
- Choose file save location
- Set a timer for delayed capture
5. Capture Touch Bar (for MacBook Pro users only)
Press: Command (⌘) + Shift + 6
Navigating the MacBook Air “Print Screen” Dilemma
If you’re coming from Windows, the absence of a MacBook Air print screen key might feel frustrating. But once you get used to the intuitive macOS shortcuts, you’ll likely find them more powerful.
Pro Tip: Use the built-in Preview app to annotate or highlight key areas in your screenshot before sharing.
How to Capture Screen on Mac with Built-In Apps
macOS offers several tools that go beyond keyboard shortcuts.
Preview App
- Open Preview > File > Take Screenshot
- Choose from entire screen, selection, or window
- Supports immediate editing and exporting to PDF, JPEG, or PNG
QuickTime Player (for screen recording)
- Go to File > New Screen Recording
- Select the entire screen or a region
- Add voice narration for training or evidence purposes
Use Cases for Screenshots in Cybersecurity and IT Operations
Let’s look at real-world scenarios:
- Incident Response: Capture and log a suspicious command or network activity in real-time.
- Threat Reports: Visual evidence adds clarity when sending alerts to stakeholders or third-party vendors.
- Remote Support: Screenshots bridge the communication gap between IT teams and non-technical staff.
These visuals become especially critical when dealing with time-sensitive or regulatory audits.
Automating and Organizing Screenshots
For professionals, managing screenshots effectively is as important as taking them.
Tips for Efficiency
- Use Automator to create a script that renames files based on date and time.
- Save screenshots to a cloud-synced folder (like iCloud or Google Drive) for collaboration.
- Use tagging and folder structures (e.g., /Security/Screenshots/Phishing-June2025).
Changing Screenshot Save Location
Want to avoid desktop clutter?
- Open Screenshot Toolbar (Command + Shift + 5)
- Click “Options”
- Choose a new destination (Documents, Clipboard, or custom folder)
Pro Tips for IT Managers and Executives
- Security Note: Avoid uploading sensitive screenshots to unsecured platforms. Always blur or redact personal information.
- Audit Trails: Store screenshots with logs to build evidence trails for compliance.
- Training Libraries: Create a central repository of annotated screenshots to speed up onboarding and reduce error rates.
FAQ: Common Questions on Taking Screenshots on MacBook Air
1. Where do my screenshots go?
By default, they are saved to the Desktop. You can change this in the Screenshot Toolbar.
2. Can I take a screenshot and copy it directly to clipboard?
Yes! Press Control while using any screenshot shortcut. Example: Control + Command + Shift + 3.
3. How do I edit a screenshot immediately?
After capturing, click the thumbnail that appears briefly in the bottom-right corner. You can annotate, crop, or share it right from there.
4. Are there third-party tools for screenshots?
Yes—Snagit, CleanShot X, and Lightshot offer advanced editing, cloud storage, and GIF recording capabilities.
5. Can screenshots be used as legal documentation in audits?
Absolutely. As long as they are time-stamped and secured, screenshots can serve as visual proof for internal or external audits.
Final Thoughts
Understanding how to take a screenshot on MacBook Air is more than a basic tech skill—it’s a practical asset in IT operations, threat monitoring, and executive decision-making.
Whether you’re logging a critical event, creating a quick walkthrough, or compiling a case report, having reliable screenshot skills boosts clarity, communication, and security across the board.
Ready to Elevate Your Cybersecurity Game?
Enhance your IT visibility, threat response, and system monitoring with Itarian’s all-in-one platform for IT management and security.

