Taking Screenshots on a Dell Desktop Made Simple
Updated on August 29, 2025, by ITarian
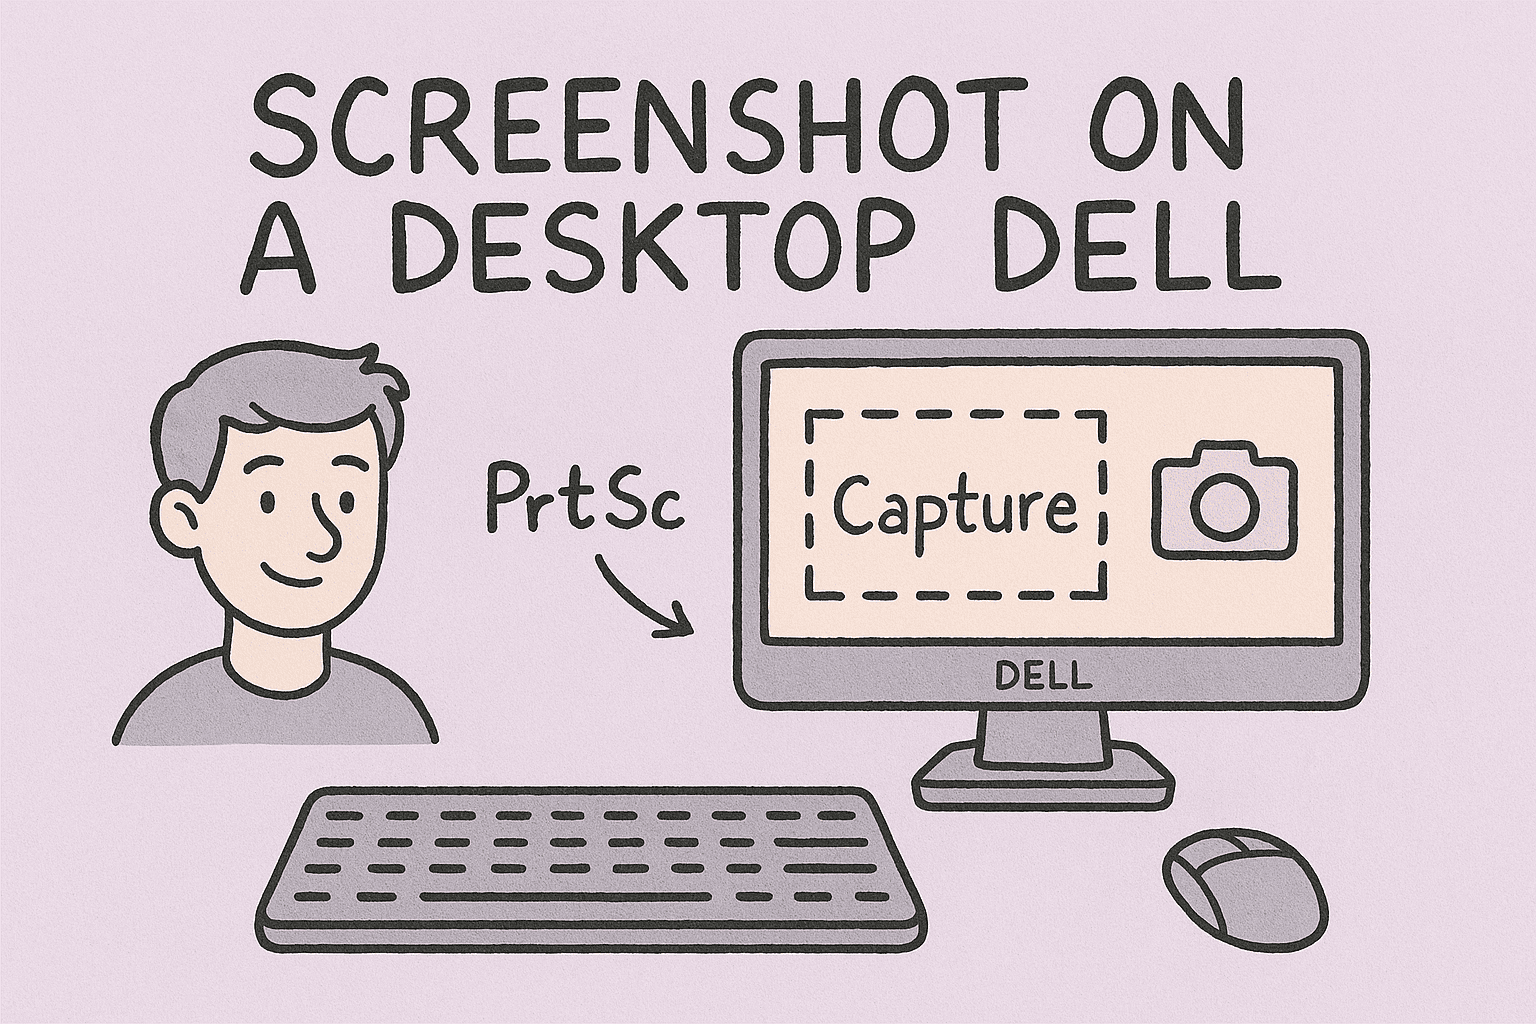
Have you ever wondered how do you screenshot on a desktop Dell without third-party software? Whether you’re an IT manager documenting system errors, a cybersecurity expert capturing suspicious activity, or simply a professional needing visuals for a report, taking accurate screenshots is essential. With Dell desktops running Windows, there are multiple built-in ways to capture your screen effectively.
In this article, we’ll cover different methods for capturing screenshots on Dell desktops, from using keyboard shortcuts to advanced tools. By the end, you’ll know exactly which method suits your workflow.
Why Screenshots Are Important for Professionals
Screenshots are more than just images—they are tools for efficiency and security. For IT leaders, they help in documenting issues. For cybersecurity professionals, they provide evidence of unusual system behavior. For business leaders, they enhance communication in reports and presentations.
Common use cases:
- Capturing system error messages for troubleshooting.
- Documenting suspicious behavior for cybersecurity reports.
- Creating tutorials or internal IT documentation.
- Sharing workflows or results with teams.
Method 1: Using Print Screen (PrtScn) Key
The most basic way to capture your Dell desktop screen is the Print Screen key.
Steps:
- Press the PrtScn key (sometimes labeled as PrtSc, Print Scr, or similar).
- The entire screen is copied to your clipboard.
- Open an application like Paint, Word, or Outlook and press Ctrl + V to paste.
- Save the file in your desired format (PNG, JPG, etc.).
This method is simple but requires manual saving.
Method 2: Capturing the Active Window
If you don’t want the entire screen, you can capture just the active window.
Steps:
- Press Alt + PrtScn.
- The active window is copied to the clipboard.
- Paste into your desired application using Ctrl + V.
This method is useful when you’re working with multiple applications and only want one window.
Method 3: Snipping Tool on Dell Desktops
Windows comes with the Snipping Tool, which provides more control.
Steps:
- Press the Windows key, type Snipping Tool, and open it.
- Select New and choose your snip shape: Free-form, Rectangular, Window, or Full-screen.
- Capture your screenshot.
- Save the image directly.
The Snipping Tool allows for quick annotations, making it useful for IT documentation.
Method 4: Snip & Sketch (Windows 10/11)
Newer Dell desktops running Windows 10 or 11 include Snip & Sketch.
Steps:
- Press Windows + Shift + S.
- Select your capture mode: Rectangular, Freeform, Window, or Full-screen.
- The screenshot is automatically copied to your clipboard.
- Paste into applications or edit in Snip & Sketch.
This method is more advanced and integrates seamlessly with workflows.
Method 5: Windows Game Bar (For Full-Screen Apps)
If you’re using your Dell desktop for gaming or full-screen applications, the Windows Game Bar can help.
Steps:
- Press Windows + G.
- Select the Capture option.
- Click the Camera icon to take a screenshot.
The Game Bar saves screenshots automatically in the Videos > Captures folder.
Method 6: Using Third-Party Tools
For professionals, third-party tools provide advanced features like scheduled screenshots, scrolling captures, and cloud integration.
Popular tools:
- Lightshot – Lightweight and free, great for quick edits.
- Snagit – Advanced features for IT teams and documentation.
- Greenshot – Efficient and open-source.
Best Practices for Screenshot Management
Once you’ve learned how to screenshot on a Dell desktop, managing them efficiently is key.
- Organize by project: Store screenshots in project-specific folders.
- Secure storage: For sensitive information, save screenshots in encrypted folders.
- Use annotations: Mark important sections to highlight critical details.
- File formats: Use PNG for quality, JPG for smaller file sizes.
Troubleshooting Common Screenshot Issues
Sometimes, users run into issues where screenshots don’t save or paste correctly.
Fixes:
- Ensure the PrtScn key isn’t locked by another application.
- Check if your keyboard drivers are updated.
- Verify clipboard functionality with Ctrl + C / Ctrl + V.
- Use Snip & Sketch if PrtScn isn’t working.
FAQs on How Do You Screenshot on a Desktop Dell
1. Where are my Dell screenshots saved?
By default, if you use Windows + PrtScn, they are saved in the Pictures > Screenshots folder.
2. Can I take a screenshot without the Print Screen key?
Yes, you can use Windows + Shift + S (Snip & Sketch) or third-party apps.
3. Does Dell have a special screenshot software?
No, Dell desktops rely on built-in Windows features and third-party tools.
4. What’s the fastest shortcut?
Windows + PrtScn instantly captures the full screen and saves it automatically.
5. Can I take scrolling screenshots?
Yes, but only with third-party tools like Snagit or ShareX.
Final Thoughts
Learning how do you screenshot on a desktop Dell is essential for IT managers, cybersecurity professionals, and everyday users. With multiple methods—ranging from the Print Screen key to advanced Snip & Sketch—you can capture and manage screenshots efficiently.
If you want to enhance your cybersecurity and IT efficiency further, sign up for Itarian’s free platform today. It offers advanced tools to streamline device management, improve security, and boost productivity.


