Safely Updating Your Gigabyte Motherboard BIOS for Peak Performance
Updated on October 29, 2025, by ITarian
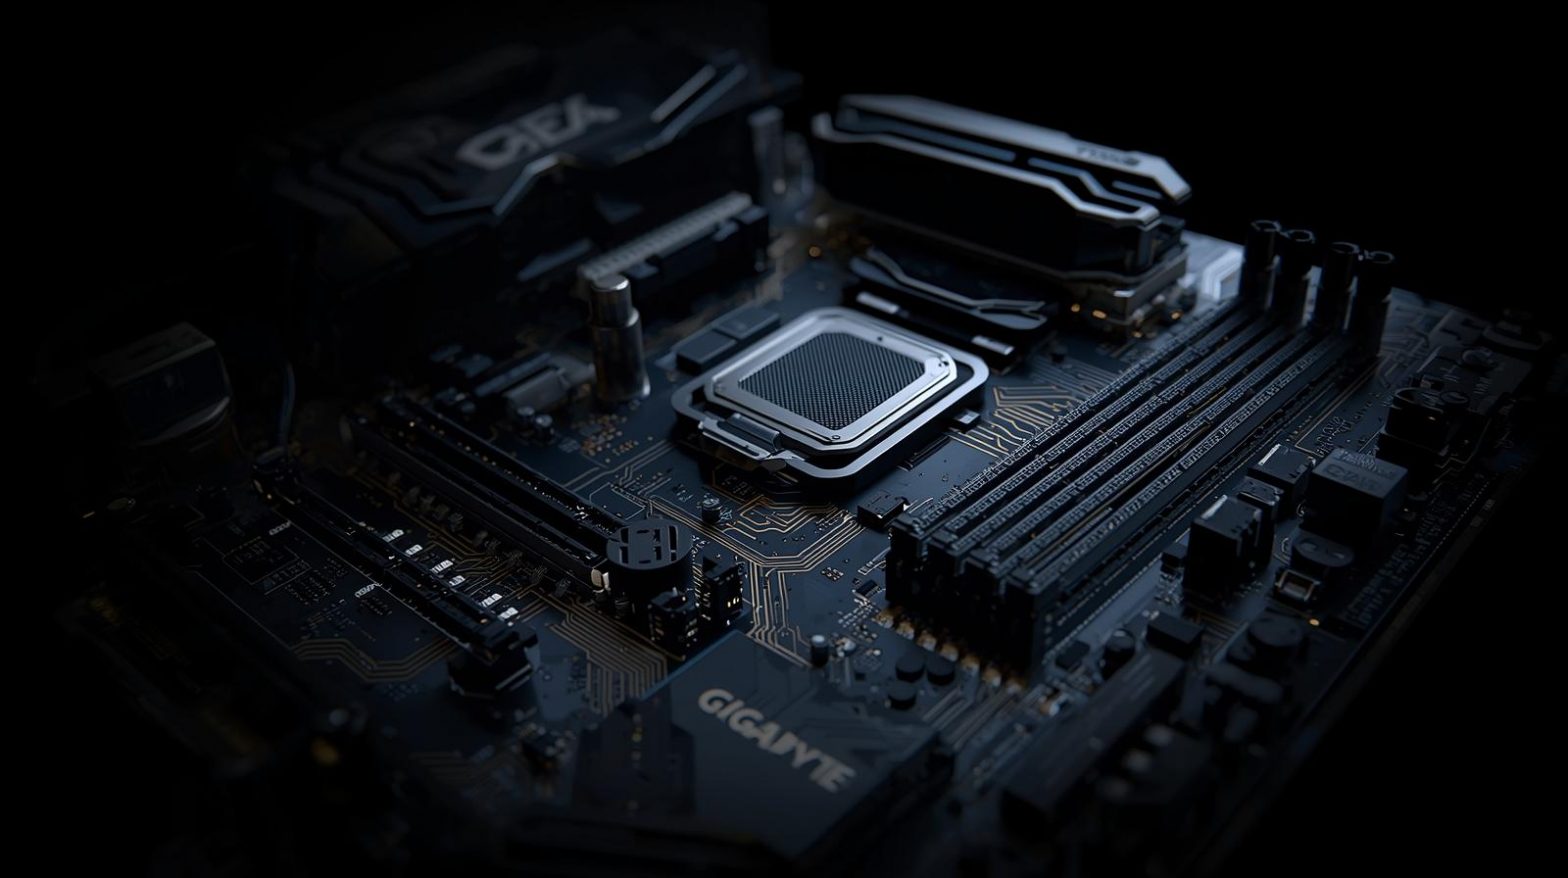
Have you ever faced hardware compatibility issues or unexplained system instability? It might be time to update your motherboard’s BIOS. Knowing how to update Gigabyte motherboard BIOS is crucial for keeping your PC running efficiently and securely.
A BIOS (Basic Input/Output System) update enhances system performance, improves hardware support, and fixes critical bugs. For IT professionals, cybersecurity experts, and business leaders, updating the BIOS ensures reliable system operation and protects against firmware-level vulnerabilities.
In this article, we’ll walk you through every step of updating your Gigabyte BIOS—covering methods like Q-Flash, @BIOS (Windows utility), and manual installation—while explaining key precautions to avoid risks.
What Is BIOS and Why It’s Important to Update It
Understanding BIOS Basics
The BIOS (Basic Input/Output System) is firmware embedded in your motherboard that initializes hardware components and loads your operating system. It’s essentially your PC’s “startup brain.”
Why Updating BIOS Matters
-
Improved Hardware Compatibility: Supports new CPUs, RAM, and GPUs.
-
Bug Fixes: Solves system stability issues and hardware detection problems.
-
Security Enhancements: Patches vulnerabilities in the firmware layer.
-
Performance Optimization: Improves power efficiency and boot speed.
For enterprise IT environments, outdated BIOS firmware can lead to compatibility errors, security gaps, and performance bottlenecks.
When Should You Update Your Gigabyte BIOS
Updating the BIOS isn’t something to do casually—it’s only necessary under specific conditions.
Consider an Update If:
-
You’re upgrading to new hardware components (e.g., CPU or RAM).
-
Your system experiences random freezes, reboots, or hardware detection errors.
-
A BIOS update from Gigabyte specifically mentions fixes for your issues.
-
You’re addressing known security vulnerabilities.
-
You’re optimizing system stability for enterprise operations.
Avoid unnecessary updates. If your system runs smoothly, updating the BIOS may offer minimal benefit and carries a small risk if interrupted.
Preparation Before Updating Gigabyte BIOS
Before performing a BIOS update, preparation is critical to avoid potential system failure.
1. Identify Your Motherboard Model
-
Press Windows + R and type:
-
Look for BaseBoard Product (e.g., B550 AORUS ELITE, Z790 UD AX).
2. Check Your Current BIOS Version
-
Press Windows + R, type
cmd, and run: -
Compare this version with the latest available on the Gigabyte Support Page.
3. Download the Latest BIOS File
-
Go to the Gigabyte official website → Support → Downloads section.
-
Locate your motherboard model.
-
Download the latest BIOS file (usually in
.zipformat). -
Extract the file and note the
.binor.FxxBIOS file.
4. Prepare a USB Flash Drive
-
Format the USB drive to FAT32.
-
Copy the extracted BIOS file to the USB root directory.
5. Backup Your Data
While BIOS updates rarely affect stored files, always back up critical data in case of unexpected power loss or corruption.
Method 1: Updating Gigabyte BIOS Using Q-Flash
Q-Flash is Gigabyte’s built-in BIOS update utility that allows you to flash your BIOS without entering Windows.
Steps to Use Q-Flash:
-
Restart your computer.
-
Press DEL during startup to enter the BIOS setup.
-
In the BIOS menu, locate Q-Flash (usually under “Save & Exit” or via the hotkey F8).
-
Select Update BIOS.
-
Choose your BIOS file from the USB drive.
-
Confirm to start the update process.
Important:
-
Do not power off your system during the update.
-
The process typically takes 2–5 minutes.
-
Once completed, your system will reboot automatically.
Benefits of Q-Flash:
-
No need for Windows or additional software.
-
Lower risk of interference during update.
-
Works even if your OS is unstable.
Method 2: Update BIOS Using Q-Flash Plus (Without CPU or RAM)
Some modern Gigabyte motherboards come with Q-Flash Plus, allowing you to update the BIOS even without a CPU, RAM, or GPU installed—useful for new builds.
Steps:
-
Download the latest BIOS file from Gigabyte’s website.
-
Rename it to GIGABYTE.BIN (exact naming may vary by model—check the manual).
-
Save it to a FAT32-formatted USB drive.
-
Plug the USB drive into the Q-Flash Plus port on the motherboard (marked in white).
-
Connect your PSU and press the Q-Flash Plus button.
The motherboard’s LED will flash, indicating the update process. When it stops flashing, the update is complete.
Advantages:
-
No system setup required.
-
Ideal for first-time system builders.
-
Safe, standalone update process.
Method 3: Update BIOS Using @BIOS Utility (Windows Method)
Gigabyte’s @BIOS is a Windows-based utility that simplifies BIOS updates for those who prefer not to access the BIOS manually.
Steps to Use @BIOS:
-
Download and install Gigabyte App Center and @BIOS Utility from the Gigabyte website.
-
Open @BIOS from the App Center.
-
Choose one of two options:
-
Update from Server: Automatically checks Gigabyte’s servers for the latest version.
-
Update from File: Select the BIOS file manually from your PC.
-
-
Follow on-screen instructions to complete the update.
Caution:
Avoid using @BIOS if your system is unstable or prone to crashes. A power failure during the process can corrupt firmware.
Method 4: Updating BIOS via DOS (Legacy Option)
While older, DOS-based updates still work for legacy systems.
Steps:
-
Create a bootable USB drive using Rufus.
-
Copy the BIOS file and flash utility (.exe) to the drive.
-
Boot your PC from the USB.
-
Run the update command in DOS:
-
Follow the on-screen instructions to complete the flash.
This method is rarely used today but remains effective for older Gigabyte boards.
Post-Update Steps: What to Do After Updating BIOS
After your BIOS update, there are several steps to ensure smooth operation.
1. Reset BIOS Settings
Enter BIOS and choose Load Optimized Defaults to apply fresh configurations.
2. Reconfigure System Settings
If you use custom overclocking or boot settings, reapply them manually.
3. Verify BIOS Version
Run:
Confirm that your version matches the one you just installed.
4. Check System Stability
Run stress tests or diagnostics to ensure your system is performing optimally.
Troubleshooting BIOS Update Problems
While rare, issues can occur during or after BIOS updates.
Common Issues and Fixes:
| Problem | Possible Cause | Solution |
|---|---|---|
| System won’t boot | Corrupted BIOS | Use Q-Flash Plus or Dual BIOS recovery |
| Update freezes mid-process | Power loss or unstable system | Wait; if unresponsive, reboot using recovery mode |
| New hardware not detected | BIOS settings reset | Reconfigure hardware settings manually |
| Windows won’t start | Incorrect boot order | Check boot priority in BIOS |
Pro Tip: Gigabyte motherboards with Dual BIOS automatically recover from corrupted updates by switching to the backup BIOS.
Safety Tips for Updating Gigabyte BIOS
-
Use a Reliable Power Source: Sudden power loss during an update can brick the motherboard.
-
Avoid Interrupting the Process: Never restart your PC while the BIOS is updating.
-
Verify the Correct BIOS Version: Installing a version for the wrong model can cause failure.
-
Disconnect Overclocking Tools: Restore default settings before updating.
-
Backup Old BIOS: Some Gigabyte utilities allow saving the existing version before flashing.
Why BIOS Updates Matter for Cybersecurity
Firmware-level vulnerabilities are increasingly exploited in cyberattacks. Updating your Gigabyte BIOS helps close potential backdoors.
Key Security Benefits:
-
Firmware Integrity Checks: Prevents unauthorized BIOS tampering.
-
UEFI Secure Boot Improvements: Protects against rootkits and boot-level malware.
-
Hardware-Level Encryption Support: Enhances endpoint protection.
-
Stability for Security Tools: Ensures proper functioning of endpoint monitoring systems.
For IT leaders and cybersecurity teams, consistent firmware management is part of maintaining a secure, compliant infrastructure.
Frequently Asked Questions (FAQ)
1. How long does a BIOS update take on a Gigabyte motherboard?
Usually between 2–5 minutes, depending on the file size and update method.
2. Is it safe to update BIOS using @BIOS in Windows?
Yes, but Q-Flash is generally safer since it runs outside of Windows, minimizing crash risks.
3. Can I downgrade my BIOS version?
Some Gigabyte motherboards support downgrading, but it’s not recommended unless absolutely necessary.
4. Will updating BIOS delete my data?
No, BIOS updates don’t affect your hard drives or files, but always back up data beforehand.
5. What happens if the BIOS update fails?
Gigabyte’s Dual BIOS feature automatically restores the backup BIOS, preventing permanent damage.
Final Thoughts
Knowing how to update Gigabyte motherboard BIOS ensures your system stays compatible, stable, and secure. Whether you’re an IT manager optimizing networked devices or a business leader maintaining reliable systems, keeping firmware current is part of a proactive security strategy.
Always use official Gigabyte resources, follow update instructions carefully, and avoid unnecessary updates unless performance or security improvements are required.
Ready to take system security to the next level?
Start your free trial with ITarian today.

