Capture Moments Effortlessly with Your Chromebook Camera
Updated on October 15, 2025, by ITarian
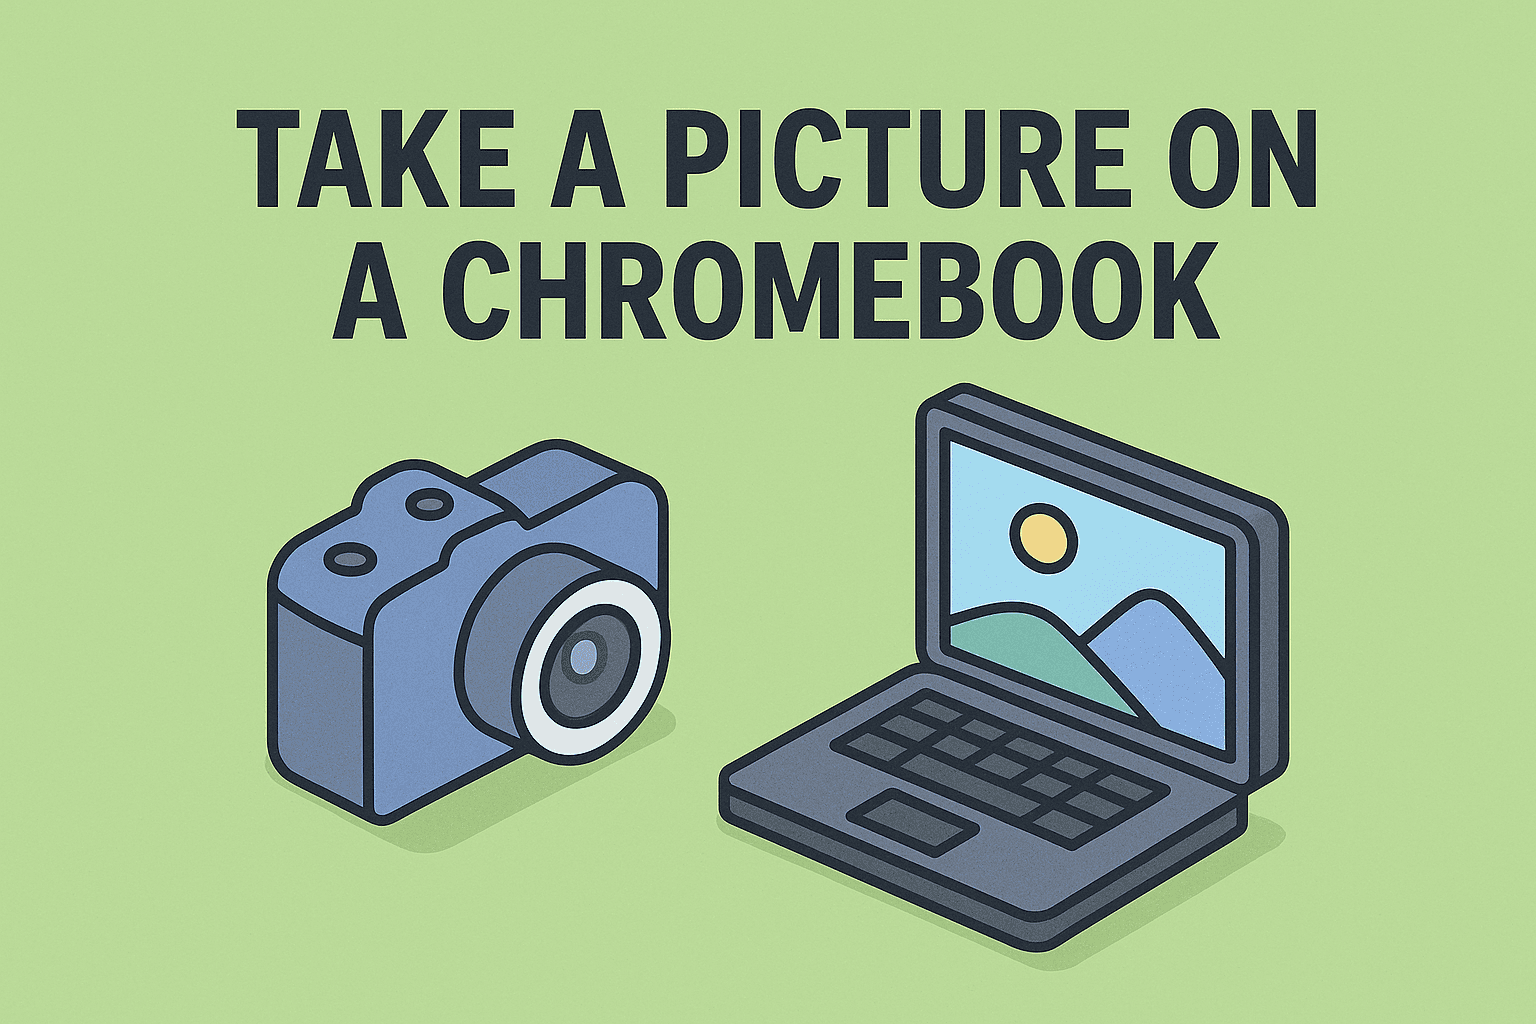
Did you know your Chromebook can take clear, high-quality photos without the need for any external app? Whether you’re capturing an image for work, documentation, or a quick selfie, understanding how to take a picture on a Chromebook is incredibly useful.
Chromebooks are known for their simplicity and functionality, and the built-in Camera app makes taking photos a breeze. From using shortcuts to organizing your snapshots, this article will walk you through everything — ensuring you use your Chromebook camera like a pro.
Let’s explore how to snap, edit, and manage photos directly from your device while maintaining top-notch privacy and security.
Why Learn How to Take a Picture on a Chromebook?
For many professionals — especially in cybersecurity and IT — quick visual documentation can be vital. Screenshots and photos are used for:
-
Capturing visual proof during remote troubleshooting.
-
Recording hardware setups or security configurations.
-
Adding visuals to reports or presentations.
-
Quickly sharing images through cloud collaboration tools.
Knowing how to take a picture on a Chromebook gives you the flexibility to work efficiently without switching devices or downloading third-party software.
How to Take a Picture on a Chromebook
Chromebooks come equipped with a built-in Camera app that makes the process simple. You can use it for photos, videos, and even document scans.
Step-by-Step: Using the Camera App
-
Open the Camera App:
-
Click the Launcher (circle icon) in the bottom-left corner.
-
Type Camera in the search bar.
-
Click on the Camera app to open it.
-
-
Switch to Photo Mode:
-
By default, the app opens in camera mode.
-
If you’re in video mode, click the Camera icon to switch back to photo mode.
-
-
Take a Picture:
-
Click the shutter button (white circle) at the bottom of the screen.
-
Alternatively, press the spacebar on your keyboard for a quick snapshot.
-
-
Find Your Picture:
-
After capturing, the image preview appears in the bottom-right corner.
-
Click it to view, or open Files → Camera folder to access saved photos.
-
Tip: Chromebook photos save automatically in
.jpgformat for easy sharing and editing.
How to Take a Picture on a Chromebook Using Keyboard Shortcuts
If you prefer using your keyboard instead of the mouse or touchpad, here’s how:
To Take a Full Picture (with Camera app open):
Press Spacebar while the Camera app is active.
To Take a Screenshot Instead of a Picture:
-
Full Screen: Press
Ctrl + Show Windows (F5) -
Partial Screen: Press
Ctrl + Shift + Show Windows (F5)and drag to select the area.
These shortcuts save time, especially when multitasking during meetings or while troubleshooting systems.
How to Use the Front and Rear Cameras on a Chromebook
Some Chromebooks (especially convertible models like the Lenovo Flex or HP x360) come with both front and rear cameras.
To Switch Cameras:
-
Open the Camera app.
-
Click the Switch Camera icon (a circular arrow) in the corner.
-
The view flips between the front-facing and rear cameras.
This feature is particularly useful for:
-
Front camera: Video conferencing or selfies.
-
Rear camera: Documenting physical setups or whiteboard content.
How to Take a Picture on a Chromebook for Documents
Need to scan a document quickly? Chromebooks have a built-in Scan mode that turns your camera into a mini scanner.
Steps to Scan Documents:
-
Open the Camera app.
-
Select Scan from the mode list.
-
Choose Document or QR code mode.
-
Align the paper in view and press the Capture button.
-
Adjust borders if needed and save to the Files → Camera → Scans folder.
This is great for securely storing contracts, receipts, or IDs without using mobile scanning apps that may compromise privacy.
How to Edit and Manage Pictures on a Chromebook
Once you’ve taken your photo, you can quickly enhance it using Chromebook’s built-in editor.
To Edit a Photo:
-
Open the Files app.
-
Navigate to the Camera folder.
-
Right-click your image → Select Open with Gallery.
-
Use the top toolbar to:
-
Crop or rotate the image.
-
Adjust brightness, contrast, and color.
-
Add filters or effects.
-
Save the edited version automatically.
-
Pro Tip: If your Chromebook syncs with Google Photos, all your edits can also sync across devices instantly.
How to Share Pictures from Chromebook
Whether it’s sending documentation to your IT team or sharing project visuals, Chromebook makes photo sharing simple.
Options for Sharing Photos:
-
Email:
Right-click your photo → Select Share → Email. -
Google Drive:
Upload the file directly to Drive and share via link or permissions. -
USB Transfer:
Plug in a USB drive, then drag and drop the image into it. -
Bluetooth:
Enable Bluetooth on both devices → Pair → Share file.
For business users, using Google Drive ensures files remain encrypted and easily accessible for collaboration.
How to Take a Picture on a Chromebook Using an External Camera
If your built-in camera isn’t working or you prefer higher image quality, you can connect an external webcam.
Steps to Set Up an External Camera:
-
Plug your webcam into a USB port.
-
Wait for your Chromebook to detect the device.
-
Open the Camera app.
-
Click the Switch camera icon to toggle to the external source.
Now, you can capture higher-resolution photos ideal for business or professional use.
Troubleshooting Camera Issues on Chromebook
Sometimes the camera may fail to open or show a black screen. Here’s how to fix it.
1. Restart Your Chromebook
A simple restart resolves temporary software glitches.
2. Check Permissions
-
Go to Settings → Privacy and Security → Site settings → Camera.
-
Ensure apps like Camera and Google Meet have permission.
3. Update Your Chromebook
Outdated software can disable hardware functions.
-
Go to Settings → About Chrome OS → Check for updates.
4. Reset Camera App
-
Open Settings → Apps → Camera → Reset app preferences.
5. Hardware Reset
Hold Refresh + Power for 10 seconds to reboot hardware modules.
If the issue persists, contact your IT department or the manufacturer for a hardware inspection.
Security and Privacy: Managing Camera Permissions
In cybersecurity, maintaining control over camera access is crucial. Chromebook provides built-in settings to protect privacy.
Steps to Manage Camera Access:
-
Go to Settings → Privacy and Security → Site settings → Camera.
-
Toggle Ask before accessing to prevent unauthorized use.
-
Review sites with camera access and revoke any unnecessary permissions.
Best Practices for IT Managers:
-
Enforce camera permissions via Google Admin Console for all managed devices.
-
Disable the camera when not needed on enterprise Chromebooks.
-
Use endpoint security tools to detect unauthorized camera activation.
These measures are key in preventing spyware or remote surveillance threats in business environments.
Advanced Tip: Capture Screens and Photos Together
For technical documentation, you might need both screenshots and photos. Chromebook lets you multitask easily.
-
Take screenshots: Use
Ctrl + Show Windows. -
Take photos: Use the Camera app simultaneously.
-
Combine both in Google Docs or Slides for polished reports or tutorials.
This workflow is especially valuable for cybersecurity experts creating internal training or evidence-based reports.
Common Questions About How to Take a Picture on a Chromebook
1. Where are pictures saved on a Chromebook?
They are stored in the Files → Camera folder by default.
2. Can I use Google Photos with my Chromebook camera?
Yes. If synced, your photos appear automatically in Google Photos under “Camera.”
3. Can I change photo resolution?
Yes, go to Camera settings → Resolution, and select your preferred size (e.g., 720p or 1080p).
4. My Chromebook camera isn’t working. What should I do?
Restart your device, check app permissions, and update your system.
5. Can I record videos using the same Camera app?
Absolutely. Switch from Photo to Video mode in the Camera app.
Why Chromebooks Are Ideal for Secure Photography and Work
Chromebooks offer more than convenience—they’re built with security-first architecture, including verified boot and sandboxed apps. This ensures:
-
No third-party app compromises your camera data.
-
Photos are stored in secure, encrypted environments.
-
Integration with Google Workspace enhances business efficiency.
For IT managers, controlling access policies across Chromebooks via the Google Admin Console further strengthens organizational data protection.
Final Thoughts
Understanding how to take a picture on a Chromebook empowers users to capture images efficiently and securely. Whether it’s for personal, educational, or professional use, your Chromebook’s camera is a versatile tool that eliminates the need for external devices.
From scanning documents to collaborating visually, mastering this feature enhances productivity and cybersecurity compliance.
For organizations, ensuring that your Chromebooks are configured securely across teams is equally critical.
Sign up at Itarian.com to streamline IT management and protect devices with advanced endpoint security and automation tools.