Restoring CPU Performance with a Proper Reset
Updated on October 30, 2025, by ITarian
Is your computer overheating, freezing, or performing below expectations? These symptoms often indicate issues with your CPU configuration or system settings. Learning how to reset CPU can help restore performance, fix BIOS-related errors, and stabilize system behavior without damaging your hardware.
Whether you’re an IT manager maintaining enterprise systems, a cybersecurity specialist ensuring endpoint performance, or a general user troubleshooting lag issues, knowing the correct way to reset your CPU can save hours of frustration—and prevent hardware failure.
This comprehensive article explains how to reset CPU safely, when you should do it, and what to watch out for.
What Does Resetting a CPU Mean?
Resetting a CPU doesn’t mean replacing or physically resetting the processor itself. Instead, it refers to resetting the CPU’s configurations—including BIOS, overclocking, thermal management, and voltage parameters—to their default states.
Why Reset Your CPU?
-
To Fix Overheating Problems – Incorrect voltage or clock settings can cause excessive heat.
-
To Resolve Boot Errors – A misconfigured BIOS may prevent Windows from starting.
-
To Undo Overclocking Instability – Resetting restores the CPU’s factory frequencies.
-
To Improve System Stability – Eliminates glitches and performance throttling.
-
To Solve Thermal or Power Limit Issues – Ensures the CPU operates within safe temperature ranges.
For professionals, resetting CPU settings is part of regular system maintenance, especially after firmware updates or hardware upgrades.
Step 1: Identify If You Need to Reset Your CPU
Before jumping into the reset process, it’s crucial to identify if the CPU is the actual culprit.
Common Signs You Need a CPU Reset:
-
Frequent system crashes or blue screens (BSOD).
-
High temperatures under normal usage.
-
Unstable performance after BIOS or driver updates.
-
Unexpected shutdowns or throttling.
-
CPU fans running at maximum speed constantly.
If these issues persist even after cleaning your PC or updating drivers, resetting the CPU’s BIOS and power settings might resolve them.
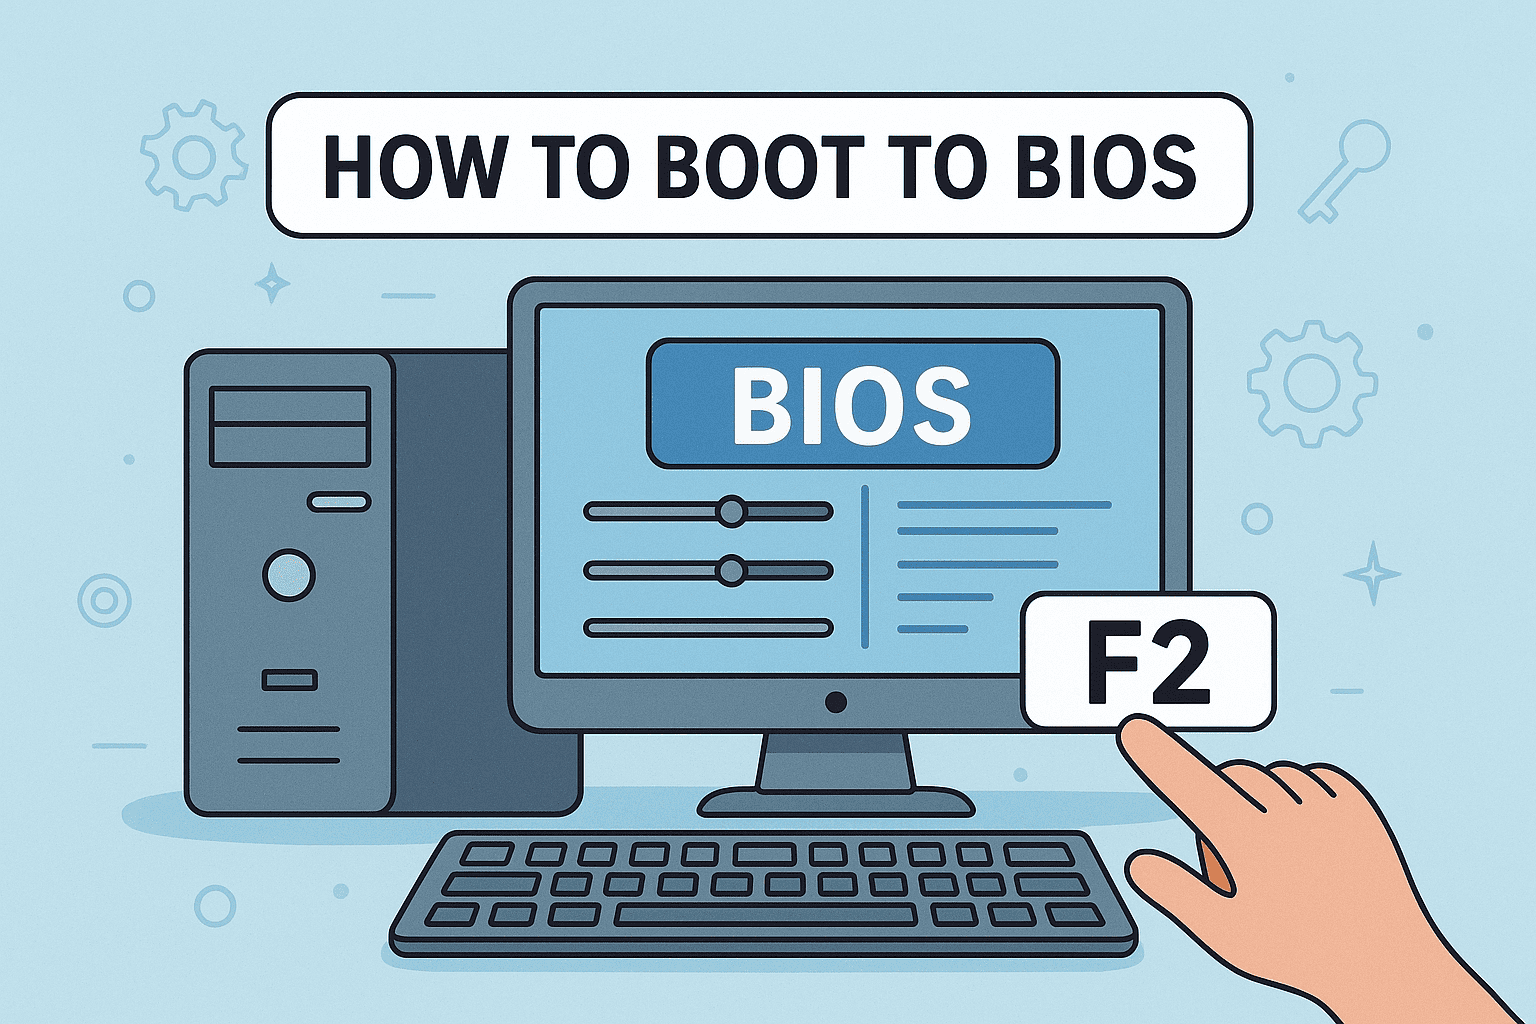
Step 2: Reset CPU Settings via BIOS or UEFI
Resetting through BIOS is the most common and safest method for restoring CPU configuration.
Steps to Reset CPU from BIOS:
-
Restart your computer.
-
Press the BIOS key (usually Delete, F2, or F10) as soon as the logo appears.
-
Once in the BIOS/UEFI menu, look for:
-
“Restore Defaults”
-
“Load Optimized Defaults”
-
“Reset to Default Settings”
-
-
Select the option and confirm.
-
Save changes and exit (F10).
Your CPU and all system settings will revert to default values, including voltage, frequency, and fan controls.
Note: If your system was overclocked, this process will remove all custom clock speeds and voltages.
Step 3: Reset the CMOS (Hardware-Level Reset)
If your BIOS is inaccessible or corrupted, you can perform a hardware-level reset by clearing the CMOS (Complementary Metal-Oxide Semiconductor) memory.
What Is CMOS?
CMOS stores low-level system settings, including CPU configurations. Resetting it wipes out all BIOS changes.
Steps to Reset CPU via CMOS:
-
Shut down your computer and unplug it from the power source.
-
Open the computer case.
-
Locate the CMOS battery on the motherboard (a coin-shaped silver battery).
-
Remove the battery carefully using a non-metal tool.
-
Wait for 5–10 minutes.
-
Reinsert the battery and close the case.
-
Power on the computer.
Alternatively, some motherboards have a Clear CMOS jumper—simply short it for a few seconds according to your manual.
This method completely resets CPU and BIOS configurations to factory defaults.
Step 4: Reset CPU Overclocking Settings
If you’ve manually overclocked your CPU to improve performance, unstable configurations may cause frequent crashes or overheating.
Reset Overclock Settings in BIOS:
-
Enter the BIOS using Delete/F2 during startup.
-
Navigate to Overclocking, AI Tweaker, or CPU Settings.
-
Find the option labeled CPU Frequency or Multiplier.
-
Set it to Auto or Default.
-
Reset Core Voltage to Auto.
-
Save changes and restart your computer.
Overclocking should only be performed after confirming proper cooling and voltage settings. Resetting removes these customizations, restoring stable factory operation.
Step 5: Reset CPU Power Settings in Windows
Sometimes, power settings in Windows can throttle CPU performance unnecessarily. Restoring them to default can help.
Steps to Reset Power Settings:
-
Open Control Panel → Hardware and Sound → Power Options.
-
Click Change plan settings next to your active plan.
-
Select Restore default settings for this plan.
-
Restart your PC.
Alternatively, use Command Prompt:
This command resets all power configurations, ensuring your CPU operates optimally without artificial restrictions.
Step 6: Reset CPU Drivers (Windows-Specific)
Outdated or corrupted drivers can cause CPU usage spikes and performance issues.
Steps to Reset or Update CPU Drivers:
-
Press Windows + X → Device Manager.
-
Expand Processors.
-
Right-click on your CPU model and select Uninstall device.
-
Restart your PC.
Windows will automatically reinstall the correct drivers.
You can also manually download the latest chipset and CPU drivers from your motherboard manufacturer’s website.
Step 7: Reapply Thermal Paste and Check Cooling
If overheating continues after resetting configurations, the issue may be physical rather than software-related.
Steps to Reapply Thermal Paste:
-
Shut down your computer and disconnect the power.
-
Remove the CPU cooler carefully.
-
Clean the CPU and cooler base using isopropyl alcohol and a microfiber cloth.
-
Apply a pea-sized amount of thermal paste in the center of the CPU.
-
Reinstall the cooler securely.
-
Boot the system and monitor temperatures using tools like HWMonitor or CoreTemp.
Proper heat transfer ensures your CPU runs efficiently and reduces throttling risks.
Step 8: Reset BIOS Using the Motherboard Button
Many modern motherboards (especially MSI, ASUS, and Gigabyte) include a BIOS Reset or CLR_CMOS button.
Steps to Use the BIOS Reset Button:
-
Power off your PC.
-
Press and hold the BIOS Reset button for 5–10 seconds.
-
Power on the system and access BIOS.
-
Save and exit to complete the reset.
This method achieves the same result as manually removing the CMOS battery but is faster and safer.
Step 9: Verify the CPU Reset
After resetting, confirm that your CPU settings have been restored successfully.
How to Check:
-
Press Ctrl + Shift + Esc to open Task Manager.
-
Go to Performance → CPU.
-
Verify base speed, usage, and temperature.
You can also use diagnostic tools such as:
-
CPU-Z – to check frequencies and voltages.
-
HWInfo – for thermal and voltage monitoring.
-
MSI Afterburner – to verify clock settings (for advanced users).
If everything looks stable and your system is running smoothly, the reset was successful.
When You Should Not Reset Your CPU
While resetting can solve performance issues, it’s not always the right move.
Avoid Resetting If:
-
You recently updated BIOS successfully.
-
The issue stems from GPU or RAM instability.
-
You’re using enterprise systems with custom firmware settings.
In such cases, focus on diagnosing software or cooling issues instead.
Additional Tips for Maintaining CPU Performance
Once you’ve learned how to reset CPU, it’s important to adopt practices that keep it running efficiently:
-
Keep BIOS and drivers updated.
-
Avoid aggressive overclocking unless you have proper cooling.
-
Clean dust and debris from your CPU fan regularly.
-
Use high-quality power supplies to prevent voltage fluctuations.
-
Monitor CPU temperature periodically using reliable software.
Security and IT Perspective on CPU Resets
For IT managers and cybersecurity professionals, CPU stability isn’t just about performance—it’s about system reliability and data protection.
1. Firmware Integrity:
Resetting CPU and BIOS settings ensures no unauthorized firmware-level changes compromise your hardware.
2. Power Efficiency in Large Deployments:
Resetting CPU power profiles across systems helps maintain consistent performance across endpoints.
3. Security Patch Management:
Firmware resets prepare systems for secure BIOS or UEFI updates, eliminating potential vulnerabilities.
Frequently Asked Questions (FAQ)
1. Does resetting the CPU delete data?
No. Resetting affects BIOS and configuration settings only. Your files and applications remain untouched.
2. How often should I reset my CPU?
Only when troubleshooting performance, overheating, or configuration issues. Routine resets are unnecessary.
3. Can a CPU be reset physically?
Not exactly. The CPU doesn’t store configuration data; it’s controlled by BIOS and system settings.
4. Will resetting BIOS void my warranty?
No, BIOS resets are standard maintenance procedures approved by manufacturers.
5. My system won’t boot after a reset—what now?
Double-check RAM seating and connections, then clear CMOS again. If issues persist, consult your motherboard manual or manufacturer support.
Final Thoughts
Knowing how to reset CPU can help you resolve a range of performance, power, and thermal issues quickly and safely. Whether you perform the reset through BIOS, CMOS, or Windows settings, the goal remains the same—restore your system to stable, factory conditions.
For IT professionals, system administrators, and cybersecurity experts, CPU resets are an integral part of maintaining device reliability and firmware security.
Keep your systems optimized, secure, and efficient with advanced endpoint management solutions.
Start your free ITarian trial today.