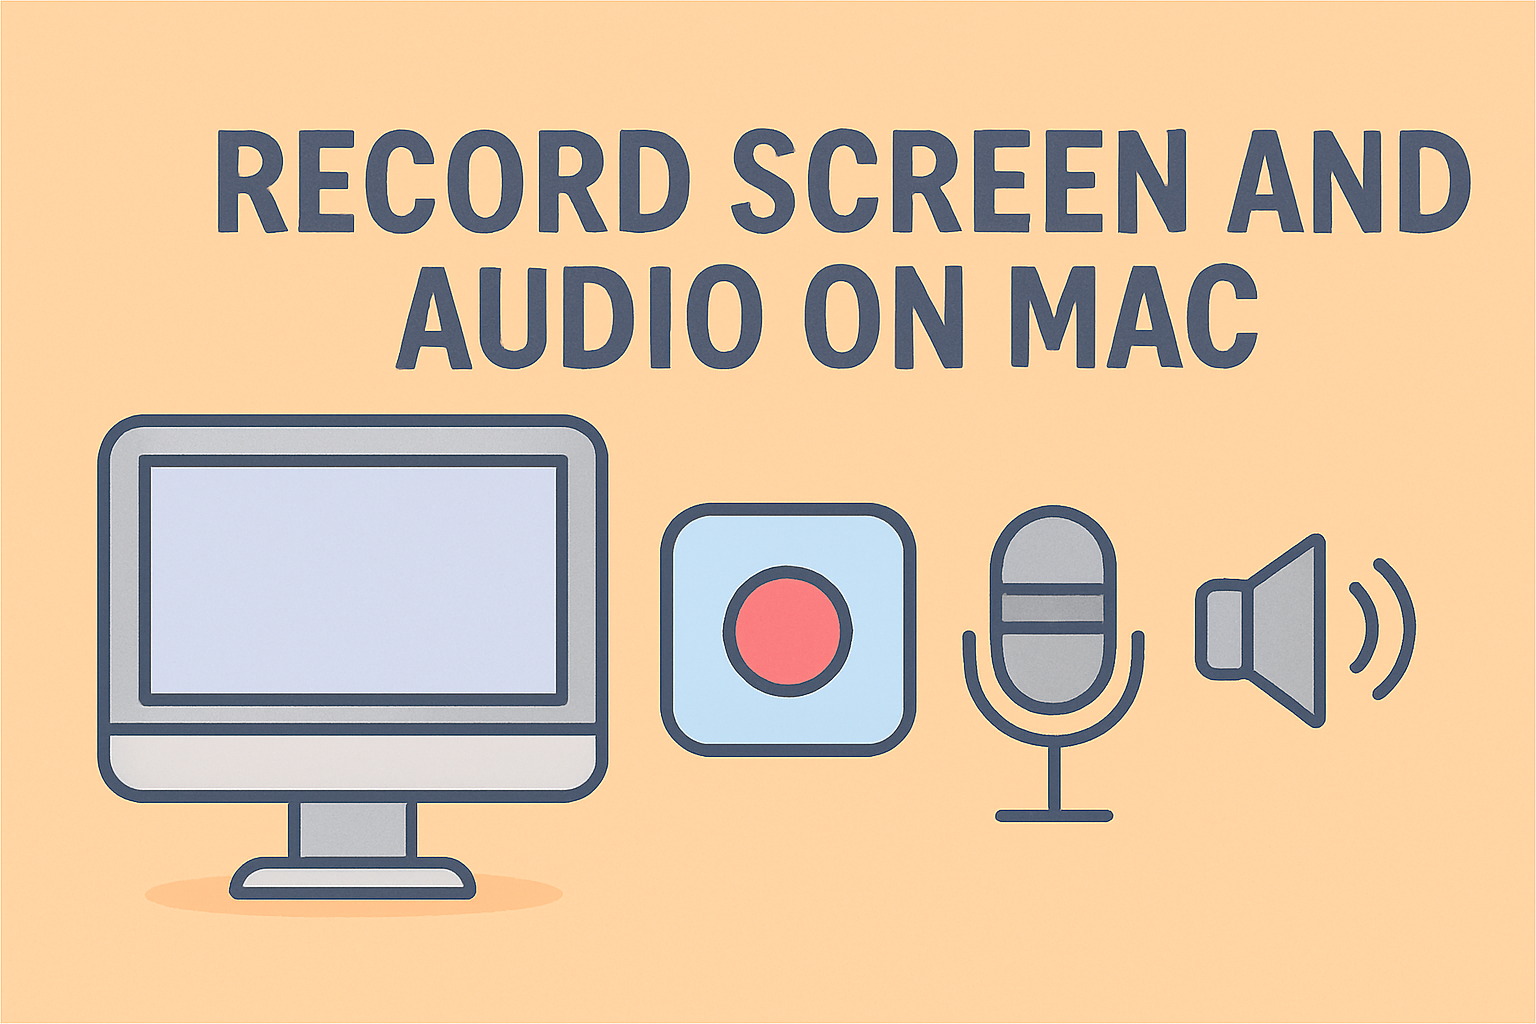
Capture Video with Sound on Mac with Confidence
Updated on October 17, 2025, by ITarian
Do you ever need to show a demo, webinar, or incident reproduction with how to record screen and audio on Mac in a clear, professional way? For cybersecurity experts, IT managers, and business leaders, combining visuals and sound can help train teams, document issues, or deliver presentations securely. In this guide, you’ll learn native methods, advanced tools, troubleshooting tips, and best practices — everything you need to record screen + audio cleanly on macOS.
Why Screen + Audio Recording Matters in IT & Security
Recording both screen and audio is more than a convenience — it’s often vital:
-
Incident documentation: Capture the steps, error messages, and narration together to support audits or investigations.
-
Training & tutorials: Teams learn faster when they see and hear explanations.
-
Support & troubleshooting: Users or customers can show you exactly what they see and hear.
-
Compliance & proof: Recorded procedures, meetings, or logs can support internal compliance or dispute resolution.
Given that, let’s go into how to record screen and audio on Mac — successfully and securely.
Key Challenges When Recording on macOS
Before proceeding, be aware of a few technical limitations and typical challenges you may face:
-
System audio (internal sound) is not captured by default via macOS’s built-in tools. You may need additional drivers or apps to capture application sounds (music, browser, etc.).
-
Microphone selection and feedback: If you record mic and speakers simultaneously, feedback or echo can arise.
-
Permissions & privacy: macOS requires explicit permission to allow apps to record screen, mic, or system audio.
-
Performance and file size: High-resolution or long recordings can use a lot of CPU and storage.
-
Synchronization issues: Sometimes audio and video drift or get out of sync — especially over long recordings.
These are normal constraints. Good setup and the right tool choices help you overcome them.
Native Methods: macOS Built-in Tools
macOS provides two built-in native options for recording screen and audio — the Screenshot Toolbar and QuickTime Player. These are sufficient for many use cases.
Method 1: Screenshot Toolbar (macOS Mojave and later)
-
Press Shift + Command + 5 to open the Screenshot / Recording toolbar.
-
Choose whether to record the entire screen or a selected portion.
-
Click Options, then under Microphone, select your mic (e.g., Built-in Microphone or external mic).
-
(Optional) Enable “Show Mouse Clicks” to highlight clicks in the recording.
-
Click Record.
-
To stop, click the Stop button in the menu bar, or press Command + Control + Esc (Escape).
-
After stopping, QuickTime (or the default viewer) opens the recording. You can trim or export it.
Pros: No external software needed, quick and integrated.
Limitations: Doesn’t capture system/internal audio by default — only microphone input.
Method 2: QuickTime Player
-
Open QuickTime Player (Applications → QuickTime).
-
From the menu bar, select File → New Screen Recording.
-
In the recording window, click the arrow next to the record button. Choose a microphone.
-
Start recording: full screen or drag a region.
-
Stop by clicking the Stop button in the menu bar or via QuickTime controls.
-
You can trim the recorded video (Edit → Trim) before saving.
Pros: Simple, built-in, editing features.
Limitation: Same as above — does not capture system audio without a workaround (e.g. with virtual audio drivers)
Capturing System Audio: Workarounds & Third-Party Tools
To record internal sound (application sound, alerts, music, etc.), you usually must use additional software or drivers. Here are common methods and tools.
Virtual Audio Drivers & Loopback Tools
These act as “virtual cables” routing system audio into recording apps.
-
BlackHole (open source)
-
Soundflower
-
Loopback (commercial)
You install such a driver, route system audio to it, and then choose the driver as a microphone input in Screenshot or QuickTime. This allows capturing both system sound and mic speech.
Dedicated Third-Party Recording Apps
These apps are built to record screen + internal audio (or both) without as many workarounds:
-
OBS Studio (free, open source) — supports macOS; can capture screen, mic, system audio
-
ScreenFlow — popular macOS software combining recording and editing.
-
Camtasia for Mac — more advanced editor + recorder.
-
FonePaw Screen Recorder — supports internal audio + mic + screen capture.
These usually simplify internal audio capture, allow overlays, zoom, annotations, etc.
Step-by-Step: Recording Screen + Audio Using OBS Studio
Here’s a walkthrough for OBS (Open Broadcaster Software), a versatile open source tool:
-
Download and install OBS for macOS.
-
Open OBS, go to Settings → Audio, and enable Desktop Audio and Mic Audio.
-
In the Sources panel, click “+” → Display Capture to record your screen.
-
Add Audio Input Capture for your microphone.
-
(If using a virtual audio driver) add Audio Output Capture mapped to your driver so system sounds are included.
-
Adjust volumes in the mixer to balance mic and system sound.
-
Press Start Recording.
-
When done, press Stop Recording. The file is saved to your configured path.
OBS provides flexibility, configurable bitrates, and formats for output.
Best Practices & Tips for Cleaner Recordings
To make recordings smoother and higher quality:
-
Use headphones to avoid mic picking up speaker output.
-
Test mic levels before full recording.
-
Close unneeded apps to reduce noise or CPU load.
-
Use a quiet room or noise suppression.
-
For long recordings, break into segments or autosave often.
-
Use lower resolution or frame rate if performance is sluggish.
-
If recording internal and mic audio, balance gain levels so one doesn’t drown the other.
-
Annotate or highlight cursor, clicks, or sections to improve clarity.
Where Recordings Are Saved & Basic Editing
-
By default, recordings via Screenshot Toolbar save to your Desktop (or location set in Options).
-
QuickTime or recorded files usually open immediately, where you can trim or export in different formats.
-
In OBS or third-party apps, you can set path, file name, format (MOV, MP4, etc.), and quality settings.
Always verify your file after recording before closing or erasing temporary files.
Real-World Use Cases
-
Security analysis: Record a system exploit or malware behavior with commentary for later replay.
-
Training sessions: Create tutorials for employees with visuals + narration.
-
Support / bug reporting: Capture exact steps + dialogue or error sounds.
-
Webinars / lectures: Record your screen + voice + slides for distribution.
-
App demos: Showcase software workflows while narrating key points.
For professional environments, these recordings often go into knowledge bases, support tickets, or training libraries.
Common Issues & Troubleshooting
| Problem | Likely Cause | Fix |
|---|---|---|
| No sound in recording | Mic or driver not selected | Check audio input settings, grant permissions |
| Internal app sound not recorded | No virtual audio driver | Install BlackHole, Soundflower, or use app that supports system audio |
| Audio / video out of sync | High load or encoding delays | Lower resolution, close other apps, use faster drive |
| Permission denied | macOS privacy rules | Go to System Settings → Privacy & Security → Screen Recording / Microphone → allow app |
| Recording too large | High frame / bitrate | Lower quality or shorten segments |
These cover most problems people face when trying to capture both screen and audio.
FAQs (Frequently Asked Questions)
Q1: Can I record internal system audio with built-in macOS tools?
No — by default, the built-in Screenshot Toolbar or QuickTime capture microphone but not system (application) sound. You’ll need a virtual audio driver or third-party app.
Q2: Which apps are best for advanced recording and editing?
OBS Studio, ScreenFlow, and Camtasia are strong choices. ScreenFlow is particularly mac-focused.
Q3: Will recording screen + audio slow down my Mac?
It may, especially at high resolutions or bitrates. Use SSD/fast disk, close other apps, or reduce frame rate.
Q4: What formats can I export recordings in?
Common formats include MP4, MOV. Many apps allow choosing codecs, bitrates, resolutions, etc.
Q5: Is it legal to record audio + screen in all contexts?
You must comply with local laws and privacy rules. For example, always inform participants before recording, especially in meetings, calls, or confidential settings.
Conclusion & Next Steps
Recording your Mac’s screen and audio together is a powerful asset for documentation, training, and technical workflows. By learning how to record screen and audio on Mac using built-in tools or advanced apps, you can produce clear, professional recordings even in security-conscious environments.
Here’s how to move forward:
-
Try the built-in Screenshot Toolbar method (Shift + Command + 5) for basic needs.
-
If you need system audio capture, install a virtual driver or use OBS, ScreenFlow, or similar tools.
-
Test mic and audio levels beforehand to avoid distortion or clipping.
-
Secure permission and privacy compliance before recording sensitive calls or content.
Ready to scale this capability across your organization, manage secure video workflows, or integrate screen recording into incident response or training flows?
Sign up with Itarian today and take control of endpoint operations, compliance, and recording workflows.