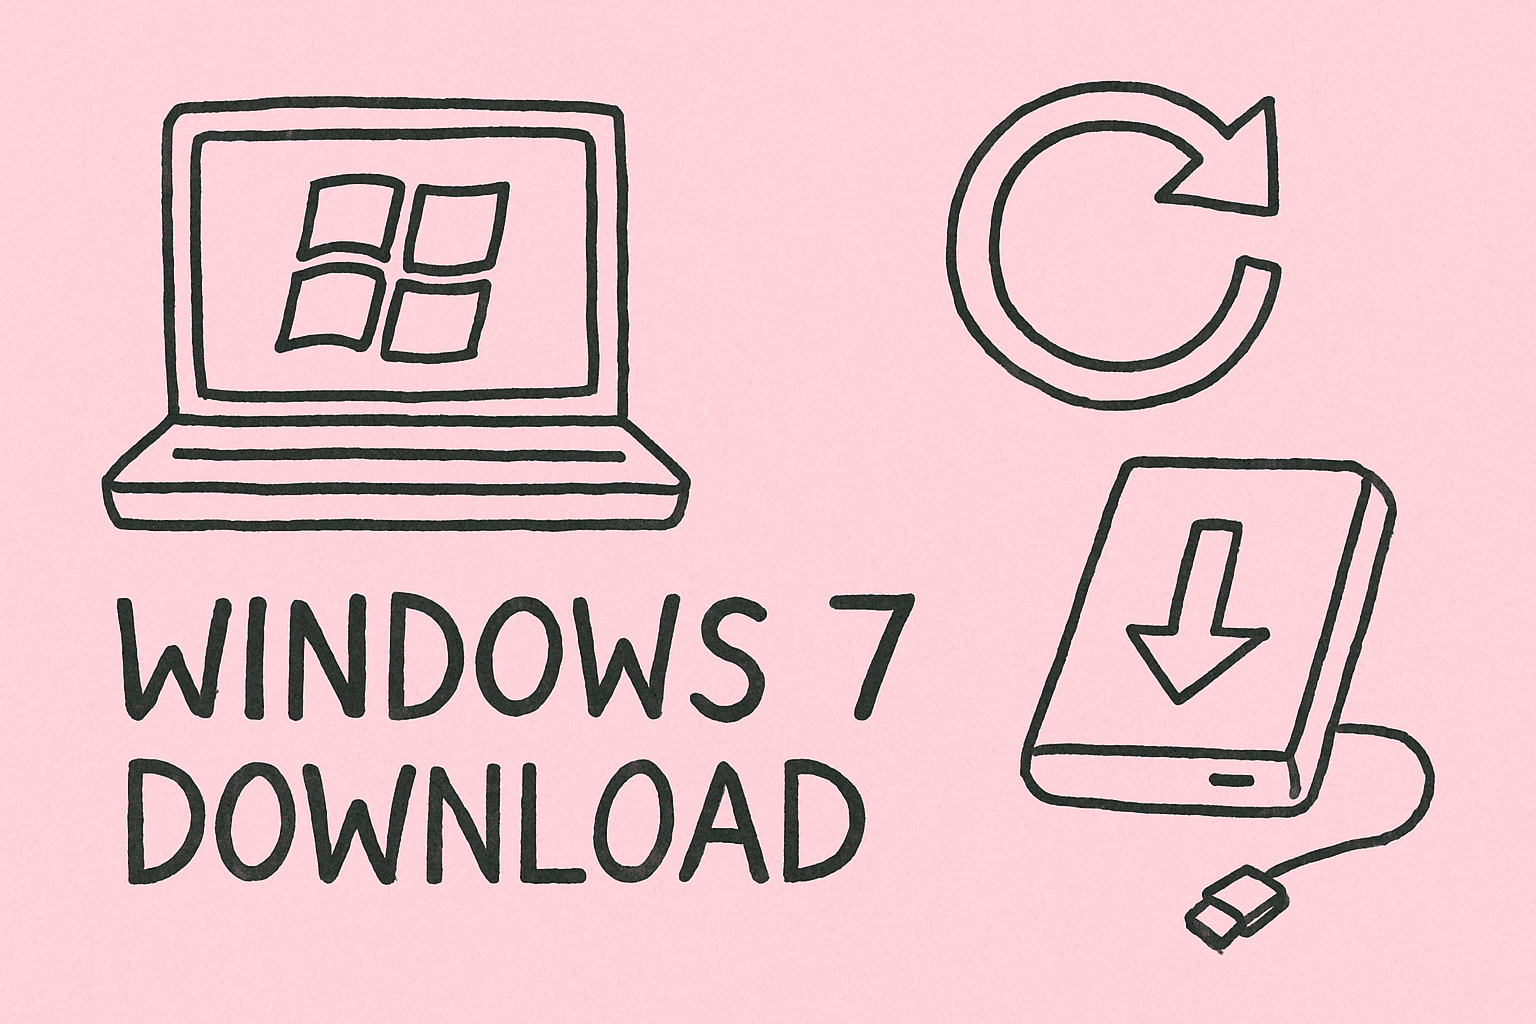
The Importance of Creating a Bootable USB from an ISO File
Updated on June 20, 2025, by ITarian
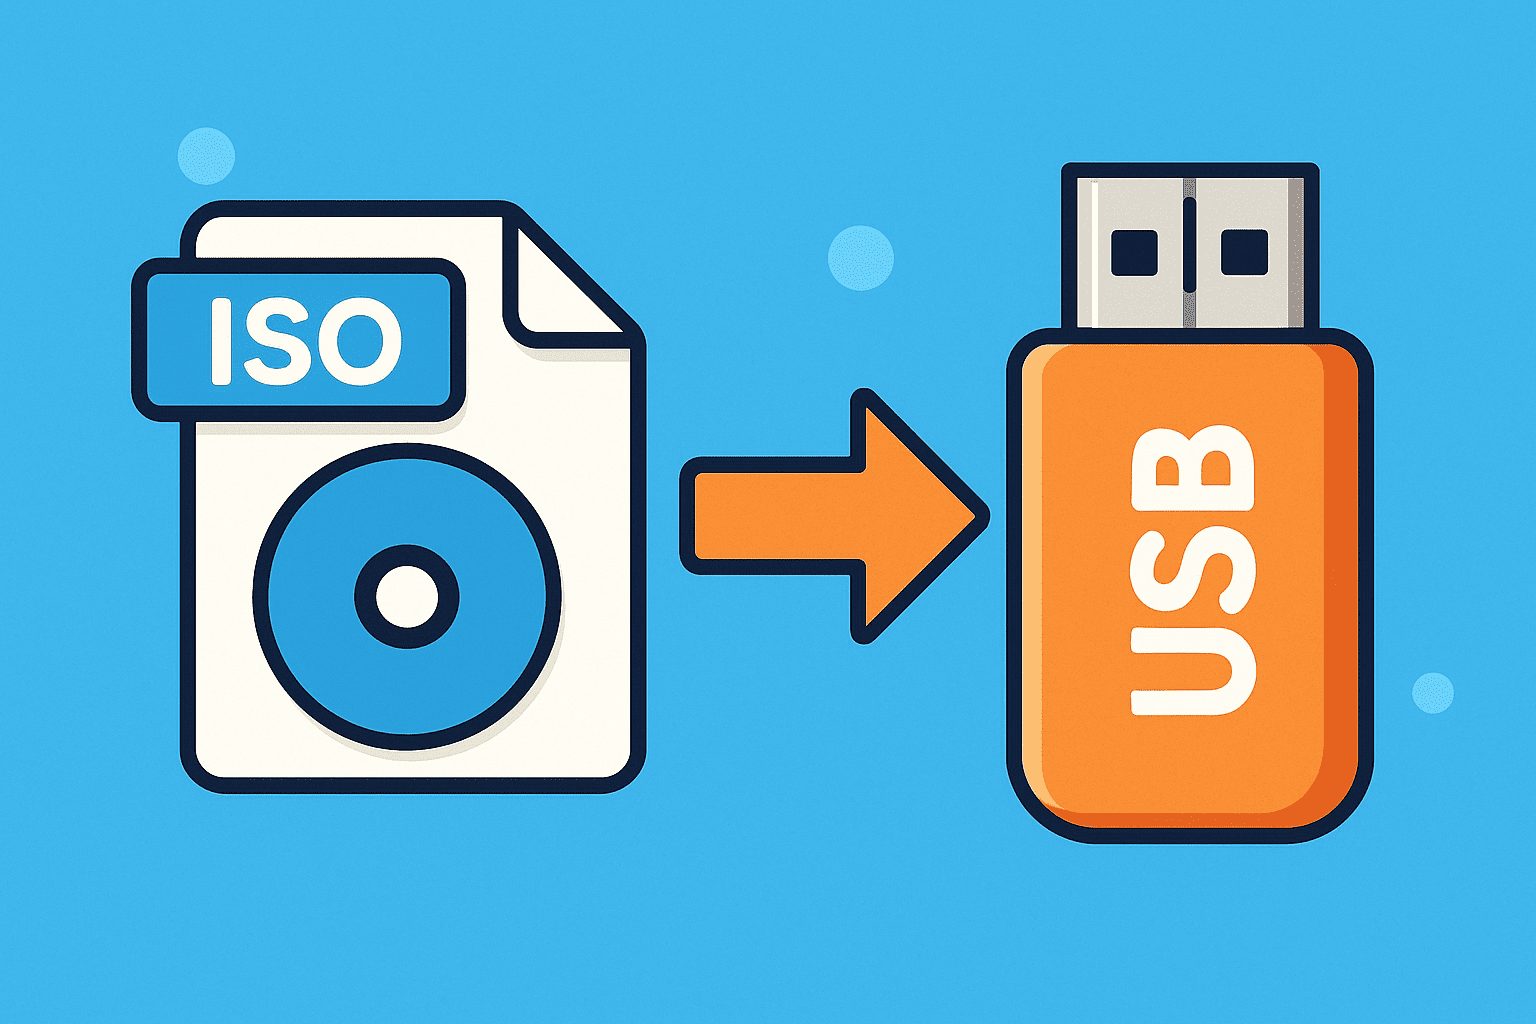
Ever wondered how to put ISO into USB to create a bootable USB for system recovery or OS installation? You’re not alone. In today’s fast-paced, security-first IT world, the ability to create a bootable USB flash drive from an ISO file is an essential skill—especially for cybersecurity professionals, IT managers, and even CEOs who prioritize operational efficiency and data safety.
Whether you’re setting up a new system or deploying recovery environments across your enterprise, understanding this process is not just convenient—it’s critical.
What Is an ISO File?
An ISO file, or ISO image, is a single file that perfectly represents an entire CD, DVD, or Blu-ray disc. It’s often used to distribute large programs or operating systems like Windows or Linux. You can’t just copy-paste it onto a USB flash drive—you need to make the USB bootable.
What Is a Bootable USB and Why Should You Care?
A bootable USB allows a computer to boot from a USB drive instead of its internal hard drive. This is crucial for:
- Installing or reinstalling operating systems
- Running antivirus tools offline
- Data recovery
- Performing disk formatting or partitioning
For IT departments, this is a quick, secure, and portable solution that reduces dependency on physical media and enhances response times during emergencies.
Essential Tools You Need
To learn how to put ISO into USB, here are the must-have tools:
- A USB flash drive (at least 8 GB recommended)
- ISO file (e.g., Windows 10, Ubuntu)
- Rufus (Free tool for Windows users)
Recommended: Rufus
Rufus is a lightweight, fast utility that supports a wide range of bootable ISOs. It’s highly preferred in enterprise environments for its reliability and open-source transparency.
How to Put ISO into USB Using Rufus (Step-by-Step)
Here’s the complete guide to creating a bootable USB:
Step 1: Download and Launch Rufus
- Visit https://rufus.ie and download the latest version.
- No installation is needed—just run the .exe file.
Step 2: Insert the USB Flash Drive
- Plug your USB drive into a USB port.
- Note: All data on the USB will be erased. Back it up first.
Step 3: Select Your USB Device in Rufus
- In the “Device” dropdown, choose your USB flash drive.
Step 4: Select the ISO File
- Click “Select”, browse, and choose your ISO file (e.g., Windows 11 ISO).
Step 5: Choose Partition Scheme and Target System
- For most users:
- Partition scheme: GPT
- Target system: UEFI (non-CSM)
- Change to MBR and BIOS/UEFI if working with older systems.
Step 6: File System and Volume Label
- File System: Keep it as NTFS or FAT32 depending on compatibility.
- Volume Label: You can leave it as-is or rename for clarity (e.g., WIN11_BOOT).
Step 7: Click Start
- You’ll be warned about data loss—click OK to proceed.
- Rufus will write the ISO to USB and make it bootable. This usually takes a few minutes.
Step 8: Verify the USB
Once Rufus finishes, safely eject the USB and test it on a system by booting from USB (BIOS boot menu typically accessed via F12, F2, or DEL).
Benefits for Cybersecurity & IT Teams
Understanding how to put ISO into USB isn’t just technical—it’s strategic:
- Disaster Recovery: Quick OS reinstallation or rescue environments
- Secure Deployments: Isolated environments for patching, testing
- Portability: Carry secure tools and clean OS environments
Alternatives to Rufus
While Rufus is the most popular, other tools include:
| Tool | Platform | Key Features |
| Balena Etcher | Windows, macOS, Linux | Beginner-friendly, sleek UI |
| UNetbootin | Windows, Linux, macOS | Supports downloading Linux distros directly |
| Ventoy | Windows, Linux | Boot multiple ISOs from one USB |
Each has pros and cons. Choose based on OS support and specific needs.
Common Issues and How to Fix Them
⚠ USB Not Detected
- Try another port
- Reformat the USB and restart Rufus
⚠ Boot Failure After USB Creation
- Check BIOS boot order
- Confirm correct partition scheme (MBR vs GPT)
⚠ ISO File Corrupt or Incompatible
- Re-download ISO from a trusted source
- Verify checksums if available
Pro Tips for Enterprise-Level USB Deployment
- Use write-protected USBs to prevent malware infection
- Pre-encrypt ISO content if containing sensitive tools
- Maintain an updated library of commonly used ISO files
- Label and document USB content for quick reference
FAQs: How to Put ISO into USB
1. Can I just copy an ISO file to USB?
No. You must use a tool like Rufus to make it bootable.
2. What size USB do I need for a bootable ISO?
At least 8 GB is recommended. Some OS images may require 16 GB or more.
3. Is Rufus safe to use?
Yes, Rufus is open-source and widely trusted in IT and cybersecurity circles.
4. Can I use the same USB for multiple ISOs?
Tools like Ventoy allow booting from multiple ISO files using one USB.
5. Will this work for macOS ISOs?
Rufus is for Windows. For macOS, use tools like Balena Etcher or Terminal commands.
Final Thoughts: Mastering ISO to USB Is a Must-Have Skill
Whether you’re managing a corporate IT infrastructure or overseeing cybersecurity protocols, understanding how to put ISO into USB empowers you to act swiftly, securely, and independently.
Ready to streamline your IT operations and enhance your security toolkit?
👉 Sign up for free with Itarian to manage your endpoints and boost security operations!