Why Booting from USB Is Essential in Modern IT Environments
Updated on July 4, 2025, by ITarian
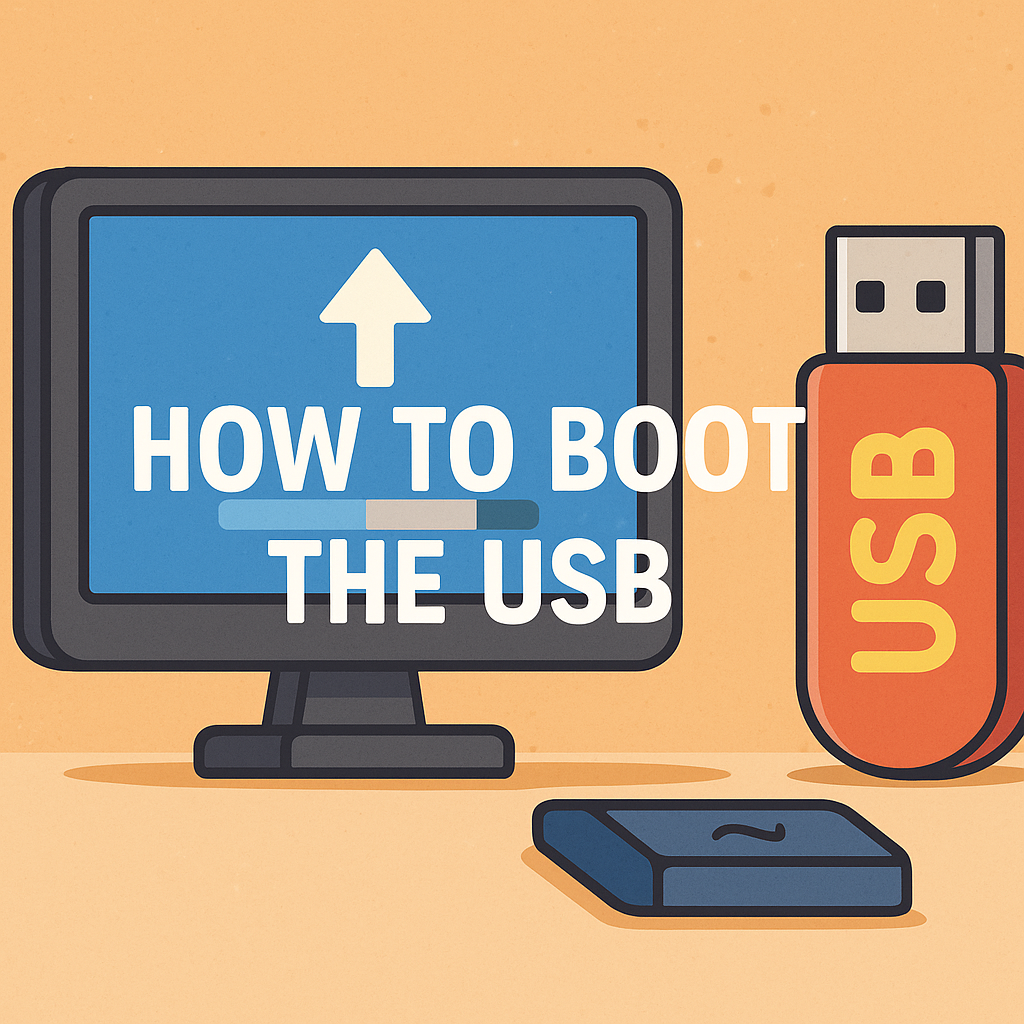
Need to install an operating system, run diagnostics, or launch a live security toolkit? One of the most essential skills in any IT or cybersecurity toolbox is understanding how to boot the USB.
Whether you’re restoring systems, managing secure device rollouts, or responding to a cyber incident, booting from USB allows complete control over the system environment. This guide walks you through booting from USB on Windows 10/11, including how to enter BIOS, change the boot order, and create bootable USB drives for your needs.
USB booting is more than just a recovery method. It’s a vital part of modern IT management and cybersecurity operations. Professionals use it for:
- Installing or repairing operating systems
- Running antivirus and malware removal tools
- Launching encrypted OS environments for security audits
- Deploying firmware updates or BIOS upgrades
- Performing offline diagnostics on compromised systems
Knowing how to boot the USB gives you flexible, OS-independent control—perfect for air-gapped networks or hardware-level interventions.
Step 1: Create a Bootable USB Drive
Before booting, you need to create a bootable USB using an operating system image or utility software.
Popular Tools to Create Bootable USB Drives:
- Rufus (for Windows ISO images)
- balenaEtcher (cross-platform utility)
- UNetbootin (for Linux distributions)
- Ventoy (for multiboot USB drives)
Instructions (Example with Rufus):
- Download and install Rufus
- Plug in a USB drive (8GB minimum recommended)
- Select the USB under “Device”
- Click “SELECT” and choose your ISO file (e.g., Windows 11, Ubuntu)
- Set “Partition scheme” to GPT or MBR based on your system
- Click Start and wait for the process to complete
For IT teams, automating USB creation using command-line scripts can save hours during mass deployments.
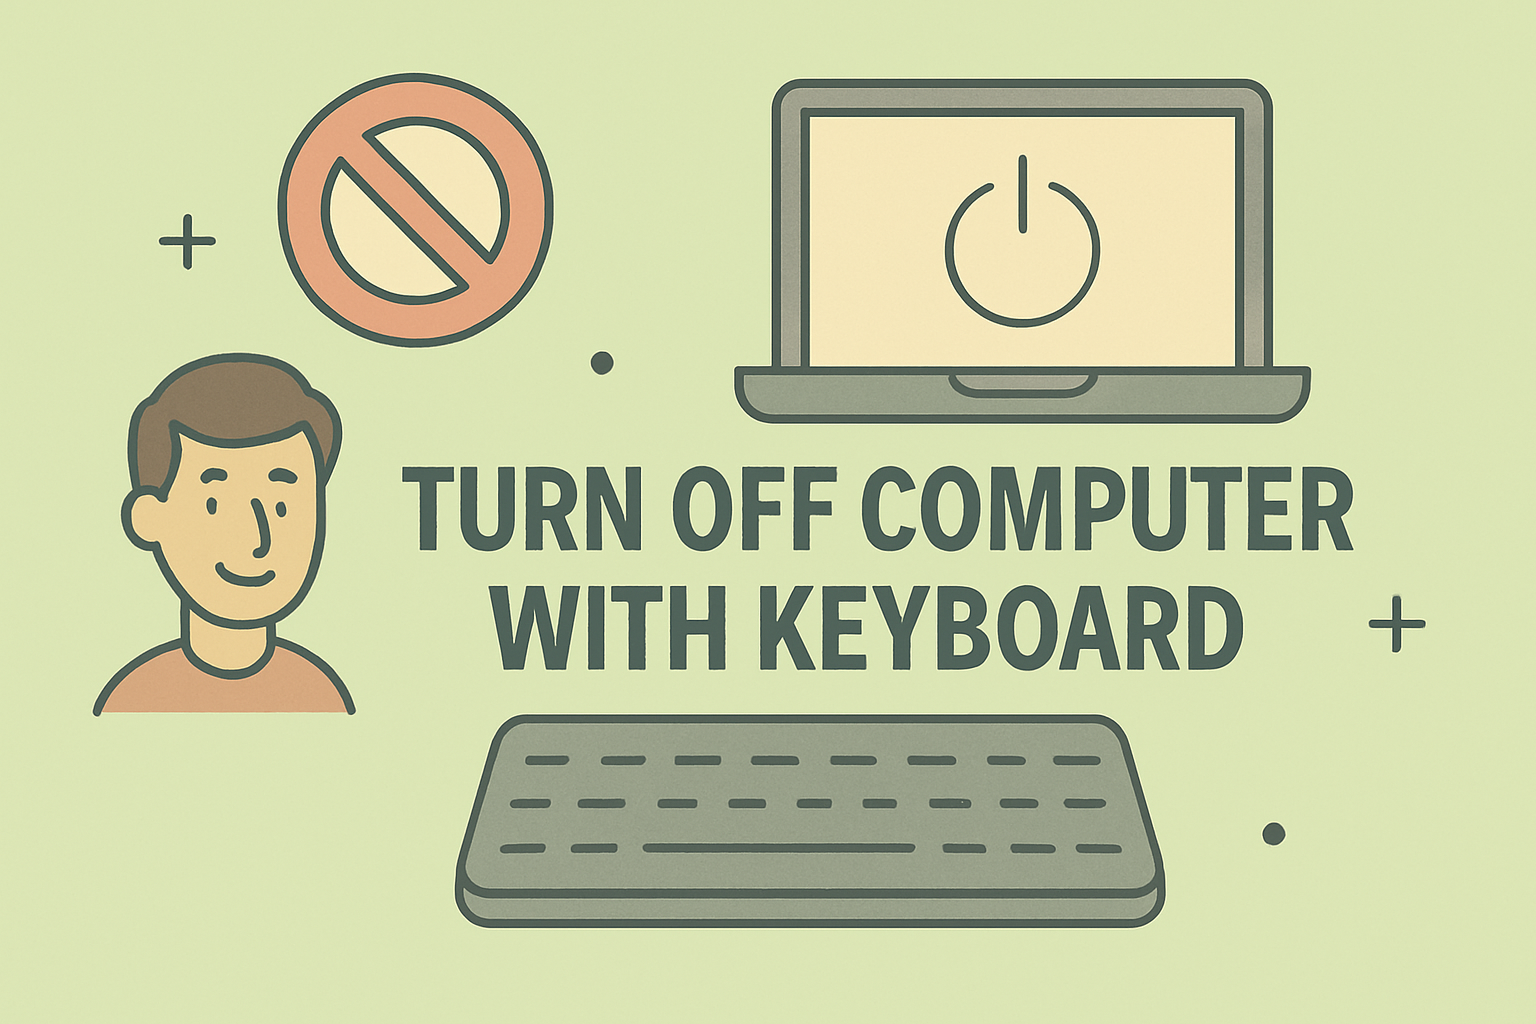
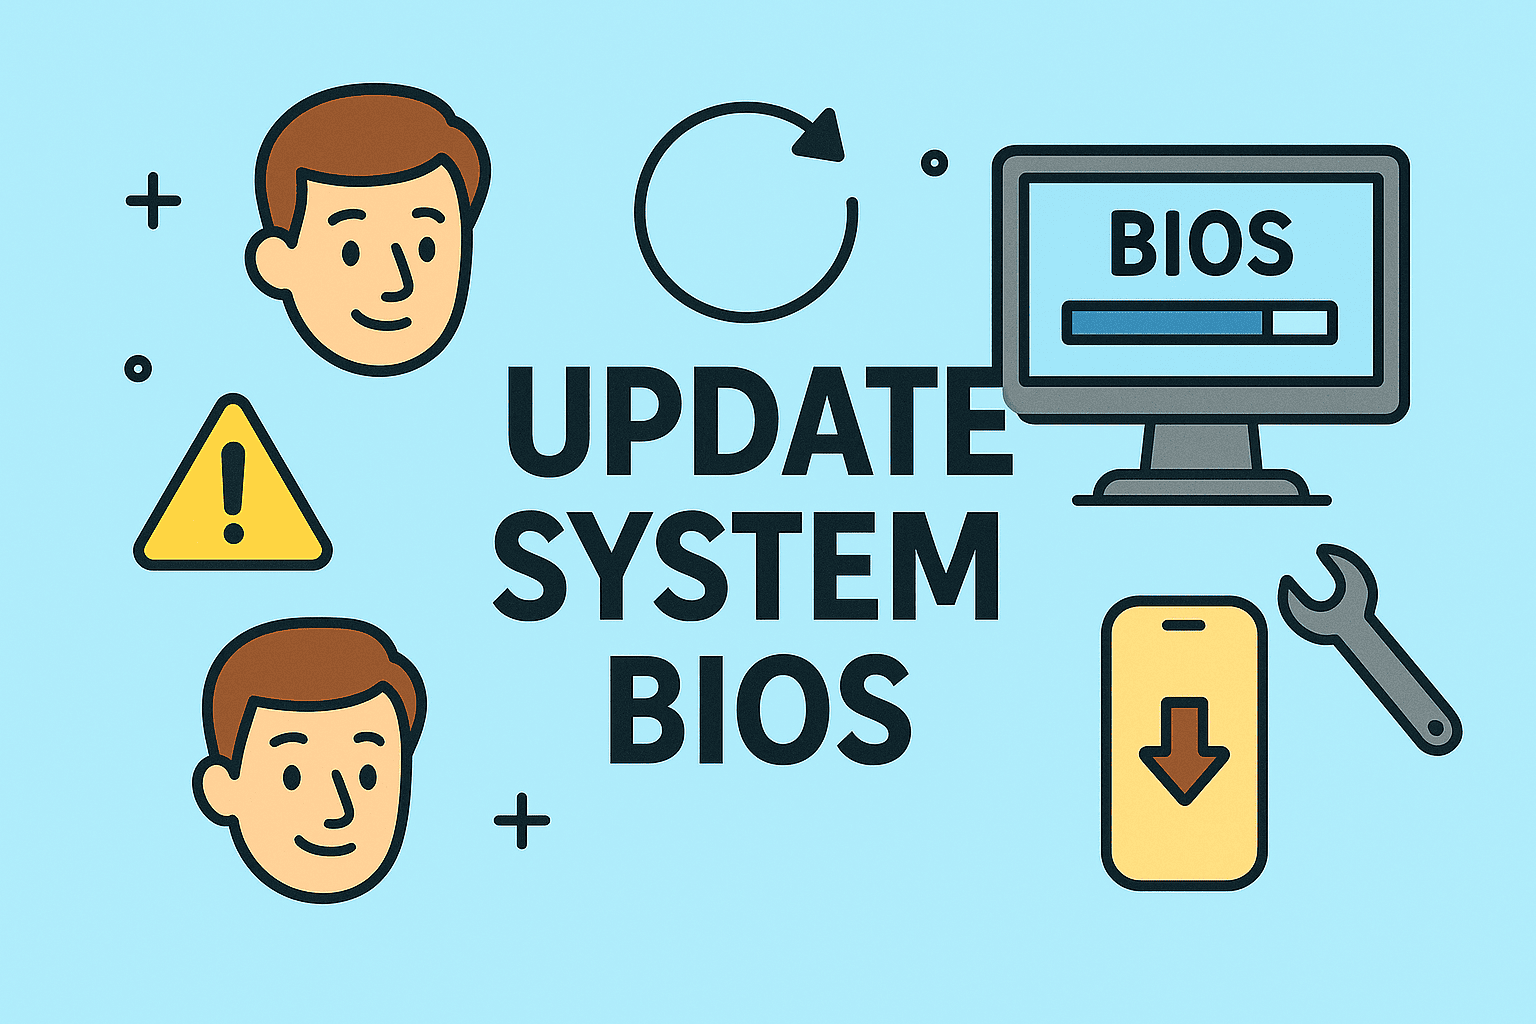
Step 2: How to Enter BIOS to Boot from USB
Each PC or laptop brand uses a different key to access the BIOS or UEFI settings.
Common BIOS/UEFI Access Keys:
- Dell – F12
- HP – Esc or F9
- Lenovo – F1 or F12
- Acer – F2
- ASUS – Del or Esc
- Toshiba – F12 or Esc
Instructions:
- Insert the bootable USB into the system
- Restart or power on the computer
- Immediately press the BIOS access key repeatedly until the BIOS/UEFI screen appears
- Navigate to the Boot tab or Boot Manager
If you’re using modern systems, enable Legacy Boot or disable Secure Boot if needed.
Step 3: Change Boot Order in BIOS
Once inside the BIOS or UEFI settings, change the boot priority so the system checks the USB drive first.
How to Change Boot Order:
- Locate the Boot Priority or Boot Order section
- Use arrow keys or drag-and-drop (in UEFI) to move USB to the top
- Save and exit (usually F10)
- The system should now boot directly from your USB
For security, IT admins often revert the boot order post-operation to prevent unauthorized USB booting.
Step 4: Boot from USB Windows 10/11
After saving BIOS settings, your PC should now boot into the USB environment.
What You Might See:
- Windows installer screen (if using Windows ISO)
- Linux desktop environment (if using live distro)
- Security tools dashboard (if using antivirus or forensic USB toolkit)
- Command-line interface for repair or configuration tasks
At this point, you can begin your installation, run diagnostics, or carry out secure workflows—all from your USB environment.
Best Practices for Secure USB Booting
- Use trusted ISO sources to avoid malware infections
- Checksum your images to ensure they haven’t been tampered with
- Encrypt USB tools for mobile security kits
- Use write-protected USB drives to prevent post-boot contamination
- Reconfigure BIOS to block external booting after your work is complete
🛡️ Always ensure bootable USBs are protected in environments where sensitive data is being handled.
Troubleshooting USB Boot Issues
If the system doesn’t boot from USB:
Common Fixes:
- Ensure the USB is formatted correctly (FAT32 for older systems)
- Recreate the bootable media using a different ISO tool
- Try a different USB port (prefer USB 2.0 over USB 3.0 for legacy support)
- Check BIOS for Fast Boot, UEFI vs Legacy, or Secure Boot settings
- Use a different USB stick (some are not bootable-compatible)
FAQ: Booting from USB
1. What format should a USB be to boot from?
Most systems prefer FAT32 or NTFS, depending on BIOS/UEFI. FAT32 is more universally compatible.
2. Can I boot from USB without entering BIOS?
Yes, by accessing the Boot Menu using a key like F12 or Esc during startup, depending on your brand.
3. Why won’t my computer boot from USB?
Reasons include incorrect boot order, unsupported USB format, corrupted ISO, or Secure Boot blocking it.
4. Is it safe to boot from a USB drive?
Yes, provided the USB comes from a trusted source and the image is verified. Avoid unknown or pirated ISO files.
5. Can I use the same USB to boot multiple systems?
Absolutely. Tools like Ventoy allow multiple ISO files on one USB for flexible usage.
Final Thoughts
Knowing how to boot the USB is a foundational skill for any IT or cybersecurity professional. From software deployment to incident response, USB booting enables flexible, secure, and OS-independent workflows. It empowers you to troubleshoot faster, deploy smarter, and safeguard critical systems.
Ready to manage your IT systems more efficiently?
✅ Start using a powerful IT automation and management platform now to simplify patching, device management, and remote operations.