Update BIOS in Windows 11 Easily (Step-by-Step)
Updated on August 13, 2025, by ITarian
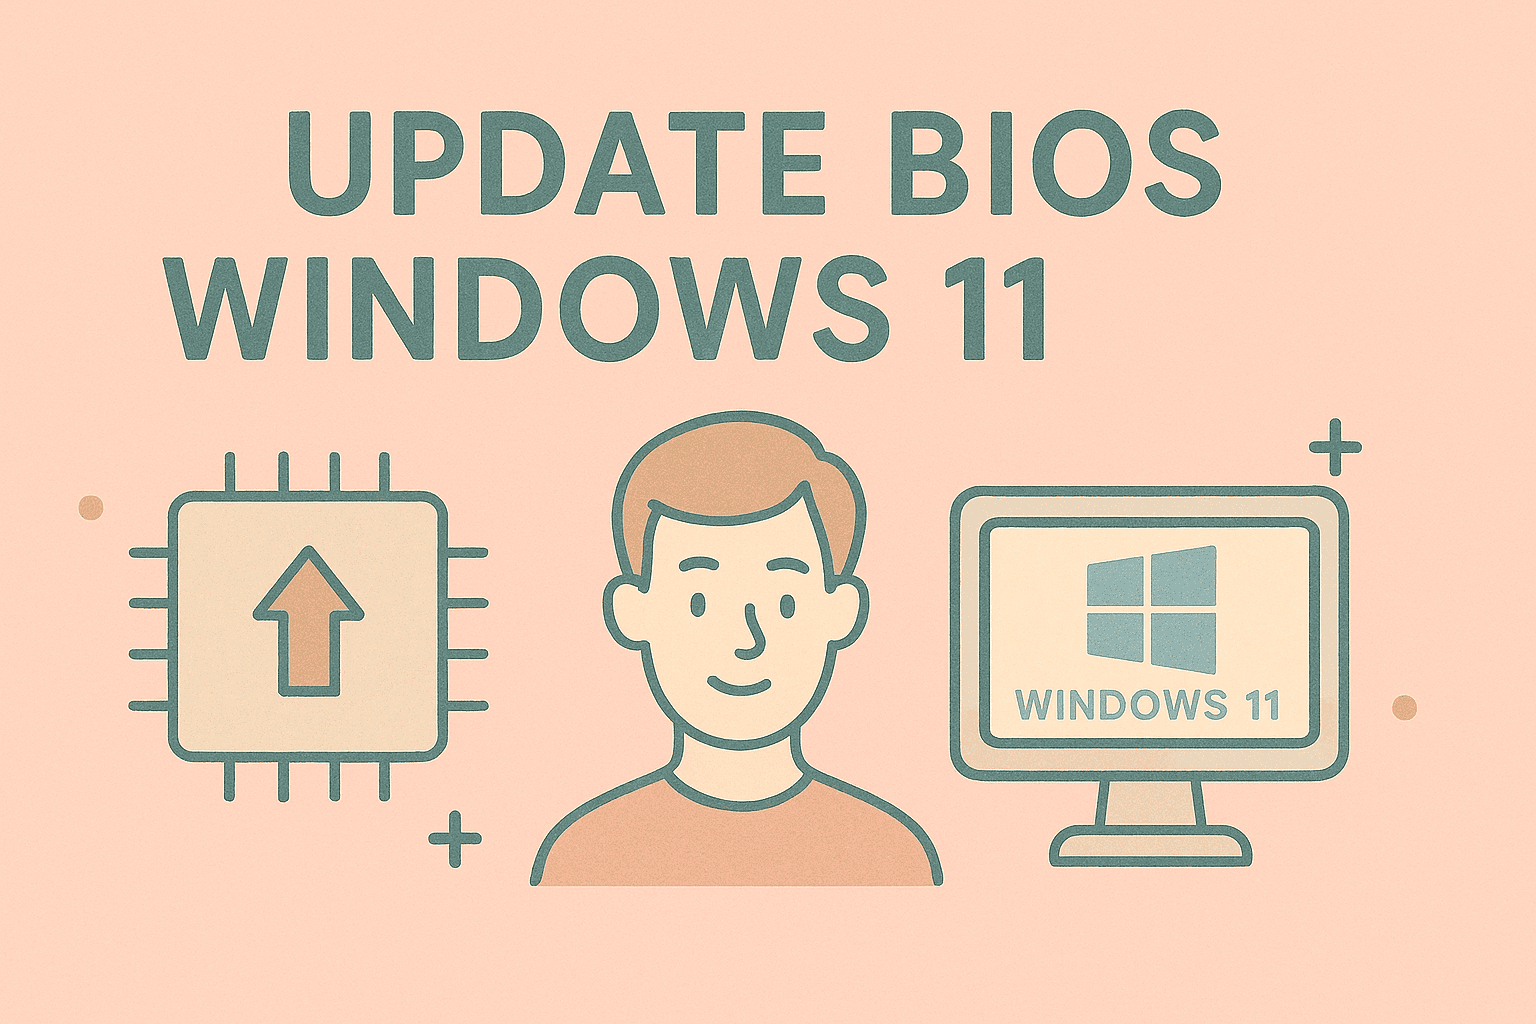
If you’re running Windows 11 and want to improve system stability, compatibility, or performance, knowing how to update BIOS Windows 11 is essential. The BIOS (Basic Input/Output System) is a low-level software that starts when your computer boots. It prepares the hardware before the operating system loads. An outdated BIOS can cause bugs, hardware miscommunication, or even security vulnerabilities.
In this complete guide, we’ll walk you through how to update BIOS on Windows 11 safely—whether you’re an IT manager maintaining a fleet of systems or a power user tuning performance.
What Is BIOS and Why Should You Update It?
Before diving into the update process, let’s understand the role of BIOS and why updates matter.
Benefits of Updating BIOS:
- Fix compatibility issues with new hardware
- Improve system performance and boot times
- Patch security vulnerabilities
- Support newer CPUs, RAM, and peripherals
- Resolve system bugs and firmware-level problems
Note: A failed BIOS update can cause boot failure, so always follow the instructions precisely.
Check Your BIOS Version in Windows 11
Before updating, you must first verify your current BIOS version.
Method 1: Use System Information
- Press Windows + R to open the Run dialog
- Type msinfo32 and hit Enter
- Look for BIOS Version/Date under System Summary
Method 2: Use Command Prompt
- Open Command Prompt (as Administrator)
Run this command:
arduino
CopyEdit
wmic bios get smbiosbiosversion
Compare this version with the latest available on your manufacturer’s website.
Identify Your Motherboard Manufacturer and Model
BIOS updates are manufacturer-specific. You’ll need the exact model of your motherboard or laptop.
How to Find It:
- Run msinfo32 → Check “System Manufacturer” and “System Model”
- Or use third-party tools like CPU-Z or Speccy
Once you have the model, go to the official support site (Dell, HP, Lenovo, ASUS, MSI, etc.).
How to Update BIOS in Windows 11
There are several safe methods to update your BIOS. Choose one that best fits your setup.
Method 1: Update BIOS Using Manufacturer’s Utility
Most manufacturers provide a dedicated tool to flash BIOS from within Windows.
For Dell Users:
- Download Dell SupportAssist or BIOS Update EXE from Dell’s site
- Run the EXE → It will reboot and flash automatically
For HP:
- Use HP Support Assistant
- Download the BIOS update tool, run, and follow prompts
For ASUS:
- Use EZ Update (part of AI Suite) or download the CAP file and use EZ Flash in UEFI
For Lenovo:
- Use Lenovo Vantage or download a BIOS update from their website directly
Method 2: Update BIOS via Bootable USB Drive
This method is ideal if your system doesn’t boot properly or you prefer a cleaner method.
Steps:
- Download the BIOS Update File (usually .ROM, .CAP, or .BIN) from your manufacturer’s site
- Format a USB drive to FAT32
- Copy the BIOS file to the USB root directory
- Restart and enter BIOS/UEFI by pressing F2, F10, Del, or Esc during boot
- Launch the BIOS update utility (e.g., EZ Flash, Q-Flash, M-Flash)
- Select the file on the USB → Confirm update
- Wait while it flashes → Do not turn off power
Important Precautions Before Updating BIOS
- Backup your data: BIOS flashing doesn’t affect disk data, but precaution is key
- Ensure power supply: Avoid interruptions—use a UPS for desktops
- Close all apps before running update utilities
- Read the changelog: Know what the update fixes or improves
When You Should Not Update BIOS
Avoid unnecessary updates if:
- Your system is running smoothly
- The update doesn’t apply to your hardware or OS
- You’re unsure of the procedure and lack support
If it’s not broken, don’t fix it—unless a new component requires it.
Rollback or Recover BIOS (If Update Fails)
In case of failure or instability after an update:
- Use BIOS Recovery Mode: Many boards support automatic recovery
- Re-flash the previous version if supported
- Contact manufacturer support
Some modern systems offer Dual BIOS or BIOS Flashback, allowing recovery even without booting.
Automating BIOS Updates in Enterprise Environments
For IT managers handling multiple endpoints:
- Use tools like Dell Command Update, HP Image Assistant, or Lenovo SCCM Integration Pack
- Deploy updates via Microsoft Endpoint Configuration Manager (SCCM) or Intune
- Automate firmware policy enforcement using Group Policy or PowerShell scripts
Standardize update procedures to avoid version fragmentation across teams.
FAQs About Updating BIOS in Windows 11
1. Is it safe to update BIOS on Windows 11?
Yes, if done using official tools and proper steps. Avoid third-party BIOS software.
2. Can I update BIOS without an operating system?
Yes. You can use a bootable USB with the BIOS update file and flash via UEFI.
3. What happens if BIOS update fails?
You may experience a non-booting system. Recovery depends on motherboard features like BIOS Flashback.
4. How often should I update my BIOS?
Only when needed—new hardware compatibility, security fixes, or vendor advisories.
5. Can I downgrade BIOS?
Some vendors allow rollback; others block it. Always check support documentation first.
Final Thoughts
Learning how to update BIOS Windows 11 is a valuable skill for IT professionals and end users alike. While updates can bring better performance and hardware support, they should be approached cautiously.
Always back up, read the release notes, and follow manufacturer-specific instructions. For organizations managing dozens or hundreds of machines, automating firmware updates helps maintain consistency and endpoint security.
Ready to simplify system management, automation, and device monitoring at scale?
👉 Start your free trial with Itarian now and take control of your IT infrastructure like a pro.

