Adding a Printer to Your MacBook: Complete Setup Guide
Updated on August 12, 2025, by ITarian
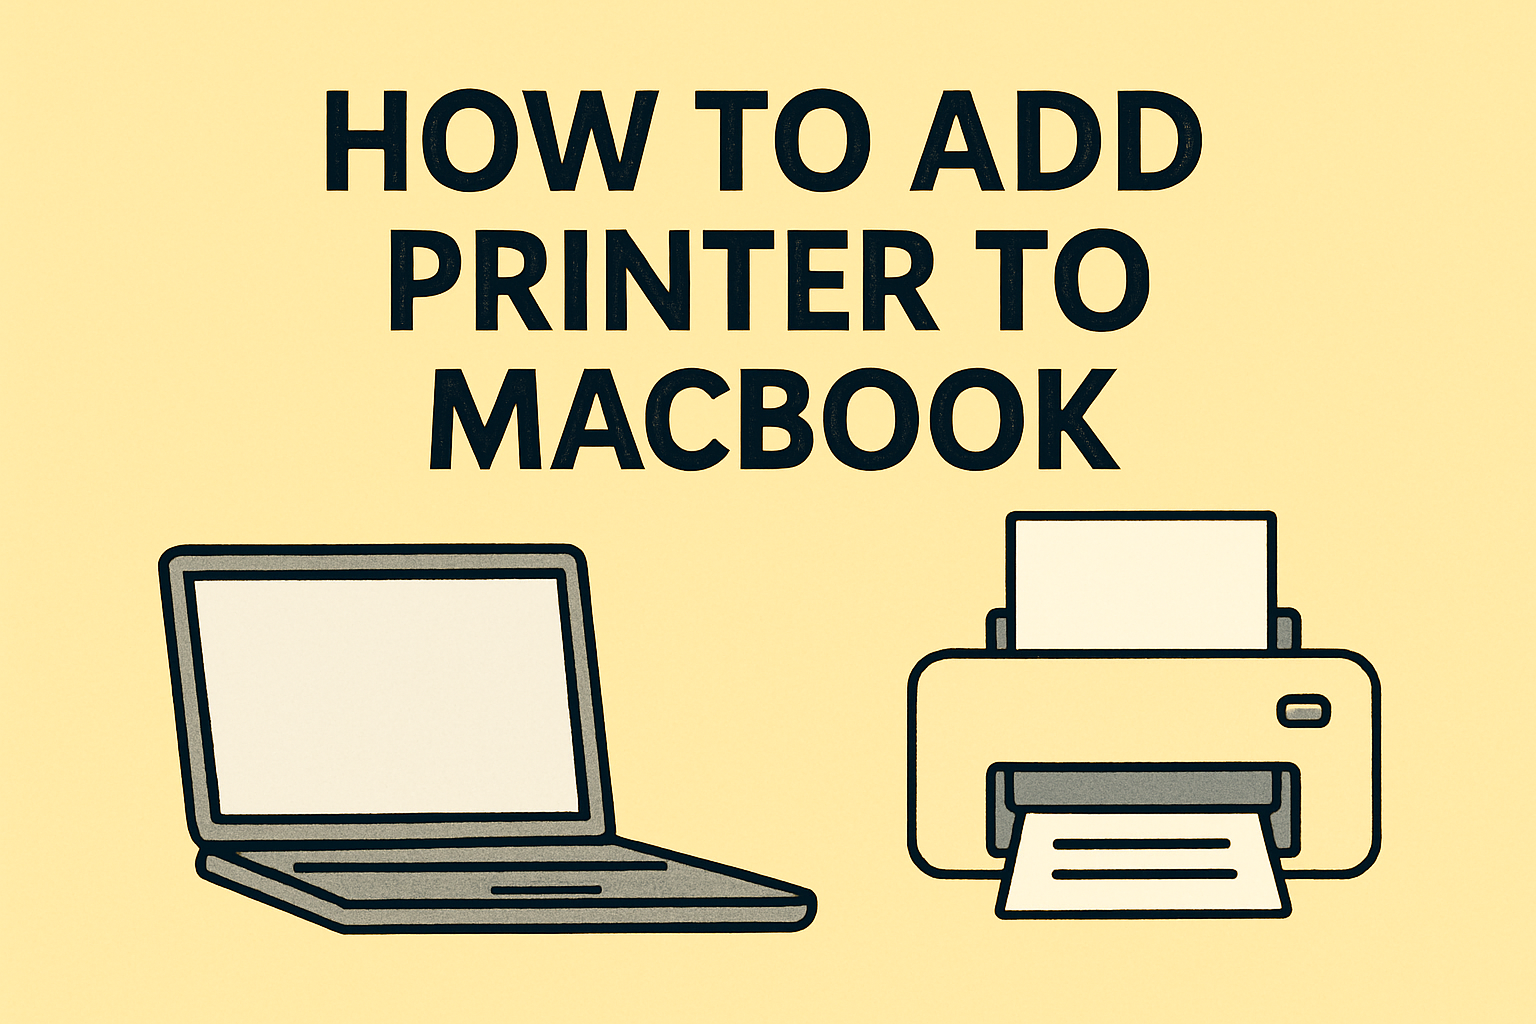
Ever struggled with connecting your MacBook to a printer? Whether you’re an IT professional managing dozens of devices or a business user needing seamless print access, knowing how to add printer to MacBook is a must.
Despite macOS being known for its user-friendliness, printer setup can sometimes feel anything but. Thankfully, once you know the right steps, connecting a printer—be it wireless, USB, or AirPrint-enabled—becomes quick and painless.
In this comprehensive guide, we’ll walk you through how to add a printer to your MacBook step-by-step, troubleshoot common errors, and help you manage printer security in business environments.
Why MacBook Printer Setup Matters in Business
From contracts and invoices to secure document printing, reliable access to printers is vital in today’s hybrid workplaces. For IT managers, CEOs, and cybersecurity pros, printer access isn’t just about convenience—it’s about maintaining productivity and protecting data.
Unsecured printers can become entry points for hackers, especially in networked environments. That’s why proper configuration, access control, and encryption play a key role alongside physical connectivity.
Let’s begin by exploring the different methods to connect a printer to your MacBook.
Method 1: Add a Wireless Printer to Your MacBook
Most modern printers support wireless connectivity, making them easy to use across the office or home network.
Steps to Add a Wireless Printer:
- Turn on the Printer
Make sure your printer is powered on and connected to the same Wi-Fi network as your MacBook. - Open System Settings
On your MacBook, go to System Settings > Printers & Scanners. - Click the “+” Button
This brings up a list of available printers. - Select Your Printer
Choose your printer from the list. macOS will automatically download necessary drivers if needed. - Click “Add”
Your printer is now configured and ready for use.
Note: For some brands like HP or Canon, installing the official macOS driver may offer additional features.
Method 2: Add a Printer Using USB Cable
If your printer doesn’t support Wi-Fi or you’re setting it up temporarily, USB remains the most direct option.
USB Setup Instructions:
- Connect the USB Cable
Plug your printer into the MacBook (you may need a USB-C to USB-A adapter for newer models). - System Detection
macOS should automatically recognize the printer and begin setup. - Go to Printers & Scanners
Navigate to System Settings > Printers & Scanners to confirm the printer is listed. - Test the Printer
Print a test page to confirm the connection.
USB is more secure in high-risk environments since it avoids exposing printers to the network.
Method 3: Add AirPrint-Compatible Printer
AirPrint is Apple’s native wireless printing feature that works seamlessly across Apple devices without needing extra drivers.
To Use AirPrint:
- Make sure both your MacBook and AirPrint printer are on the same Wi-Fi network.
- Go to File > Print in any document or app.
- Select the printer from the dropdown list.
- Click Print.
AirPrint is ideal for offices where security and simplicity are priorities.
Troubleshooting Common Printer Setup Issues
1. Printer Not Showing Up?
- Ensure your printer is powered on and connected to the network.
- Restart both your MacBook and the printer.
- Confirm that firewalls or antivirus software aren’t blocking connections.
2. Driver Not Installed?
- Visit the manufacturer’s site (e.g., Epson, Brother, HP) and download the macOS driver.
- Reinstall the printer from System Settings > Printers & Scanners.
3. Printer Offline?
- Remove the printer and re-add it.
- Ensure the printer is connected to the correct network.
- Run macOS updates to ensure compatibility.
Best Practices for IT Teams and Business Users
Setting up printers in a business environment? Follow these security best practices:
Implement Network Segmentation
Place printers on a separate VLAN to prevent lateral movement from compromised devices.
Enable Access Controls
Use password-protected admin panels and disable public access to the printer’s IP interface.
Keep Firmware Updated
Printers run software too. Always install security patches from the manufacturer.
Monitor Print Logs
Enable logging for printed documents, users, and timestamps—especially in compliance-focused industries.
Use Secure Printing
Some enterprise models support PIN-based printing, so documents only print when authorized users arrive at the printer.
Printer Management Tools for Mac Environments
For enterprises managing multiple MacBooks, use these tools for better control:
- Jamf Pro – Apple device management platform that can deploy printer settings and enforce security policies.
- Papercut MF – Print management software for tracking, quotas, and secure printing.
- Munki or Chef – Mac-focused configuration management tools that automate printer setup at scale.
Want zero-touch printer deployment for new employees? Combine these tools with Apple Business Manager.
FAQs: How to Add Printer to MacBook
1. Can I add multiple printers to my MacBook?
Yes. Go to System Settings > Printers & Scanners, and add as many printers as needed. You can also set a default printer.
2. What is the easiest printer brand to use with macOS?
HP, Brother, and Epson are well-supported. Many of their models come with AirPrint support, eliminating driver headaches.
3. How do I print securely from a MacBook?
Use AirPrint or secure print settings (like PIN or authentication) if available. Avoid using open public networks to print sensitive documents.
4. Why does my Mac say “printer not connected”?
This typically happens when your printer is on a different Wi-Fi network, powered off, or the driver is outdated.
5. Do I need special software to add a printer?
Not always. macOS includes native support for most printers. For full features, you may install manufacturer-specific software.
Final Thoughts
Understanding how to add printer to MacBook is essential for both everyday users and IT teams looking to maintain productivity and data security. Whether you’re printing invoices, client reports, or onboarding materials, reliable printer access is still a critical part of the workflow.
By following the steps and best practices in this guide, you’ll ensure smooth setup, improved security, and fewer helpdesk calls—all while enabling flexible work environments.
Need enterprise-grade device and print security?
Start your FREE Itarian trial today to gain access to remote device management, secure print control, policy enforcement, and much more—built for modern IT environments.

